Hisense AP-10CR1SEPS Use And Installation Instructions
Hide thumbs
Also See for AP-10CR1SEPS:
- Use and installation intructions (46 pages) ,
- Use and installation instructions (44 pages) ,
- Use and installation manual (44 pages)
Advertisement
Quick Links
INSTRUCCIONES DE USO E INSTALACIÓN
AP-10CR1SEPS
AP-12CR1SEPS
AP-08CR1SEJS
AP-10CR1SEJS
AP-12CR1SEJS
AP-14DR1SFJS2
For questions about features, operation/performance, parts or service, call:
1-877-465-3566
Thank you very much for purchasing this Air Conditioner. Please read
these use and installation instructionscarefully before installing and using
this appliance,and keep this manual for future reference.
Para preguntas sobre las características, la operación/el funcionamiento, los
componentes o el servicio del producto, llame: 1-877-465-3566
Muchísimas gracias por la compra de este aire acondicionado. Que lea las
instrucciones de uso e instalación detalladamente antes de su instalación y
utilización del Producto y preserve este manual para la futura referencia.
Advertisement

Related Manuals for Hisense AP-10CR1SEPS


Summary of Contents for Hisense AP-10CR1SEPS
- Page 1 INSTRUCCIONES DE USO E INSTALACIÓN AP-10CR1SEPS AP-12CR1SEPS AP-08CR1SEJS AP-10CR1SEJS AP-12CR1SEJS AP-14DR1SFJS2 For questions about features, operation/performance, parts or service, call: 1-877-465-3566 Thank you very much for purchasing this Air Conditioner. Please read these use and installation instructionscarefully before installing and using this appliance,and keep this manual for future reference.
- Page 2 TABLE OF CONTENTS IDENTIFICATION OF PARTS..........2 PORTABLE AIR CONDITIONER USE........10 AIR CONDITIONER SAFETY............3 Starting Your Portable Air Conditioner ........10 Using the Remote Control ............11 INSTALLATION REQUIREMENTS..........3 Normal Sounds................15 Tools and Parts................3 PORTABLE AIR CONDITIONER CARE........
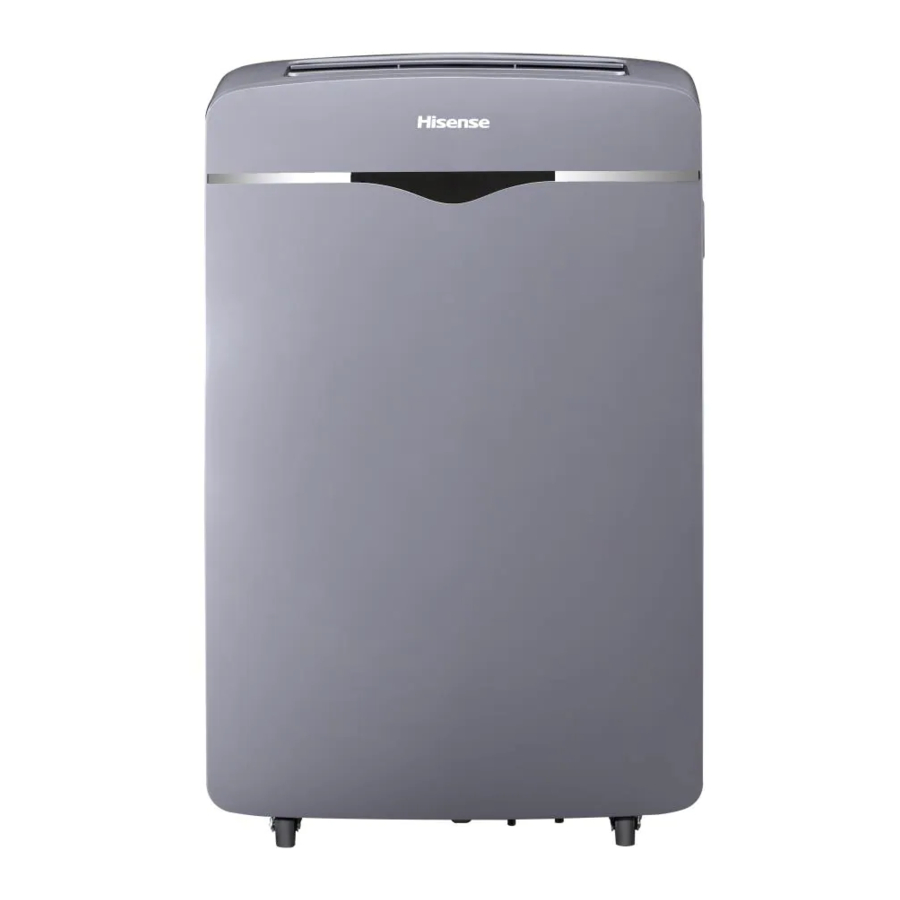
- Page 3 IDENTIFICATION OF PARTS Front Cool air outlet Signal receptor Remote control Transport handle Control panel Air outlet hose Evaporator air intake Secondary drain port Power supply Back Primary drain port Condenser air intake The figures in this manual are based on the external view of a standard model. They may differ from that of the air conditioner you have selected.
- Page 4 AIR CONDITIONER SAFETY Your safety and the safety of others is very important. We have provided many important safety messages in this manual and on your appliance. Always read and obey all safety messages. This is the safety alert symbol. This symbol alerts you to potential hazards that can kill or hurt you and others.
- Page 5 Location Requirements NOTES: Horizontal Slide Window ■ The flexible exhaust hose allows placement of the air conditioner between 23⁵⁄₈" and 64 " (60 cm and 163 cm) ¹⁄₈ from window or door ■ Confirm you are using the correct size air conditioner for the space to be cooled, per sizing recommendations, below: Capacity needed Area to be cooled...
- Page 6 WARNING Power Supply Cord NOTE: Your air conditioners device may differ from the one shown. Electrical Shock Hazard WARNING Plug into a grounded 3 prong outlet. Do not remove ground prong. Do not use an adapter. Do not use an extension cord. Failure to follow these instructions can result in death, A.Test button fire, or electrical shock.
- Page 7 Window Vent Panel And Extensions The window installation kit allows you to install the air conditioner in most vertical-sliding windows 18'' to 50'' wide,or casement-style windows from 18'' to 50'' high. 1.Please check your window length and choose the fit from the above table. 2.If your window length need more than 2 panels,after adjust the length,please use a type L screw to fix them.
- Page 8 Install Portable Air Conditioner Install Exhaust Hose and Adapter NOTE: Product must be used with included Duct Window 1. Roll the air conditioner to selected location. see “Location installation kit for effective cooling. Requirements.” 2. Stretch the end of the hose. Attach the d to the ummy coupling flexible exhaust hose.
- Page 9 Installation In Vertical Sliding Windows NOTE:The window installation kit can be used with vertical sliding windows between 18'' and 50'' wide. Foal seal N (Adhesive type-shorter) Foal seal M (Adhesive type) Cut the foam seal A(Non-adhesive type) to the Cut the foam seal M(adhesive type) & N window width.Stuff the foam seal A between (adhesive type-shorter)to the proper the glass and the window to prevent air and...
- Page 10 Installation In Horizontal Sliding Windows NOTE:The window installation kit can be used with vertical sliding windows between 18'' and 50'' wide. Foal seal M (Adhesive type) Foal seal N (Adhesive type-shorter) Cut the foam seal M(adhesive type) & Cut the foam seal A(Non-adhesive type) N (adhesive type-shorter)to the proper to the window width.Stuff the foam seal length,and attcah it to the window sash...
Need help?
Do you have a question about the AP-10CR1SEPS and is the answer not in the manual?
Questions and answers