Masterbuilt 20072612 Assembly, Care & Use Manual
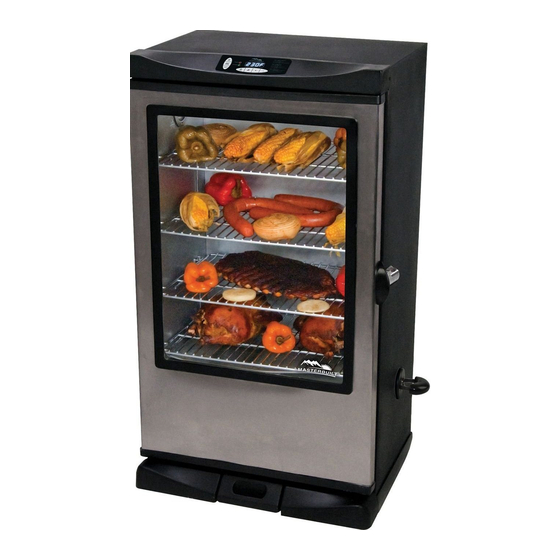
Electric smoker
Hide thumbs
Also See for 20072612:
- Assembly, care & use manual (21 pages) ,
- Assembly, care & use manual (10 pages) ,
- Assembly, care & use manual (21 pages)
Advertisement
Quick Links
Advertisement

Subscribe to Our Youtube Channel
Related Manuals for Masterbuilt 20072612


Summary of Contents for Masterbuilt 20072612
- Page 1 All manuals and user guides at all-guides.com...
- Page 2 All manuals and user guides at all-guides.com...
- Page 3 All manuals and user guides at all-guides.com...
- Page 4 All manuals and user guides at all-guides.com...
- Page 5 All manuals and user guides at all-guides.com PART NO DESCRIPTION PART NO DESCRIPTION...
- Page 6 All manuals and user guides at all-guides.com MODELS 20072612, 20072712 PART NO REPLACEMENT PART ITEM NO...
- Page 7 All manuals and user guides at all-guides.com **Some assembly steps may already be completed due to pre-assembly at the factory.** STEP 1 Remove all components on inside of smoker before beginning assembly. Carefully position smoker on side as shown. Alternatively, the smoker can be positioned upside down for assembly.
- Page 8 All manuals and user guides at all-guides.com STEP 3 STEP 4...
- Page 9 All manuals and user guides at all-guides.com STEP 5 Note: TENSION NUT STEP 6 Carefully position smoker as shown. Note:...
- Page 10 All manuals and user guides at all-guides.com STEP 7 ST4x10 STEP 8...
- Page 11 All manuals and user guides at all-guides.com STEP 9 KEYHOLES STEP 10...
- Page 12 All manuals and user guides at all-guides.com STEP 11 STEP 12 Assembly is complete.
- Page 13 All manuals and user guides at all-guides.com PRE-SEASON SMOKER PRIOR TO FIRST USE. Some smoke may appear during this time, this is normal. NOTE: Never add more than ½ cup (1 lled chip loader) at a time. Additional chips should not be added until any previously added chips have ceased generating smoke.
- Page 14 All manuals and user guides at all-guides.com Step 1- Setting Temperature: 1) Press ON button 2) Press SET TEMP once 3) Use +/- to set desired temperature 4) Push SET TEMP to lock temperature Step 2- Setting Timer: POWER 1) Press SET TIME once 2) Use +/- to set hours MEAT 3) Push SET TIME to set minutes...
- Page 15 All manuals and user guides at all-guides.com all buttons must be pressed within 5 seconds of each other...
- Page 16 All manuals and user guides at all-guides.com...
- Page 17 All manuals and user guides at all-guides.com...
- Page 18 All manuals and user guides at all-guides.com BE A PART OF OUR “DADGUM GOOD” COMMUNITY ONLINE: www.masterbuilt.com | www.dadgumthatsgood.com | www.facebook.com/masterbuilt Twitter @Masterbuilt @JohnMcLemore @DadgumTh atsGood...
- Page 19 All manuals and user guides at all-guides.com Model Number and Serial Number are located on silver label on back of unit.
- Page 20 All manuals and user guides at all-guides.com...
Need help?
Do you have a question about the 20072612 and is the answer not in the manual?
Questions and answers