
Related Manuals for JWA FRAZIER 74481


Summary of Contents for JWA FRAZIER 74481
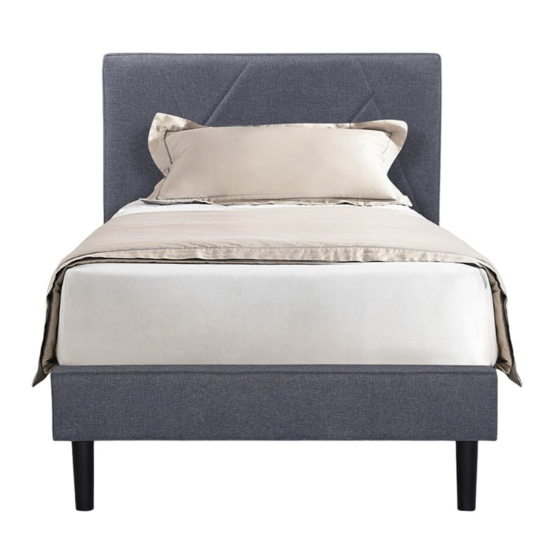
- Page 1 ASSEMBLY INSTRUCTION FRAZIER KING BED 74481 Imported by JWA Furniture Pty Ltd, Qld, Brisbane Australia. For any assistance with assembly or for missing parts please refer to your receipt...
-
Page 2: Pre-Assembly Preparation
PRE-ASSEMBLY PREPARATION Before you start: 1.Choose a clean, level, spacious assembly area. Avoid hard surfaces that may damage the product 2.Take care when lifting. Product should be assembled as near as possible to the point of 3.Ensure that you have all required contents for complete assembly 4.Always read the assembly instructions carefully before beginning assembly. -
Page 3: Parts List
PARTS LIST Head Board x 1pc Centre Support Leg x 4pcs Side Rail (L&r) x 4pcs Centre Support Leg x2pcs Foot Board x 1pc Siderail Support Leg x 2pcs Centre Support Rail x 4pcs Center Cross Bar x 1pc HB/FB leg x 4pcs Wood Side Rail Bar x 4pcs Slat x 14pcs... - Page 4 STEP 1: • Prepare a protected surface with a blanket or cardboard. • Attach 2x HB/FB Legs(5) to the 1x Head Board(1) and 2x HB/FB Legs(5) to the 1x Foot Board(3), as shown below.
- Page 5 STEP 2: • Attach the 4x Wood Side Rails Bars(11) to the 4x Left and Right Siderails(2), Use 3x Bolt(E) and 3x Flat Washer(G) per bar, threaded from the top and fasten with allen key(I). • Attach the 2x Side Rails Support Legs(9) to the 4x Left and Right Siderails(2), as shown below.
- Page 6 STEP 3: • Connect a side rail to the Head Board and Foot Board. Secure with 2x bolt(A) and 2x Lock Washer(D) & 2x Flat Washer(F) per corner. Fasten with allen key(H). • Repeat for the other side rail.
- Page 7 STEP 4: • Attach the 2x Center support leg(8) to the 4x Centre Support Rail(4), as shown below. Use 2x bolt(A) with 2x Lock Washer(D) & 2x Flat Washer(F) per leg. Fasten with allen key(H). • Attach the 4x supports(7) to the 4x Centre Support Rail(4), as shown below.
- Page 8 STEP 5: • Attach the 2x Centre Support Rail(4) to the Head Board(1) and the Foot Board(3), as shown as below. Thread bolt(A) with Lock Washer(D) & Flat Washer(F) from the top into the holes in the Head Board and Foot Board. Fasten with allen key(H).
- Page 9 STEP 6: • Attach the Center Cross Bar(10) on the Centre Support Rail(4) , as shown below. Use 2x bolt(B) with 2x Lock Washer(D) & 2x Flat Washer(F). Fasten with allen key(H). • Attach either end of the center cross bar(10) to the side rails (2). Use 2x bolt(A) with 2x Lock Washer(D) &...
- Page 10 STEP 7: • Flat the 14xslats (6) on the bed frame , All the assembly is finished.
- Page 11 Assembly Is Complete...
-
Page 12: Product Care
PRODUCT CARE: FURNITURE / BED 1. When assembling your bed please ensure that you have checked the contents for all relevant parts. 2. When tightening bolts make sure that they are fully tightened but not forced. 3. When moving your fully assembled bed you must first remove the mattress and lift the frame into position, take care when lifting and always have two people handling the bed.
Need help?
Do you have a question about the FRAZIER 74481 and is the answer not in the manual?
Questions and answers