Table of Contents
Advertisement
Quick Links
Advertisement
Table of Contents

Related Manuals for diLUSSO OV608SDS


Summary of Contents for diLUSSO OV608SDS
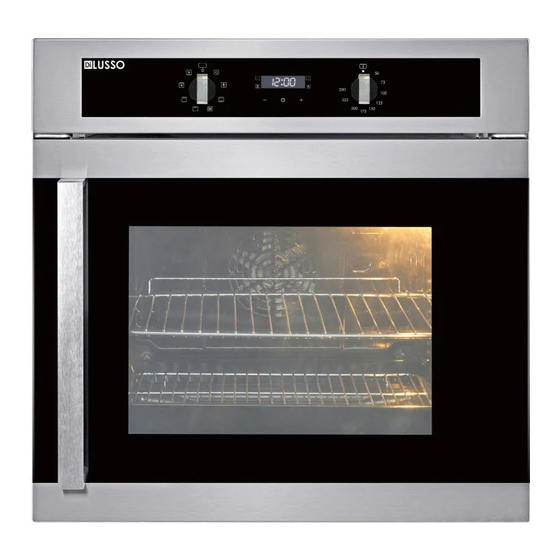
- Page 1 Side Opening Door Built-in Oven OV608SDS Installation and Operating Manual...
-
Page 2: Table Of Contents
CONTENTS Important Notes ------------------------------------------------------------------------------------------------Page 2 Installation Instructions ----------------------------------------------------------------------------------------Page 3 Technical Specification--------------------------------------------------------------------------------------------Page 5 About the Oven-----------------------------------------------------------------------------------------------------Page 5 Oven Timer / Clock ------------------------------------------------------------------------------------------------Page 5 Setting Local Time -------------------------------------------------------------------------------------------------Page 6 Setting the Timer --------------------------------------------------------------------------------------------------Page 6 Program Cooking ---------------------------------------------------------------------------------------------------Page 6 Oven Cooking Function -------------------------------------------------------------------------------------------Page 7 Oven Cooking &... -
Page 3: Important Notes
Important Notes Dear Customer Thank you for choosing our product. This appliance is easy to use; however please read this handbook carefully before installing and operating it. Herein, you will find the correct method of installation and tips for best use and maintenance of the product. -
Page 4: Installation Instructions
Before connecting to the mains, make sure that: The electric meter, safety valve, feeding line and socket are adequate to withstand the maximum load required (refer to product data label for maximum load) The supply system is regularly earthed, according to the regulations in force. ... - Page 5 The sides and the face surface where the oven is to be installed should be milled to allow sufficient air intake and circulation around the oven, to avoid causing any damage to the furniture. Ensure the oven is secured firmly in place as described above, and insulate electrical connections in order to avoid contact with metallic parts.
-
Page 6: Technical Specification
: 70 litres About The Oven The OV608SDS oven offer large capacity of 67L and 8 cooking functions. User can do cooking on several shelves at a time or cook in large quantity which the traditional ovens do not allow. -
Page 7: Setting Local Time
Setting the Local Time Note : The oven only operates after the local time has been set. When the oven is first connected to power, icon flashes automatically. • Use the “+” and “-” button to increase or decrease the value in order to set the local time. •... -
Page 8: Oven Cooking Function
Setting End Time for Cooking Cooking duration is set beforehand : Time Delay Function • Press the button a few times until the symbol begins to flash, use the “+” and “-” button to increase or decrease to set the cooking end time. •... - Page 9 Fan Forced – The circular heating element and the fan comes into operation. Heat is distributed evenly to all levels. Several dishes can be cooked on different shelves. Fan forced mode is ideal for baking, cooking large serves of food and cooking different dishes together. Half Grill –...
-
Page 10: Oven Cooking & Cooking Time
Grill Cooking (the two upper heating elements works) To cook with the grill, pre-heat the oven for about 5 minutes. During grill operation the heat comes from above; and its suitable for thin cuts meat and for toasts. The table shows some examples of cooking times and shelf positions. The cooking times vary according to the type of food, its homogeneity and volume. -
Page 11: Cleaning And Maintenance
Food Qty. Temp. Pre-heat time in Time in °C minutes min. Veal cutlet 8--10 Lam cutlet 12--15 Liver 10--12 Chopped meat 12--15 roulades Veal heart 12--15 Roast in the net 20--25 Half-chicken 20--25 Fish filet 12--15 Stuffed tomatoes 10--12 Cleaning and Maintenance Caution: Prior to cleaning or maintenance, always disconnect the power supply. - Page 12 3) TOP HEATING ELEMENT This element must never be sprayed with any detergents. A damp cloth and a bottlebrush can be used to clean the roof of the oven and the element itself. Never soak the element and always dry it after cleaning as not doing so can lead to deterioration.
- Page 13 Take the door out from the bottom fix support directly. The side opening door is completely separated from the oven. 7) ASSEMBLE THE OVEN DOOR (CHANGING THE DOOR OPENING SIDE) After the door is removed from the oven, if the user wishes to change the door opening side, then tighten the opposite side screw 1 at the upper position, and loosen up screw 2.
- Page 14 Prepare to assemble the door to the opposite door spindle. At this moment, screw 2 is downwards and screw 1 is upwards. Assemble the door at the bottom fix support first, insert lever 5 to bottom fix support 6. Assemble the door to the top fix support. Tighten screw 1 to the upper position with screwdriver. Page 13 Version 1.0 May 2021...
- Page 15 Door direction change is completed. 8) REMOVING THE DOOR GLASSES Use a flat screwdriver to pry open the inner of the oven door. Remove the inner glass. Loosen up the 5 screws on the door frame Page 14 Version 1.0 May 2021...
- Page 16 Remove the door frame. Pry open the 4 fixing pieces on the glass holder bracket. Remove the middle glass. 9) REPLACING THE OVEN BULB Once the oven has been electrically disconnected, unscrew the glass protection cap and the bulb, replacing it with another one suitable for high temperature 300°C.
-
Page 17: Warning
10) TELESCOPIC RACKS ASSEMBLY To assemble the telescopic arms : Remove the two frames, lifting them away from spacers A Choose which shelf to use with the telescopic arms. Pay attention to the direction in which the telescopic arms is to be extracted. - Page 18 9. Surfaces of storage drawer can get hot. 10. The oven must be switched off before removing the guard and that, after cleaning, the guard must be replaced in accordance to instructions. 11. The control panel is only to be connected to the heating units specified in order to avoid possible hazards. 12.
Need help?
Do you have a question about the OV608SDS and is the answer not in the manual?
Questions and answers