Table of Contents
Advertisement
Quick Links
Advertisement
Table of Contents

Related Manuals for Chroma Cascade


Summary of Contents for Chroma Cascade
- Page 1 Chroma-Q™ Cascade™ User Manual Version 1.3 September 2012 PN: 109-0500...
- Page 2 (c) by operation outside the specifications contained in the user documentation; (d) by the use of spare parts not manufactured or sold by Chroma-Q or by the connection or integration of other equipment or software not approved by Chroma-Q unless the Customer provides acceptable proof to Chroma-Q that the defect or damage was not caused by the above;...
- Page 3 Chroma-Q products are safe, effective, and fully satisfactory for the intended end use. Suggestions of use shall not be taken as inducements to infringe any patent. Chroma-Q sole warranty is that the product will meet the sales specifications in effect at the time of shipment.
-
Page 4: Table Of Contents
……………………………………………….…………. 5 Troubleshooting …………………………………………………….……. 7 Gel loading / replacement ………………………………………………………..… 7 Technical overview ………………………………………………………..… 9 Technical specifications ………………………………………………………..… 10 Charts ……………...…………………………………………………….………... 11 Colour chart (Library mode) …………………………………………………………. 11 Colour chart (Creative mode) ……………………………………………….…………. 11 www.chroma-q.com Cascade User Manual V1.3 September 2012... -
Page 5: Product Overview
& to keep the dimensions & weight to a minimum. The Chroma-Q Cascade is supplied power & control signals by means of two 4-pin XLR style connectors on the rear panel, allowing multiple units to be daisy-chained into the same line of cabling. Patching the output from the last unit back into the power supply will terminate the DMX for each chain line &... -
Page 6: Control And Power Cables
Control and power cables The Chroma-Q Cascade utilises an XLR 4-pin cable system. This is used for power & data transfer. Pins 2 & 3 are for ANSI E1.11 USITT DMX 512-A data. Pins 1 & 4 are for 24VDC power. - Page 7 Always use a return cable for each run. This will ensure balanced DC power to all units, that the line is correctly terminated, & all units receive power if one link of the chain is faulty. www.chroma-q.com Cascade User Manual V1.3 September 2012...
-
Page 8: Troubleshooting
Troubleshooting The 2 LED indicators aid in the trouble shooting of the Chroma-Q Cascade system. Green LED indicator = data, red LED indicator = power. These LED indicators are located on the on the underside of each unit. Symptom Possible Cause... - Page 9 TUR. Rotate whole the unit so that the motor/fan/electronics section on your left hand side. Place the gel tab beside the anchor on the rear spring shaft. www.chroma-q.com Cascade User Manual V1.3 September 2012...
-
Page 10: Technical Overview
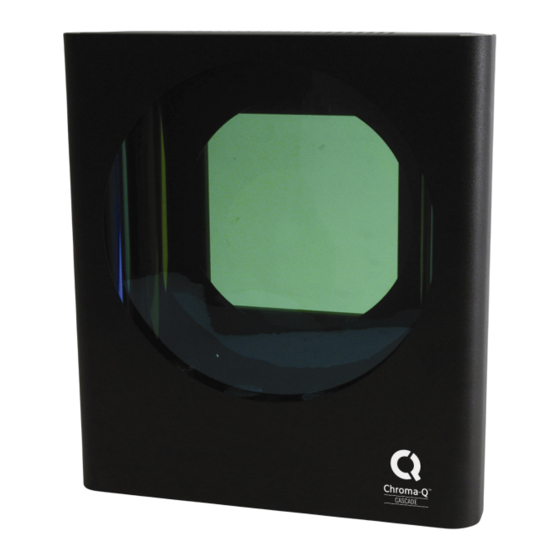
Technical overview The Chroma-Q Cascade unit is essentially two scrollers in one package. The colour mixing system employs an opto- electronic system for accurate positioning of the gel. When the unit initially receives power, it will go through a calibration sequence. -
Page 11: Technical Specifications
Note: To simplify the choice of power supply we use the "PU" (Power Unit) to calculate the load requirements of the Chroma-Q system. For example a PS-08 will supply up to 8 PU's, so you can plug-in 5 Chroma-Q Cascade (5 × 1.5PU = 7.5PU) into a PS-08. -
Page 12: Charts
Charts Library mode Creative mode www.chroma-q.com Cascade User Manual V1.3 September 2012...
Need help?
Do you have a question about the Cascade and is the answer not in the manual?
Questions and answers