Advertisement
Quick Links
Advertisement

Summary of Contents for NCR 7409-K361
- Page 1 7409‐K361 Fixed Angle Mount MSR and Imaging Scanner Kit Instructions Issue A...
-
Page 2: Revision Record
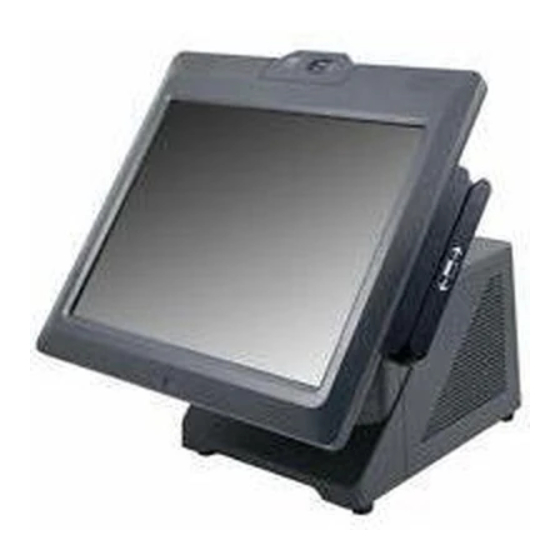
Revision Record Issue Date Remarks Sept 2012 First Issue... - Page 3 Introduction This kit provides a DIP MSR and N5680 Imaging Scanner assembly for the NCR SelfServ 60 (7409). The assembly installs on the front of the 7409‐K035 Fixed Angle Mount. Components Screw, 6-32 x 0.312, PH, Ph 006-8616637 N5680 Imager Screw, 4-40 x 0.5”, PHil 497-0476023 006-8611154 DIP MSR Insulator Fixed Angle Imager Bracket 497-0465553 497-0476543 Sankyo NX DIP Reader 497-0472897 DIP MSR Mounting Bracket 497-0475552...
-
Page 4: Installation Procedures
Installation Procedures 1. Remove the screws (2) in the sides of the Fixed Angle Mount. Screw (One each side) 31462 2. Rest the bottom of the display on the Display Support. 31469 Display Support Note: Place the Display Support behind the extension on then Display Hinge Bracket. - Page 5 3. Remove the terminal Cable Cover (1 captive screw). Cable Cover 31468 4. Remove the Blank Faceplate from the Fixed Angle Mount (2 screws). Blank Faceplate 31464...
- Page 6 5. Connect the cables to the imager and MSR devices. Imager USB MSR RS-232 Power MSR USB Data 31471 6. Install the Fixed Angle Mount Faceplate on the front of the Fixed Angle Mount (2 screws). 31479...
- Page 7 7. Connect the USB cable to the terminal I/O Panel. Terminal Power RS-232 Ports USB Ports 27661a 8. Lower the Display back to the operating position on the Fixed Angle Mount and secure it with screws (2). Screw (One each side) 31462...


Need help?
Do you have a question about the 7409-K361 and is the answer not in the manual?
Questions and answers