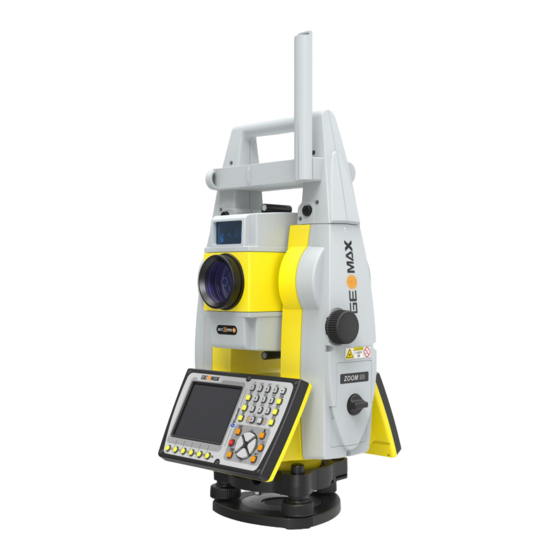
GeoMax Zoom90 Series Installation Manual
Hide thumbs
Also See for Zoom90 Series:
- Quick manual (116 pages) ,
- User manual (60 pages) ,
- Installation manual (12 pages)
Summary of Contents for GeoMax Zoom90 Series
- Page 1 GeoMax TPS Zoom90 Series Installation Guide Version 1.3 English - 1 - Zoom90 Series Installation Guide © 2015 GeoMax AG, Widnau, Switzerland www.rusgeocom.ru...
-
Page 2: Table Of Contents
REPARATION OF THE ANDHELD 4.1 S ETTING UP THE ANDHELD Connecting to the PC Installation of FieldGenius/ Layout Pro Registration of FieldGenius/ Layout Pro Connection to the instrument - 2 - Zoom90 Series Installation Guide © 2015 GeoMax AG, Widnau, Switzerland www.rusgeocom.ru... -
Page 3: Introduction
This guide provides complete step-by-step instructions for preparing the Zoom90 TPS series for measuring work. The instructions cover all the required installation tasks for the Zoom90 instrument, Getac handheld and Field Genius/Layout Pro software. The latest versions of GeoMax documents and software referred to in this document are available from... -
Page 4: Battery Charging
GETAC glows amber. Do not disconnect from power until the indicator glows green, indicating that the battery is fully charged. - 4 - Zoom90 Series Installation Guide © 2015 GeoMax AG, Widnau, Switzerland www.rusgeocom.ru... -
Page 5: Preparation Of The Instrument
When receiving a new instrument, it should be checked that the latest firmware version is installed. The installed version can be seen in the “GeoMax Toolkit” application installed. To accessed start “GeoMax Toolkit” and select “SysInfo” (2). Select the second tab-page to see the version information. -
Page 6: Loading Licence Keys
Insert the SD card into the instrument and power on. To load the files onto the instrument, start GeoMax Toolkit and navigate to MAIN MENU / APPS / UPDATE. If the firmware needs upgrading, then install this first by selecting F1. Firmware. Then install the language file by selecting F2. -
Page 7: Configuration Of Long Range Bluetooth Handle
“Bluetooth Handle (ZRT82)” should be enabled. Now highlight this option and press the (F6) OK button. Your Zoom90 instrument is now ready to be used. - 7 - Zoom90 Series Installation Guide © 2015 GeoMax AG, Widnau, Switzerland www.rusgeocom.ru... - Page 8 To install the drivers, do the following: 1) With your Internet browser, navigate to the GeoMax download page. 2) Download the Zoom90 USB drivers. 3) Make sure the Zoom90 is not connected to the PC 4) Run the SetupZoom90_USB_xx.EXE...
-
Page 9: Installing 3 Rd Party Software Onboard The Instrument
Microsoft ActiveSync is required. These softwares can be downloaded from Microsoft’s website. After the software installation, connect the handheld to your PC with the USB cable supplied with the Getac as shown below. - 9 - Zoom90 Series Installation Guide © 2015 GeoMax AG, Widnau, Switzerland www.rusgeocom.ru... -
Page 10: Installation Of Fieldgenius/ Layout Pro
IELD ENIUS AYOUT Download the latest version of GeoMax Field Genius/Layout Pro from from GeoMax Website at http://www.geomax-positioning.com/Downloads.htm?cid=15613 Here the latest installation version and Release Notes of FieldGenius/Layout Pro is available. Download the Devices Installation and save onto your PC. -
Page 11: Registration Of Fieldgenius/ Layout Pro
Device ID together with the GUID (global unique identity) is used to obtain the key. The GUID can be found on the printed Field Genius/Layout Pro card that was supplied together with your Zoom90 equipment. - 11 - Zoom90 Series Installation Guide © 2015 GeoMax AG, Widnau, Switzerland www.rusgeocom.ru... - Page 12 Note: Please make certain that the Device ID is entered correctly the first time, since an activation key cannot be generated again with a different ID. - 12 - Zoom90 Series Installation Guide © 2015 GeoMax AG, Widnau, Switzerland www.rusgeocom.ru...
-
Page 13: Connection To The Instrument
The screens that follow are used to set the default settings for this project. - 13 - Zoom90 Series Installation Guide © 2015 GeoMax AG, Widnau, Switzerland www.rusgeocom.ru... - Page 14 Save the name and then tap Edit to configure the profile. At Model & Communication select the Make as GeoMax, Model as Zoom90 and Port as Radio. In Radio Settings, make sure to set the Connection Method to Long Range Bluetooth.


Need help?
Do you have a question about the Zoom90 Series and is the answer not in the manual?
Questions and answers