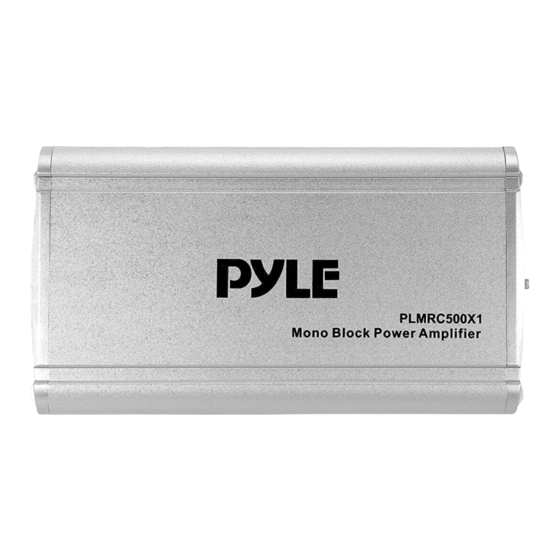
Summary of Contents for Pyle PLMRC500X1
- Page 1 PLMRC500X1 Mono-Block Weather Resistant Audio Amplifier System Class D Compact Designed Suit for Car, ATV, UTV, 4X4, Jeep, Motorcycle and Marine, and any other Weather Resistant Application...
-
Page 2: Installation Instructions
INTRODUCTION This power ampli er has been designed to provide high quality performance with a minimum of maintenance. However, it's performance will only be as good as the care and quality of components with which is installed. We therefore advise that you read these instructions very carefully to familiarize yourself with the product and it's features. -
Page 3: Fuse Replacement
PRECAUTIONS • This unit is designed for negative ground 12-14.50 VoIts (DC) operation only • Use speakers with an impedance of 1 to 4 Ohms (2 to 8 Ohm when used as bridged two ampli er) • Avoid installing the unit where: •... -
Page 4: Wiring Instructions
WIRING INSTRUCTIONS POWER CONNECTION The battery terminal (BATT) must be connected directly to the positive terminal of the vehicle battery to provide an adequate voltage source and minimize noise. Connecting the battery terminal lead to any other point (such as the fuse block) will reduce the power output and may cause noise and distortion. -
Page 5: Input Wiring Diagram
INPUT WIRING DIAGRAM SPEAKER CONNECTIONS www.PyleUSA.com... -
Page 6: Power Connection Leads
POWER CONNECTION LEADS NOTES ON THE POWER SUPPLY • Connect the + 12V power input lead only after all other leads have been connected. • Be sure to connect the ground wire of the unit securely to a metal part of the car. •... -
Page 7: Operation
OPERATION After the ampli er has been installed and all connections have been made carefully and securely, turn the radio ON so that the ampli er is switched on automatically. After a short power-on period, the ampli er reaches its full performance. -
Page 8: Bass Boost Controls
BASS BOOST CONTROLS This ampli er has Bass controls for making good sound combination. FUSE The ampli er is equipped with a plug-in auto fuse protecting the set against fault conditions. Do not use a fuse with a higher value and never bridge the fuse over, as this may lead to irreparability damage so that any claim for warranty is denied. -
Page 9: Troubleshooting
TROUBLESHOOTING No Function The connection cable is not connected correctly (=terminaI + I2V/GND/REM). Ensure that all connections and mechanic contact and that the jacket has been removed. The fuse is defective-pay attention to the correct value of a new fuse! No Sound Speaker cable or speaker plug are not connected correctly. - Page 10 INTERFERENCE All cables can source and create interference. The power cable and Cinch/RCA audio cable are very prone to interference; the remote cables are less prone. There is often interference caused by the generator (piping), ignition (cracking) or other car electronic parts. Most of these problems can be eliminated by correct and careful cabling.
- Page 11 Features: • Mono Block Audio Amp System • Weather Resistant Class D Compact Ampli er • IPX4 E ect • Integrated Power Wiring Harness • Perfect for Custom Installations & Applications • Ability to Connect & Stream Audio from External Devices •...
- Page 12 Questions? Issues? We are here to help! Phone: (1) 718-535-1800 Email: support@pyleusa.com...


Need help?
Do you have a question about the PLMRC500X1 and is the answer not in the manual?
Questions and answers