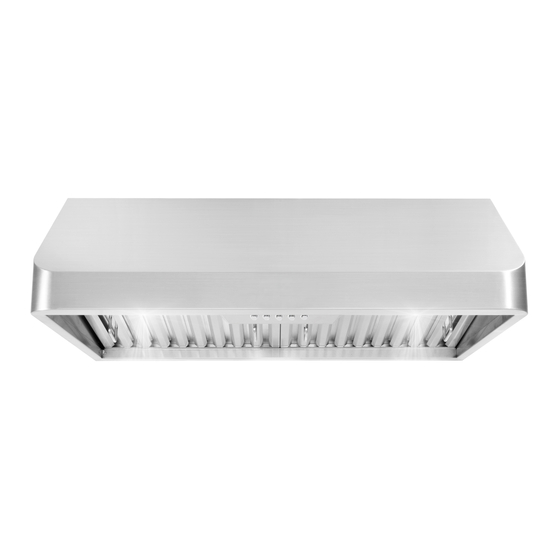
Cosmo QB Series Installation Manual & User Manual

Cosmo QB Series Installation Manual & User Manual

Under cabinet range hood

Advertisement

Quick Links

Under Cabinet
Range Hood
QB & QS Series
Range Hood
Installation Guide & User
Manual
IMPORTANT: Read and save these instructions.
NOTICE:
Installer: Leave this guide with the homeowner
Homeowner: Keep this guide for future reference

Advertisement

Table of Contents
loading
Need help?

Need help?

Do you have a question about the QB Series and is the answer not in the manual?

Questions and answers

Subscribe to Our Youtube Channel

Summary of Contents for Cosmo QB Series

  • Page 1 Under Cabinet Range Hood Range Hood QB & QS Series Installation Guide & User Manual IMPORTANT: Read and save these instructions. NOTICE: Installer: Leave this guide with the homeowner Homeowner: Keep this guide for future reference...
  • Page 2: Table Of Contents

    SAFETY INSTRUCTIONS STAINLESS STEEL PERMANENT FILTERS COSMO appliances are designed according to the strictest safety and performance standard for the North American market. We follow the most advanced DIMENSIONS DIAGRAMS manufacturing philosophy.
  • Page 3: Stainless Steel Permanent Filters

    IMPORTANT SAFETY INSTRUCTIONS STAINLESS STEEL PERMANENT FILTERS Read all instructions before using this appliance. Save these instructions for future references. Approved for residential appliances. For residential use only. Due to the weight and size of these vent hoods and to reduce the risk of personal injury or damage to the product T W O P E O P L E A R E R E Q U I R E D F O R P R O P E R I N S T A L L A T I O N CAUTION WARNING...
  • Page 4 2.2" 8.6" 12" 22" 4.92" 10"...
  • Page 5 12" 10" 2.2" 22" 47.2" 42.1"...
  • Page 6: Parts Included

    PARTS INCLUDED PRE-INSTALLATION REQUIREMENTS • Please read the instructions carefully. Unpack the Range Hood and check that all functions are working before installing. • Ensure that the voltage (V) and the frequency (Hz) indicated on the sticker match the voltage and frequency at the installation site. •...
  • Page 7 INSTALLATION INSTRUCTIONS INSTALLATION INSTRUCTIONS CAUTION: HOOD MAY HAVE VERY SHARP EDGES; PLEASE WEAR PROTECTIVE GLOVES WHENEVER IT IS NECESSARY TO REMOVE ANY PARTS FOR INSTALLING, CLEANING OR SERVICING. Step 1: Connect the Duct into the Damper Secure Duct around Damper with Duct Clamp (included)
  • Page 8: Installation Instructions

    INSTALLATION INSTRUCTIONS INSTALLATION INSTRUCTIONS Top /Rear Mounted Installation * Due to the weight of the unit, we recommend mounting the Range Hood to the bottom of the cabinet above first and then secure it to wall to avoid a gap. Before starting, locate the included template to line up at your install location.
  • Page 9: Charcoal Filters Installations

    CHARCOAL FILTERS INSTALLATION INSTALLATION INSTRUCTIONS INSTALLATION INSTRUCTIONS Skip this page if you are installing a Ducted Range Hood. Charcoal Filters are only included with Ductless Models Before installing make sure the unit is powered off and unplugged. Carbon Filter AFTER CARBON FILTER INSTALLATION Note: This is a top venting unit and a hole must be cut into the cabinet for proper installation.
  • Page 10: Operation Instructions

    OPERATING INSTRUCTIONS OPERATING INSTRUCTIONS (FOR COS-QB MODELS) (FOR COS-QS MODELS) Soft Touch Controls Push Button Controls Timer Button - Only works when the range hood fan is running; Power. Press to turn the fan on / off. touch once. The timer has a default setting of 1 minute. Use (+) plus or (-) minus to increase or decrease time duration up to 15 Low.
  • Page 11: Filters & Circuit Diagram

    RANGE HOOD ASSEMBLY FILTERS & CIRCUIT DIAGRAM...
  • Page 12: Blower Assembly

    ELECTRICAL ASSEMBLY BLOWER ASSEMBLY...
  • Page 13: Maintenance

    TROUBLESHOOTING MAINTENANCE CAUTION: ALWAYS UNPLUG UNIT FROM POWER BEFORE SERVICING CAUTION: NEVER PUT YOUR HAND INSIDE OF THE UNIT WHILE ITS OPERATING. PROBLEM SOLUTION TOOLS FOR THE BEST PERFORMANCE CLEAN YOUR RANGE HOOD REGULARLY. My range hood is A. Check inside the range Phillips Screwdriver noisy CLEANING...
  • Page 14 Ne pas Réexpédier ce Produit au Magasin Pour tout problème concernant ce produit, veuillez contacter For full warranty details on this product please visit: le service des consommateurs Cosmo Customer Support au http://www.cosmoappliances.com/warranty +1(888) 784-3108 TO RECEIVE WARRANTY SERVICE, YOUR UNE PREUVE D’...
  • Page 15 Cosmo is constantly making efforts to improve the quality and performance of our products, so we may make changes to our appliances without updating this manual. Electronic version of this manual is available at: www.cosmoappliances.com...

This manual is also suitable for:

Qs seriesQs75Qb75Qs90Qb90Qs48 ... Show all

Table of Contents