Table of Contents
Advertisement
Quick Links
Advertisement
Table of Contents

Related Manuals for ALGE-Timing Timy SPEED


Summary of Contents for ALGE-Timing Timy SPEED
- Page 1 Version-E22-02-15 Speed...
- Page 2 Important Information General Before using your ALGE-TIMING device read the complete manual carefully. It is part of the device and contains important information about installation, safety and its intended use. This manual cannot cov- er all conceivable applications. For further information or in case of problems that are mentioned not at all or not sufficiently detailed, please contact your ALGE-TIMING representative.
-
Page 3: Table Of Contents
Timy SPEED Table of Content Keypad and general operation ....................4 Description of display indication ..................... 4 Startnumber and STN-automatic ....................4 Adjustments in subprogram SPEED ................... 4 2.2.1 Distance ........................... 4 2.2.2 Directions ..........................5 2.2.3 Unit ............................5 2.2.4... -
Page 4: Keypad And General Operation
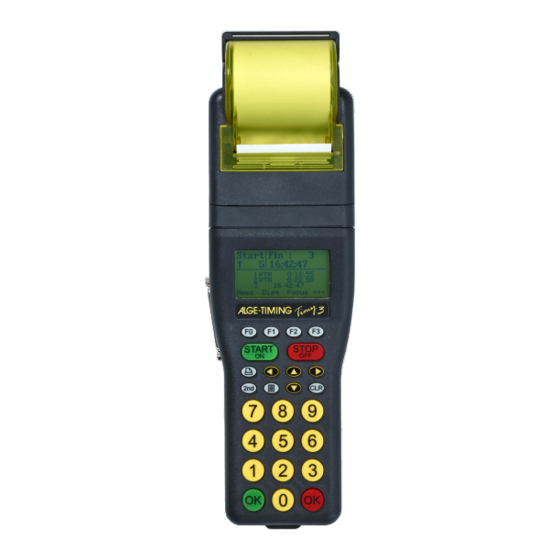
Timy SPEED Keypad and general operation Please see Timy manual „GENERAL“. Description of display indication Description of settings: Startnumber and startnumber-automatic Measured speed Adjusted distance Speed unity Measuring-direction If the start-photocell is triggered out, the display will show instead of “0.00” a dotted line. -
Page 5: Directions
Timy SPEED 2.2.2 Directions You can chose between three settings: Hint: For Speed 2 (C2-C3) and Speed 3 (C4-C5) both directions are accepted. C0 < -- > C1 Measuring from both directions possible C0 -- > C1 Measuring only of direction Start RLS (green cable or C0) ... -
Page 6: Connection Of The Photocells
Timy SPEED Connection of the photocells There are several possibilities to connect the photocells to a Timy. Since the Timy has just one photocell-plug, you have to use an adapter if the photocells should be supplied by the Timy. adapter 018-- 3 plugs for RLS ... -
Page 7: Ballspeed
Timy SPEED Ballspeed Construction of the system The Ballspeed-System consists of several single components, which must be screwed to- gether first. 2 U-tracks with gum-feets and star handle screw for mounting of the photocells 1 reflector for RLS1 ... -
Page 8: Gaz / D-Line Adjustment
Timy SPEED GAZ / D-LINE adjustment This is only for GAZ with 3 digit and D-LINE starting from the software version V3.6 Page 8... -
Page 9: Connection Diagram Timy Speedy
Timy SPEED Connection Diagram Timy Speedy Page 9...
Need help?
Do you have a question about the Timy SPEED and is the answer not in the manual?
Questions and answers