Table of Contents
Advertisement
Quick Links
Advertisement
Table of Contents

Related Manuals for Sim2 xTV Series


Summary of Contents for Sim2 xTV Series
- Page 1 SIM2 XTV 4K INV SIM2 XTV 4K QEC User Guide (EN/1.1)
- Page 3 Remote Control Batteries 3 Installation Connections Powering On/Off the projector 4 User Control OSD Menu Operation Image Light Source Audio Network General 5 Appendices Regulation & Safety Notices Trademarks Maintenance Specifications SIM2 XTV 4K INV SIM2 XTV 4K QEC User Guide...
- Page 4 Except where otherwise indicated, the information in this guide applies to all the projectors listed above, that will be referred to as “SIM2 XTV 4K INV” and ”SIM2 XTV 4K QEC”. Information contained in this User Guide follows the software version V1.00.1A.20201112 and may be updated from time to time due to product improvements and customer feedback.
- Page 5 Class 2. SIM2 XTV 4K INV SIM2 XTV 4K QEC User Guide...
-
Page 6: Usage Notice
- Near any appliance generating a strong magnetic field. - In direct sunlight. • Considering the weight of the product, do not install the product yourself (especially in ceiling installations), but always two people. SIM2 XTV 4K INV SIM2 XTV 4K QEC User Guide... -
Page 7: Packaging Overview
Note: Due to different applications in each country, some regions may have different accessories. Projector with installation Power cord CVBS adaptor accessories User Manual Installation Manual Remote Control & HDMI cable Documentation batteries SIM2 XTV 4K INV SIM2 XTV 4K QEC User Guide... -
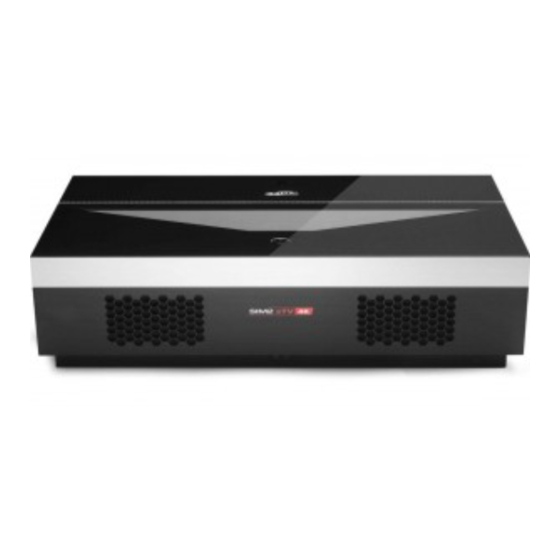
Page 8: Product Overview
Factory Service (mini stereo jack) HDMI inputs (HDMI 1 – HDMI 2 – HDMI 3) LAN connector, Mini jack for CVBS (and its audio) signals (using the adapter) and micro USB - B type) SIM2 XTV 4K INV SIM2 XTV 4K QEC User Guide... -
Page 9: Remote Control
Remote Control Screen shot Media Source selection Return Home main menu Audio Mute Power on/off Display mode Settings D-pad Info Menu Audio settings Volume + and - SIM2 XTV 4K INV SIM2 XTV 4K QEC User Guide... - Page 10 Pairing the remote control 1. After you power SIM2 4K XTV on, keeping the remote control within 3 mt (10 feet) from the TV, press and hold the “Home main menu” (5) button at least 3 seconds to start pairing.
- Page 11 Remove the old batteries to prevent leaking into batteries compartment. If the batteries leak, clean the battery compartment with a cloth and, if you touch the liquid (can cause a rash), wash immediately the skin. SIM2 XTV 4K INV SIM2 XTV 4K QEC User Guide...
-
Page 12: Installation
Installation procedures should be performed by a qualified AV system specialist following the instructions reported in the “Installation Guide” supplied with the unit. Connections Proceed as follows to connect the SIM2 XTV 4K to video sources, control devices and AC power. When connecting your equipment: •... -
Page 13: Video And Audio Connections
A high-quality surge protector is recommended, while a UPS is optional. VIDEO AND AUDIO CONNECTIONS There are a lot of possibilities how to connect the SIM2 XTV 4K to different devices and this depends of the available outputs of your devices. -
Page 14: Usb Device
DVI-D to HDMI cable. In this case no auxiliary information is sent from the source to the projector. Connection: a. Connect the HDMI cable to source device and, with SIM2 XTV 4K turned off, to a HDMI input un unit. b. Turn on the unit and, using the remote control, press button and select the used input HDMI. -
Page 15: Network Connection
(LAN). How to set the unit, see the options on page 26. CABLE (ETHERNET) SIM2 XTV 4K is provided of a LAN port (8). Using a CAT5 cable (Ethernet cable) it’s possible to connect this port directly or through an IP Sharer (router) to an external modem (ADSL/VDSL or Cable TV). - Page 16 Protocol) that supply IP address, subnet mask, gateway and DNS automatically. WIRELESS SIM2 XTV 4K supports the IEEE 802.11AC, IEEE 802.11B, IEEE 802.11G, IEEE 802.11N. If you play video over IEEE 802.11B/G connection, the video may not be played smoothly. Using The unit embeds the Wireless LAN feature to connect it to a wireless network and doesn't support an external USB network adapter.
-
Page 17: Powering On/Off The Projector
Unplug the power cord from the projector, wait for 30 seconds and try again. If the warning indicator is still lit, please contact the nearby service center for help. NOTE: Please contact the nearest service center if the projector appears such failure phenomenon. SIM2 XTV 4K INV SIM2 XTV 4K QEC User Guide... -
Page 18: User Control
There are some pre-installed Apps; if you need to install a new app, insert the relative “apk” file on a USB key, connect the USB key in one of USB input and download the file SIM2 XTV 4K INV SIM2 XTV 4K QEC... - Page 19 NOTE: use only reliable "apk" files; if not, they can damage the unit (then the warranty is no longer valid). USB device: enter in Media Center menu. Settings: enter in configuration menu of SIM2 XTV 4K 3. During the vision, it’s possible enter the configuration menu, pressing Menu button on remote control.
- Page 20 Adjust a video image from black and white to fully saturated color. This control (also called Saturation) increases or decreases the picture color intensity. When set to zero, color images are shown in black and white. Increase the value until the colors appear SIM2 XTV 4K INV SIM2 XTV 4K QEC User Guide...
- Page 21 Adjust the Red, Green, Blue, Cyan, Magenta, Yellow and Skin colors as tone, saturation and brightness values. Press buttons to select the desired voice Press buttons to decrease and increase the values SIM2 XTV 4K INV SIM2 XTV 4K QEC User Guide...
- Page 22 • High dynamic and Low dynamic: it increases or decrease dynamically the laser output power based on the projected image. • User: the user can select the laser output power (next option) SIM2 XTV 4K INV SIM2 XTV 4K QEC User Guide...
- Page 23 ARC. The possibilities are: OFF, RAW or PCM. DTS: it enables the DTS audio (Digital Theatre System - 5.1 audio channels) for AV devices that support this standard. Select RAW in Power output option. SIM2 XTV 4K INV SIM2 XTV 4K QEC User Guide...
- Page 24 Network This menu section provides access to network settings. Wi-Fi: turn on the Wi-Fi option to connect the SIM2 XTV 4K to Internet via wireless network. Set Wi-Fi switch in ON and appears the available network; select one of these, press OK to confirm and enter, if necessary, the Wi-Fi network password (recall the virtual keyboard pressing OK button).
-
Page 25: Regulation & Safety Notices
• In case of using the unit in a dusty location or for a long time, the internal air filters can be obstructed and the projector cannot works properly; in this case contact a local Service Center for the appropriate maintenance. SIM2 XTV 4K INV SIM2 XTV 4K QEC User Guide... -
Page 26: Specifications
AVI, MP4, MKV, TS, FLV OGM Video: .AVI,.WMV,.MP4,.MOV,.3GP,.MKV,.MPG,.MPEG,.VOB,.FLV, WebM,.VRO,.OGM Audio: .wma,.wmv,.mp4,.FLAC,.MP2,.MP3 music (mp3 aac wma wav) Pictures: .jpeg,.bmp,.PNG,.GIF,.webp,.mpo Minimum cooling: 1250 BTU/h Power supply: 120V .. 240V – 360W Standby consumption: ≤0.5W SIM2 XTV 4K INV SIM2 XTV 4K QEC User Guide... - Page 28 SIM2 BV International S.r.l. Registered Office Via Gorizia, 10 33170 Pordenone – ITALY Offices and Service Via Udine, 59 33061 Rivignano Teor (UD) - ITALY Phone: + 39 0434 383292 Fax: +39 0434 383260 Email: info@sim2.it www.sim2.com SIM2 USA Inc.
Need help?
Do you have a question about the xTV Series and is the answer not in the manual?
Questions and answers