DMP Electronics 7800 Series Quick Start Manual
Graphic touchscreen keypad
Hide thumbs
Also See for 7800 Series:
- Installation and programming manual (52 pages) ,
- Installation and programming manual (60 pages) ,
- Installation and programming manual (26 pages)
Advertisement
7800 Series Graphic Touchscreen Keypad
Quick Start Guide
This quick start guide walks you through installing the keypad.
Full Installation and Programming Guide
To view the full
visit DMP.com.
Step 1: Remove the Cover
Insert a slotted-tip screwdriver into one of the slots on the bottom of the keypad and lift the screwdriver upward. Repeat with the other
slot. Separate the cover from the base and set the cover containing the keypad components aside.
Step 2: Wire the Keypad
1.
Connect the harness to the keypad header.
2.
Connect the red wire to panel terminal 7.
3.
Connect the yellow wire to panel terminal 8.
4.
Connect the green wire to panel terminal 9.
5.
Connect the black wire to panel terminal 10.
6.
For 7873/7873H keypads, use a 5-wire
harness for external card reader connection.
Use 1k Ohm EOL resistors DMP Model 311 on keypad
zones 1-4.
Step 3: Wire for Access Control (Optional)
For wiring for access control, see the QR code at the beginning of the document.
7800 Series Graphic Touchscreen Keypad Installation and Programming
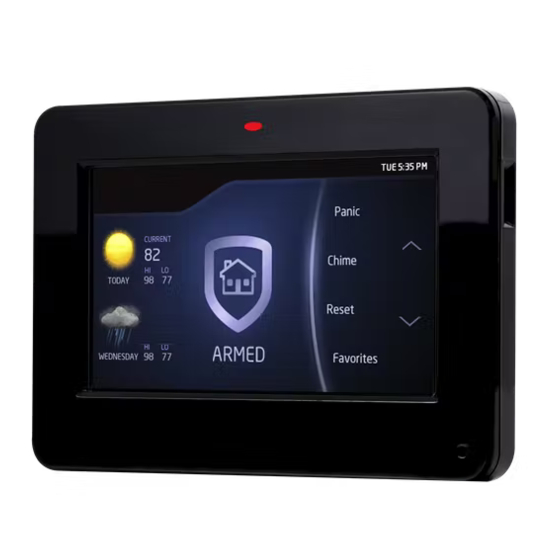
Armed/Power LEDs &
Dealer Logo
Interactive
Arming/
Disarming
Shield
Local
Weather
Proximity Reader
Carousel Menu
1k
White/Brown - Zone 1
1k
White/Red - Zone 2
1k
White/Orange - Zone 3
1k
White/Yellow - Zone 4
Black - Ground
Green - Receive Data
To Panel
Keypad Bus
Yellow - Send Data
Red - Power
Guide, scan this QR code or
microSD
Card Slot
Press the
Navigation
Arrows or touch
and drag the
menu to scroll
Keypad
Back
Violet - Door Strike, Normally Closed
Gray - Door Strike, Common
Orange - Door Strike, Normally Open
White - Reader Data 1
White/Green - Reader Data 0
Black - Ground
Red - Power
To Door Strike
Reader
Advertisement
Table of Contents

Related Manuals for DMP Electronics 7800 Series


Summary of Contents for DMP Electronics 7800 Series
- Page 1 Quick Start Guide This quick start guide walks you through installing the keypad. Full Installation and Programming Guide To view the full 7800 Series Graphic Touchscreen Keypad Installation and Programming Guide, scan this QR code or visit DMP.com. Armed/Power LEDs &...
- Page 2 Step 4: Wire the Electronic Lock The Form C relay on 7873/7873H keypads draws up to 15 mA of current and the contacts are rated for 1 Amp at 30 VDC maximum, resistive. The wires marked NO C NC allow you to connect the device wiring to the relay for module control. Use an additional power supply to power magnetic locks and door strikes.
Need help?
Do you have a question about the 7800 Series and is the answer not in the manual?
Questions and answers