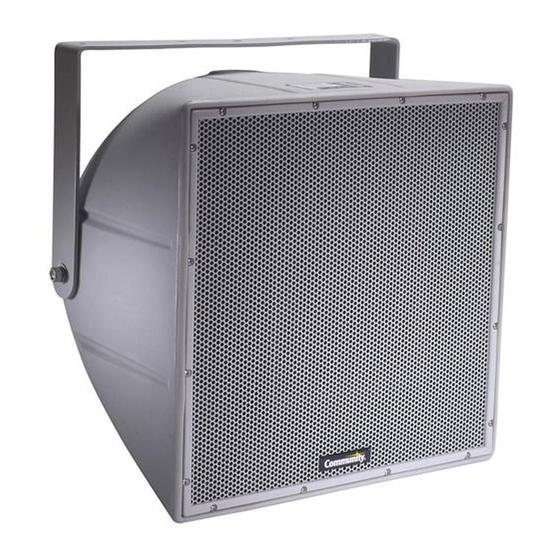
Community R Series Installation And Operation Manual

Community R Series Installation And Operation Manual

Advertisement

Quick Links

R SERIES
Installation and
Operation Manual
MODELS
R2-52Z, R2-77Z, R2-94Z
R2-474Z, R2-694Z
R2

Advertisement

Table of Contents
loading
Need help?

Need help?

Do you have a question about the R Series and is the answer not in the manual?

Questions and answers

Subscribe to Our Youtube Channel

Summary of Contents for Community R Series

  • Page 1 R SERIES Installation and Operation Manual MODELS R2-52Z, R2-77Z, R2-94Z R2-474Z, R2-694Z...
  • Page 2: Introduction

    R SERIES systems. We recommend that you read this manual in its entirety, to ensure that your R SERIES installation meets the highest possible standards.
  • Page 3: Table Of Contents

    Unpacking and Inspection ..............Page 4 Features and Information R2 Features .................... Page 5 Description of the R SERIES ............Pages 6-7 R SERIES Accessories and Options ..........Page 7 Coverage Patterns ................Page 8 Aiming Axis .................... Page 9 Installation Electrical Installation and Safety ..........
  • Page 4: Important Safety Information

    Severe injury and/or loss of life may occur if these file the damage claim. products are improperly installed. It’s always a good idea to retain the DANGER: R SERIES rigging fittings are rated at a Working Load Limit carton packing materials (WLL) of 100 lbs (45.4kg) with a 10:1 safety margin.
  • Page 5 R2-52Z, R2-77Z, R2-94Z—Acoustic axis is in line with cabinet’s geometric axis R2-474Z, R2-694Z—Acoustic axis is tilted down 5° from cabinet’s geometric axis Top of enclosure is up for specified horizontal and vertical coverage R SERIES R2 Installation/Operation Manual Page 5...
  • Page 6: R2 Features

    In many cases, a small number of R SERIES loudspeakers can provide top quality sound for a surprisingly large physical area, making them one of the most acoustically and economically effective solutions available anywhere.
  • Page 7: R Series Accessories And Options

    Custom Colors For volume purchases, all R SERIES and WET II products may be ordered in custom color enclosures at a nominal fee to elegantly match their physical installation environment. Please contact Community for a quote on cost and lead time.
  • Page 8: Coverage Patterns

    This is graphically illustrated in FIGURE 2. FIGURE 2: Asymmetrical coverage of the R2-474 and R2-694 NOTE: To maintain weather-resistance, the R2 cabinet should be aimed at least 5° below 0° geometric axis. Page 8 Installation/Operation Manual R SERIES R2...
  • Page 9: Aiming Axis

    In contrast to the R2-474 and R2-694, the other R2 models that have symmetrical coverage patterns where the geometric axis and acoustical axis are the same, the geometric axis is normally used to aim the loudspeaker. R SERIES R2 Installation/Operation Manual Page 9...
  • Page 10: Electrical Installation And Safety

    These are recommended insulations: polyethylene, neoprene, Teflon™, Silicon™, and Hypalon™. These insulations are not recommended because of potentially shorter life expectancy in outdoor environments: rubber, PVC (polyvinylchloride), polypropylene, polyurethane, and nylon. Page 10 Installation/Operation Manual R SERIES...
  • Page 11: Signal Processing

    filter and to make it relatively tamperproof. IMPORTANT: Operating an R SERIES loudspeaker without the recommended high pass filter will reduce its low frequency power handling and may result in physical damage to the low frequency devices.
  • Page 12: General Mounting Instructions

    (See FIGURE 3). It is recommended that any custom bracket be designed to utilize two mounting points on the opposite sides or top and bottom of the enclosure. Page 12 Installation/Operation Manual R SERIES...
  • Page 13: Mounting Yoke Assembly

    For outdoor installations wind loading must also be taken into account. It is recommended that a qualified and licensed structural engineer approve the mounting design. FIGURE 4A: R2 Yoke assembly– exploded view R SERIES R2 Installation/Operation Manual Page 13...
  • Page 14 20 x 1” (25 mm) stainless steel bolt in this hole with the bolt head between the Contour Strap and the enclosure. Secure the bolt to the Contour Strap with one of the supplied 1/4” lock washers and 1/4-20 hex nuts. Page 14 Installation/Operation Manual R SERIES...
  • Page 15 NOTE: Short flat end of the Countour Strap goes to the CONTOUR STRAP rear R2 mounting point and the long flat end goes to one of the side mounting points FIGURE 4B: R2 with attached yoke R SERIES R2 Installation/Operation Manual Page 15...
  • Page 16: Mechanical Installation And Safety

    For most applications, the installing contractor or professional engineer might deem necessary (or advisable) that R SERIES cabinets be installed with a secondary means of attachment such as a safety cable. In fact, some local building codes and other regulations may require safety cables, chains or other secondary supports due to seismic concerns, excessive wind loads, etc.
  • Page 17: Maintaining Weather-Resistance

    There are several things that must be observed when installing an R2 in order to maintain its weather-resistant integrity for outdoor use. We recommend angling the R SERIES loudspeaker at least 5° downward so as to reduce the possibility of rain and other precipitation compromising the performance of the loudspeaker.
  • Page 18: Operating Precautions

    Operating Precautions LIMITING Community recommends use of a limiter to help prevent loudspeaker damage due to sudden transients (dropped microphones, etc.) or amplifier clipping. When used for this purpose, connect the limiter as the last item in the signal chain before the power amplifier (at the input to the power amplifier). Although R2s have built-in DYNA- TECH protection circuitry to help prevent damage to the drivers from excessive power, electronic limiting is strongly recommended.
  • Page 19: System Optimization

    CHOOSING THE RIGHT LOUDSPEAKERS AND ELECTRONICS Choose R SERIES models with high enough maximum SPL to provide the needed SPL at the farthest listener with an appropriate headroom. Typical headroom factors are at least 6 dB for voice paging, at least 10 dB for voice reinforcement and at least 20 dB for music reinforcement.
  • Page 20: Technical Drawings

    SIDE VIEW FRONT VIEW TOP VIEW R2 Yoke Mounting Bracket (included) 3.622” (92) 0.236” 7.992” (203) 7.992” (203) 0.472” (12) TYP 10.325” (262.3) 16.693” ±.079” (424 ±2) Ø .532” 20.65” (524.5) (Ø 13.5) 1.260” (32) Page 20 Installation/Operation Manual R SERIES...
  • Page 21: Technical Information

    FIGURE 6: R2 Wiring (Models R2-474Z, R2-694Z, R2-77Z and R2-94Z) (Note: The polarity reversal shown for the MF/HF is intentional.) Model R2-52Z FIGURE 7: R2-52Z Wiring (Note: The polarity reversal shown for the HF is intentional.) R SERIES R2 Installation/Operation Manual Page 21...
  • Page 22: In Case Of Difficulty

    Noises from the loudspeaker Driver is malfunctioning Using a sine wave oscillator or wide range program at moderate levels, listen to each (buzzes or rattles) driver to isolate the problem. Repair or replace as needed. Page 22 Installation/Operation Manual R SERIES...
  • Page 23: Service, And Warranty Information

    Any driver or crossover service required is done from the front of the enclosure by removing the screws around the edge of the grille. For warranty repair, contact Community directly or ask us for the location of your nearest Authorized Service Center.
  • Page 24 Community Professional Loudspeakers 333 East Fifth Street, Chester, PA 19013-4511 USA Phone (610) 876-3400 • Fax (610) 874-0190 www.communitypro.com © 2016 All Rights Reserved #104447 6OCT2016...

This manual is also suitable for:

R2-52zR2-77zR2-94zR2-474zR2-694z

Table of Contents