Sign In
Upload
Download
Table of Contents
Contents
Add to my manuals
Delete from my manuals
Share
URL of this page:
HTML Link:
Bookmark this page
Add
Manual will be automatically added to "My Manuals"
Print this page
×
Bookmark added
×
Added to my manuals
Manuals
Brands
V-ZUG Manuals
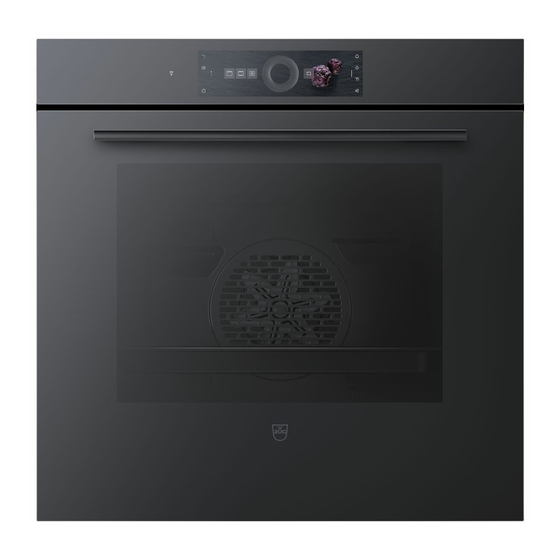
Oven
Combair V2000 60
Operating instructions manual
V-ZUG Combair V2000 60 Operating Instructions Manual
Hide thumbs
1
2
Table Of Contents
3
4
5
6
7
8
9
10
11
12
13
14
15
16
17
18
19
20
21
22
23
24
25
26
27
28
29
30
31
32
33
34
35
36
37
38
39
40
41
42
43
44
45
46
47
48
49
50
51
52
53
54
55
56
page
of
56
Go
/
56
Contents
Table of Contents
Bookmarks
Table of Contents
Table of Contents
Safety Precautions
Symbols Used
General Safety Precautions
Appliance-Specific Safety Precautions
Instructions for Use
Using for the First Time
Appliance Description
Construction
Operating and Display Elements
Cooking Space
Accessories
Operation
Operating the Display
Selecting and Starting an Application
Changing an Application
Operating Time
Delayed Start / End
Options
Checking and Changing the Settings
Preheating
Setting to Start Later
Application Tips
Favourites
Pinning
Timer
Illumination
Display Lock
Quiet Mode
Time
Cancelling / Ending before Time
End of Operation
Subsequent Steps
Switching the Appliance off
Appliance Tips
Applications
Top/Bottom Heat
Top/Bottom Heat Humid
Top/Bottom Heat Eco
Bottom Heat
Pizzaplus
Grill
Grill-Forced Convection
Hot Air
Hot Air Humid
Hot Air Eco
Sabbath Applications
Keep Warm
Warming Plates in the Cooking Space
Recipe Book
ZUG-Home
Conditions
Initial Set-Up
User Settings
Adjusting User Settings
Language
Childproof Lock
Display
Signals and Tones
Individual Settings
Assistance Functions
Date and Time
V-ZUG Home
Appliance Information
Factory Settings
Ecomanagement
Customer Services
Care and Maintenance
Cleaning the Exterior
Cleaning the Cooking Space
Cleaning the Baking Tray
Cleaning the Appliance Door
Cleaning the Door Seal
Advertisement
Quick Links
1
Using for the First Time
Download this manual
V-ZUG-Home
Install the app, network your appliances and
benefit from a wide range of useful functions.
Operating instructions
Combair V2000
Oven
Table of
Contents
Previous
Page
Next
Page
1
2
3
4
5
Advertisement
Table of Contents
Need help?
Do you have a question about the Combair V2000 60 and is the answer not in the manual?
Ask a question
Questions and answers
Related Manuals for V-ZUG Combair V2000 60
Oven V-ZUG Combair V600 Operating Instructions Manual
(40 pages)
Oven V-ZUG Combair V600 Operating Instructions Manual
(44 pages)
Oven V-ZUG Combair V2000 Operating Instructions Manual
(56 pages)
Oven V-ZUG Combair V2000 Operating Instructions Manual
(60 pages)
Oven V-ZUG Combair V6000 Operating Instructions Manual
(68 pages)
Oven V-ZUG Combair V6000 Operating Instructions Manual
(72 pages)
Oven V-ZUG Combair V4000 45 Operating Instructions Manual
(68 pages)
Oven V-ZUG Combair Installation Instructions
(4 pages)
Oven V-ZUG Combair V6000 45 Operating Instructions Manual
(68 pages)
Oven V-ZUG Combair SL Operating Instructions Manual
(56 pages)
Oven V-ZUG Combair SEP Operating Instructions Manual
(76 pages)
Oven V-Zug 771 Operating Instructions Manual
Combi-steam oven combair-steam s (80 pages)
Oven V-ZUG Combair-Steam S Operating Instructions Manual
Combi-steam oven (84 pages)
Oven V-ZUG Combair S Operating Instructions Manual
(60 pages)
Oven V-ZUG Combair SL Series Operating Instructions Manual
Hob (80 pages)
Oven V-ZUG Combair SG Series Tips On Settings
(12 pages)
This manual is also suitable for:
C2t-21043
Table of Contents
Print
Rename the bookmark
Delete bookmark?
Delete from my manuals?
Login
Sign In
OR
Sign in with Facebook
Sign in with Google
Upload manual
Upload from disk
Upload from URL


Need help?
Do you have a question about the Combair V2000 60 and is the answer not in the manual?
Questions and answers