Sign In
Upload
Download
Table of Contents
Contents
Add to my manuals
Delete from my manuals
Share
URL of this page:
HTML Link:
Bookmark this page
Add
Manual will be automatically added to "My Manuals"
Print this page
×
Bookmark added
×
Added to my manuals
Manuals
Brands
Kathrein Manuals
Satellite TV System
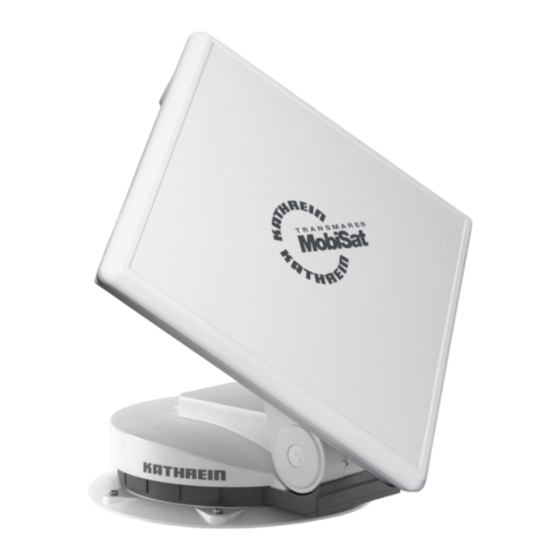
CAP 650 GPS
Operating manual
Kathrein CAP 650 GPS Operating Manual
Hide thumbs
1
Table Of Contents
2
3
4
5
6
7
8
9
10
11
12
13
14
15
16
17
18
19
20
21
22
23
24
25
26
27
28
29
30
31
32
33
34
35
36
37
38
39
40
41
42
43
44
45
46
47
48
page
of
48
Go
/
48
Contents
Table of Contents
Bookmarks
Table of Contents
Table of Contents
General
Scope of Delivery
Intended Use
Safety Instructions and General Guidelines
Installation and Connection
Installing and Connecting the Turntable
Required Tools and Equipment
Unpacking and Preparing
Selecting the Installation Location
Installing the Cable Gland and Mounting Plate
Installation of the Turntable
Installing the Turntable
Laying the Cables and Connecting the Turntable
Functional Instructions for Connection to the On-Board Power Supply
Connection Example for 12 V Battery Connection
Installation and Connection of the CAP Converter
Selection of a Suitable Installation Location
Preparing the CAP Converter for Installation
Important Instructions for Installation
Installing the CAP Converter on the Rear Panel of a TV Set
Installing the CAP Converter
Connecting the CAP Converter
Connection Example for 12 V Battery Connection
Installation and Connection of the CTS 650-XX GPS
Reception Range/Footprint
Dismantling for Servicing
Dismantling the Turntable
Address of the Service Centre
Polarisation Setting
About Polarisation Setting
Safety Instructions
Setting Operations
Manually Lowering the Antenna to Park Position
Safety Instructions
Manually Lowering the Turntable
Technical Data and Dimensions
Technical Data
Dimensions (in MM)
Safety Instructions and General Guidelines
CAP 650 GPS Operating Instructions
Installing the CAP Converter
Change of Location
Operating the Turntable Using the External Push-Button
Starting the Turntable
Moving the Turntable to the Park Position
Performing a Reset
Updating Channel List and Software
Updating the Channel List
Preparing a Software Update
Performing a Software Update
LED Status Display on the CAP Converter V2 - External Pushbutton
Possible Malfunctions
Error Indication on the CAP Converter/External Push-Button
Other Problems
Addresses
Service and Support
Factory Repair Centre
Service Partners
Disposal
Simplified EU Declaration of Conformity
Optional Accessories
Connection of the Current-Carrying Cables
Advertisement
Quick Links
Download this manual
CAP 650 GPS
Operating Manual
HDP 650 GPS
English
CAP 650 GPS
HDP 650 GPS
Only with CAP 650 GPS
Table of
Contents
Previous
Page
Next
Page
1
2
3
4
5
Advertisement
Table of Contents
Need help?
Do you have a question about the CAP 650 GPS and is the answer not in the manual?
Ask a question
Questions and answers
Related Manuals for Kathrein CAP 650 GPS
Satellite TV System Kathrein 300/HDP 170 Short User Manual
Kathrein satellite receiver operating manual (4 pages)
Satellite TV System Kathrein MobiSet 2 Digital CAP 600 Installation And Operating Manual
Kathrein satellite tv system installation and operating manual (60 pages)
Satellite TV System Kathrein CAP 910 Operating Manual
Mobiset 4 digital cap 910 operating manual (60 pages)
Satellite TV System Kathrein MobiSet 3 Twin CAP 750 Operating Manual
(56 pages)
Satellite TV System Kathrein 301/HDP 170 Short User Manual
(6 pages)
Satellite TV System Kathrein MobiSet 3 Twin CAP 720 Operating Manual
Tv antenna (68 pages)
Satellite TV System Kathrein MobiSet 4 digital CAP 900 Installation And Operating Manual
Kathrein mobiset 4 digital cap 900 installation and operating manual (44 pages)
Satellite TV System Kathrein CAP 710 Original Operating Manual
(68 pages)
Satellite TV System Kathrein CAP 750 GPS Translation Of The Original Operating Manual
(48 pages)
Satellite TV System Kathrein MobiSet 4 Twin CAP 950 Operating Manual
(52 pages)
Satellite TV System Kathrein MobiSet 3 Twin CAP 650 Translation Of The Original Operating Manual
(56 pages)
Satellite TV System Kathrein HDP 650 GPS Operating Manual
(48 pages)
Satellite TV System Kathrein UFS 922 si Operating Manual
Twin hdtv satellite receiver with hard disk (184 pages)
Satellite TV System Kathrein UFOprofile Quick Start Manual
(4 pages)
Satellite TV System Kathrein EXI 3508 Manual
Sat-if distribution system (4 x sat-if) multi-switch with integral modem (42 pages)
This manual is also suitable for:
Hdp 650 gps
Table of Contents
Print
Rename the bookmark
Delete bookmark?
Delete from my manuals?
Login
Sign In
OR
Sign in with Facebook
Sign in with Google
Upload manual
Upload from disk
Upload from URL


Need help?
Do you have a question about the CAP 650 GPS and is the answer not in the manual?
Questions and answers