Advertisement
Quick Links
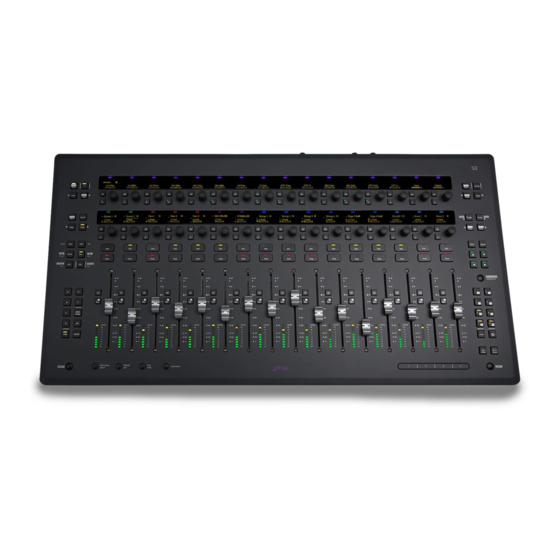
Avid S3 Fader Replacement
This document provides instructions for replacing individual faders in an Avid S3 control surface.
Required Items
This procedure requires the following items:
• PH1 Philips screwdriver
• M2 Hex driver
• A clean, padded work surface that will not scratch the unit,
and blocks, foam or similar to support the unit when set face
down (to avoid putting weight on the fader caps and encod-
ers).
• Anti-static wrist strap (not included). Make sure you are
electrically grounded and discharge static before working.
Overview
Replacing a fader requires the following steps, detailed in the fol-
lowing sections of this guide:
• Preparing the System
• Replacing the Fader
• Re-assembling the System
Preparing the System
Before you begin, be sure you have assembled all the required
items listed above, then shut down your system as described be-
low.
To shut down the system:
Turn the back panel power switch to the Off position.
1
Disconnect the power cable from the S3.
2
S3 Fader Replacement
Replacing a Fader
To replace a fader in an S3:
Put on your anti-static wrist strap (not included) according to
1
the manufacturers instructions.
With the S3 unit sitting face up, remove the fader cap for the
2
fader you will be replacing. Keep the cap nearby (later you will
install the fader cap on the new fader).
Using an M2 Hex driver, remove the two Hex screws that se-
3
cure the fader to the top panel. Set the fasteners aside.
Fader screws to remove
Carefully flip the unit over and set it face-down on your pad-
4
ded work surface, making sure the unit is not resting on any
knobs or faders.
Using a #1 Philips screwdriver, remove the 14 screws that se-
5
cure the bottom vent plate to the chassis. Keep the fasteners or-
ganized as you remove them.
Fasteners to remove to remove the bottom vent plate
Lift the vent plate off the unit and set it aside.
6
9329-66310-00 REV A 9/29/21
Advertisement

Subscribe to Our Youtube Channel
Related Manuals for Avid Technology S3


Summary of Contents for Avid Technology S3
- Page 1 Avid S3 Fader Replacement This document provides instructions for replacing individual faders in an Avid S3 control surface. Required Items Replacing a Fader This procedure requires the following items: To replace a fader in an S3: • PH1 Philips screwdriver Put on your anti-static wrist strap (not included) according to •...
- Page 2 Carefully disconnect the fader cable harness from its connector. Disconnecting a cable Carefully lift the old fader out. Remove the replacement fader from its packaging. Being sure to orient it correctly, place the new fader in the slot. Connect the new fader’s cable assembly to the port on the chassis.
Need help?
Do you have a question about the S3 and is the answer not in the manual?
Questions and answers