
Subscribe to Our Youtube Channel
Related Manuals for Reolink 5408940


Summary of Contents for Reolink 5408940
- Page 1 August 2020 QSG1_A_EN Reolink WiFi IP Camera Quick Start Guide @ReolinkTech https://reolink.com...
-
Page 2: What's In The Box
Contents What’s in the Box What’s in the Box Camera Introduction Connection Diagram Camera Antenna Power Adapter Set up the Camera Installation Guides Troubleshooting Specifications Mounting 4.5m Power Network Cable Extension Cable Hole Template Notification of Compliance Pack Surveillance Card Quick Start Guide of Screws NOTE: Camera and accessories vary with different camera models that... -
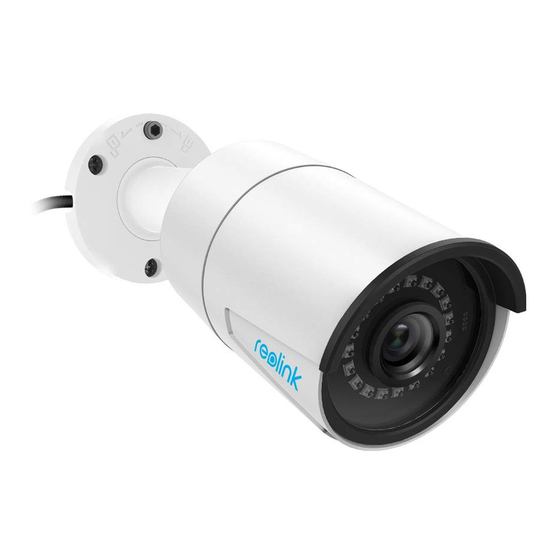
Page 3: Camera Introduction
Camera Introduction Antenna Antenna Mount Mount Metal Aluminum Case Metal Aluminum Case Infrared Lights Infrared Lights High Definition Lens High Definition Lens Daylight Sensor Daylight Sensor Network Cable Reset Button *Press for about 10 seconds to restore factory settings. Power Cable English English... -
Page 4: Connection Diagram
Connection Diagram Set up the Camera Download and Launch the Reolink App or Client software, and follow the Before initial setup, follow the steps below to connect your camera. onscreen instructions to finish initial setup. 1. Connect the camera to a LAN port on your router with an Ethernet cable. -
Page 5: Install The Camera
Install the Camera Mount the Camera Installation Tips Drill holes in accordance with the • Do not face the camera towards any light sources. mounting hole template. • Do not point the camera towards a glass window. Or, it may result in poor image performance because of the window glare by infrared LEDs, NOTE: Use the drywall anchors ambient lights or status lights. -
Page 6: Troubleshooting
Twist the screws with the wrench to unlock the camera another 12V DC power adapter which is working, please use another and adjust its direction. power adapter and see if it works. If these won't work, please contact Reolink Support https://support.reolink.com/. IR LEDs Stop Working After adjustment, twist the screws back to lock the camera. -
Page 7: Specifications
If these won't work, please contact Reolink Support Weather Resistance: IP66 waterproof https://support.reolink.com/. Notification of Compliance Failed to Upgrade the Firmware FCC Compliance Statement If you cannot upgrade the firmware for the camera, try the following solutions: This device complies with Part 15 of the FCC Rules. Operation is subject to the following two conditions: (1) this device may not cause harmful •... - Page 8 Directive 2014/53/EU. End User License Agreement By using the Product Software that is embedded on the Reolink product, Correct Disposal of This Product you agree to the terms of this End User License Agreement (“EULA”) between you and Reolink.
- Page 9 OPERATING FREQUENCY (the maximum transmitted power) 2412MHz—2472MHz(15dBm) 5180 MHz -5240 MHz(17dBm) 5745 MHz -5825 MHz (16dBm) Technical Support If you need any technical help, please visit our official support site and contact our support team before returning the products, https://support.reolink.com. English...
- Page 10 FCC Caution This device complies with part 15 of the FCC Rules. Operation is subject to the following two conditions: (1) This device may not cause harmful interference, and (2) this device must accept any interference received, including interference that may cause undesired operation.
- Page 11 IC Caution: This device complies with Industry Canada’s licence-exempt RSSs. Operation is subject to the following two conditions: (1) This device may not cause interference; and (2) This device must accept any interference, including interference that may cause undesired operation of the device. To maintain compliance with RF exposure guidelines, this equipment should be installed and operated with a minimum distance of 20cm between the radiator and your body.
Need help?
Do you have a question about the 5408940 and is the answer not in the manual?
Questions and answers