Reolink Argus 2 Quick Start Manual
Hide thumbs
Also See for Argus 2:
- User manual ,
- Operational instruction (51 pages) ,
- Quick start manual (38 pages)

Subscribe to Our Youtube Channel
Related Manuals for Reolink Argus 2


Summary of Contents for Reolink Argus 2
-
Page 1: Quick Start Guide
Reo lin k A rg u s 2 Quick Start Guide Technical Support For more troubleshooting, please go to FAQs on our website: https://reolink.com/faqs/ For other technical support, please contact us at QG 2_A support@reolink.com... - Page 2 Welcome to Reolink Easy Setup Within Minutes!
-
Page 3: General Introduction
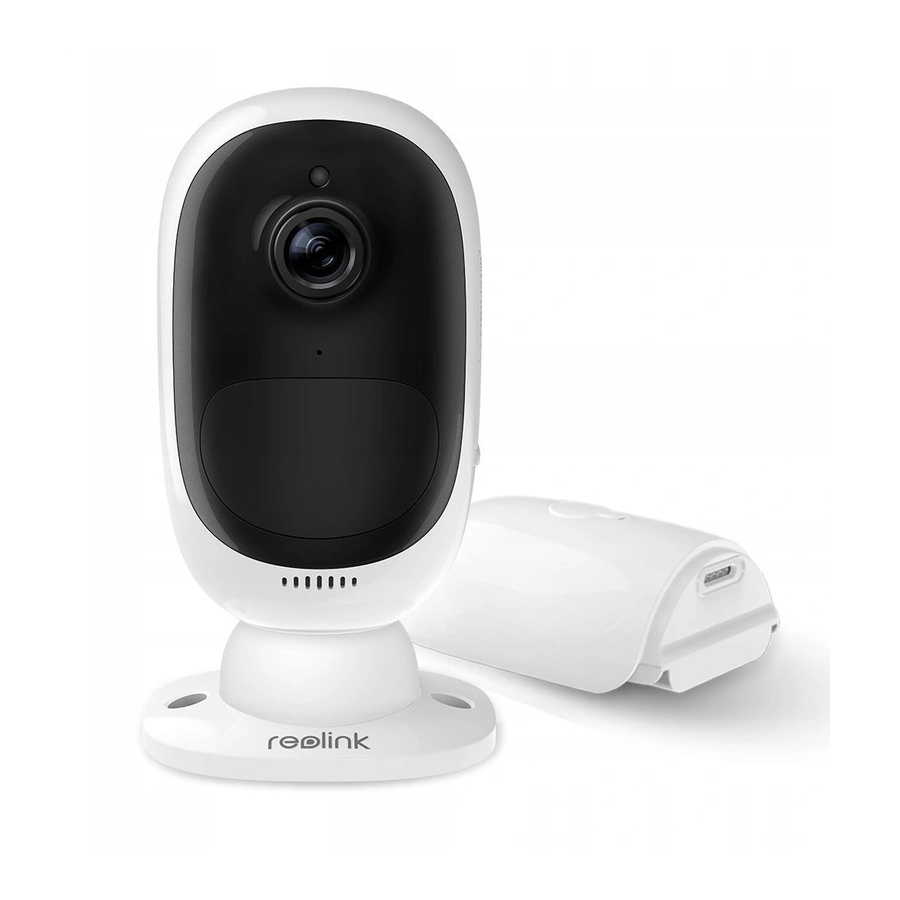
Reset Hole Daylight Sensor Lens Reolink Rechargeable Outdoor Security Mount Base Skin Status LED Argus 2 Camera Battery (with a hook & loop strap) (with a small rope) Built-in Mic Built-in PIR Motion Sensor Speaker Base Reset Needle Surveillance Sign... -
Page 4: Charge The Battery
2. You can charge the battery separately. 3. You can charge the battery with Reolink solar panel. Please note that the solar panel is NOT included in the package. You can buy the solar panel on Reolink official online store. - Page 5 1. Charge the battery when it's installed to the camera. 2.Charge the battery separately.
- Page 6 1. Please charge your rechargeable battery with a standard and high-quality DC 5V or 9V battery charger. 2. If you want to power the camera via the solar panel, please note that the camera is ONLY compatible with Reolink solar panel. You cannot charge this camera with other solar panel brands.
-
Page 7: Install Reolink App
Install Reolink App There are two ways to get the Reolink App: Search “Reolink” in App Store (for iOS), or Google Play (for Android), download and install the app. Scan the QR code below to download and install the app. - Page 8 Wi-Fi network and press “I have entered towards Reolink Argus 2 camera’s lens at a distance of about 20cm (8 inches) to let the the correct information” to enter the next camera scan the QR code. Please make sure that you’ve ripped the protection film of the If you did not hear the voice prompt, please page.
- Page 9 Connection to the router failed! Connection to the router succeeded. Note: Welcome to Reolink! “Name your camera” field refers to the display name of the camera rather than the login username. If you hear the above voice prompt, please press If you hear the above voice prompt, please “I heard ‘Connection to the router failed! ’...
-
Page 10: Devices Menu
Devices Menu Menu Add New Device Please tap the camera and follow the steps to Enable/Disable PIR Motion Sensor sync the time, and then start live view or go to (In default, the PIR sensor is enabled.) “Device Settings” for more configurations. Device Settings Access the Live View Battery Status... - Page 11 The default sensitivity of the PIR sensor is at “Mid” and the detecting distance is 6 meters (20ft). If you want to adjust the sensitivity, please launch your Reolink App, and then click “Device Settings” -> “PIR Settings” and click the “save”...
- Page 12 Cover the Monitoring Area When installing the camera, it’s not suggested to It’s not suggested to make make the PIR sensor vertically face the moving the PIR sensor vertically face the moving object. object. Please note that if the moving object approaches the PIR sensor vertically, the PIR sensor may not detect the motion events.
-
Page 13: How To Install
Step 1 Step 2 Step 3 Please dress the Reolink Argus 2 The skin has an anti-falling safety Stick the camera on the base and camera with the skin provided in rope. Please fasten the other end twist the camera in any directions the package. - Page 14 Step 1 Step 2 Step 3 Press the button to release the plate from the security mount. Unscrew the Argus from the wall mount. Step 4 Step 5 Step 6 Latch the security mount on its plate (Make sure the top edge of the backing plate is inserted into the mount.)
-
Page 15: Fcc Statement
FCC Statement This equipment has been tested and found to comply with the limits for a Class B digital device, pursuant to Part 15 of the FCC Rules. These limits are designed to provide reasonable protection against harmful interference in a residential installation. This equipment generates uses and can radiate radio frequency energy and, if not installed and used in accordance with the instructions, may cause harmful interference to radio communications.
Need help?
Do you have a question about the Argus 2 and is the answer not in the manual?
Questions and answers