Advertisement
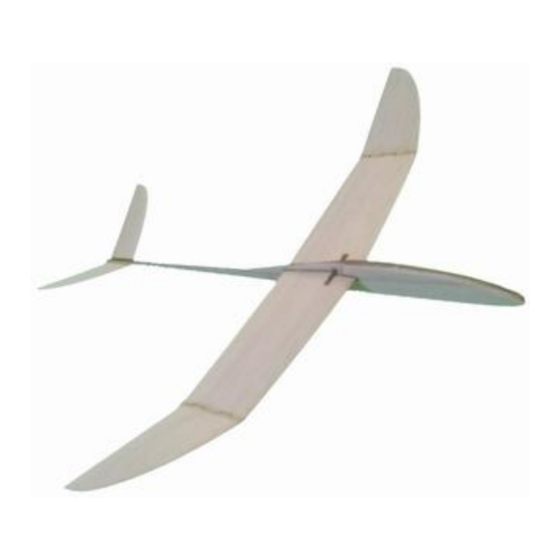
Glider V-Tail Bellbird
The bellbird is an easy to build glider for the beginner to intermediate level builder. The construction is straight
forward and all parts are pre cut to slot together easily. A limited amount of sanding is needed on the V-Tail
section before gluing in place.
The kit features dihedral on the wingtips and these sections are pre-cut so all you need to do is to bend them
upward, infuse some glue into the gap and allow to dry. We also provide an angle wedge which is used for the
tail and wing tips to achieve the correct angle while drying.
Your kit contains the following items
Pre- cut parts
Sandpaper sheets
Diagram sheet
Additional Items You May Need
* Cling Wrap
* Flat board (working surface)
* Hobby Knife
* Wood glue
* BlueTack or putty
* Tape
Build Procedure
Firstly it's a good idea to tape down a sheet of cling wrap over your work surface. This will stop the parts from
becoming glued to the surface. It's easier to peel off cling wrap from any wooden parts.
Bend up the win tip pieces a little but not enough to
completely detach them from the wing.
There is an angle guide included which can be placed
under the wing tip to hold it at the correct angle while
gluing.
Advertisement
Table of Contents

Related Manuals for MicronWings Glider V-Tail Bellbird


Summary of Contents for MicronWings Glider V-Tail Bellbird
- Page 1 Glider V-Tail Bellbird The bellbird is an easy to build glider for the beginner to intermediate level builder. The construction is straight forward and all parts are pre cut to slot together easily. A limited amount of sanding is needed on the V-Tail section before gluing in place.
- Page 2 Support the wing tip with the angle guide and infuse glue into the joint and fill the gaps between the wing and wingtip. Wipe off any excess glue. While the wings are drying glue in the wing support piece. This piece should block the wing slot gap here. Refer to the wings and note the slots in them to see how they fit into the wing support.
- Page 3 Glue on the nose cover sheets and make sure that excess glue is cleaned out of the wing gap here before it dries. Sand the tail pieces at a small angle so when they are put flush up against the side of the fuselage, they form an upward angle.
- Page 4 Your care and attention here will give better flight performance. Copyright © MicronWings 2015: All rights reserved. This manual is for personal use only. No unauthorized copying or digital distributing permitted without permission from MicronWings.
Need help?
Do you have a question about the Glider V-Tail Bellbird and is the answer not in the manual?
Questions and answers