Table of Contents
Advertisement
Quick Links
Advertisement
Table of Contents

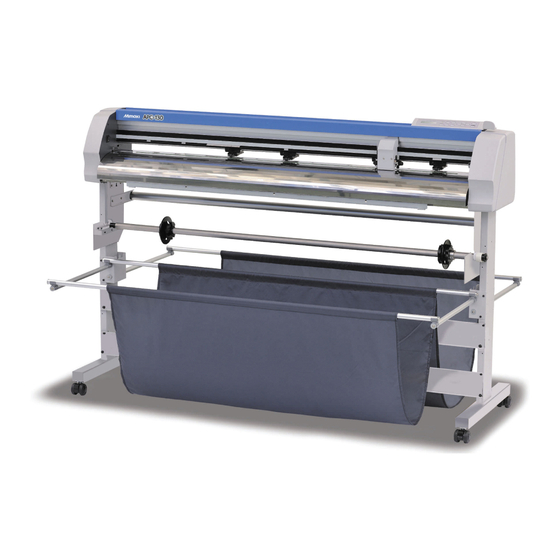
Related Manuals for MIMAKI APC-130


Summary of Contents for MIMAKI APC-130
- Page 1 MIMAKI ENGINEERING CO., LTD. URL:http://eng.mimaki.co.jp/ D202270-11...
-
Page 2: Table Of Contents
Table of Contents Table of Contents Foreword ....................4 CAUTION ........................4 Before using the printer driver, be sure to read Read me ........4 Symbols ........................5 Supported Plotter ....................5 System and Software ....................5 Check the setting on the plotter side ...............5 Printer Driver Installation .............. - Page 3 Table of Contents...
-
Page 4: Foreword
(including loss of income, indirect damages, special damages, or other financial damages) resulting from the use or non-use of the product. This also applies to the case when MIMAKI Engineering is notified of the possibility of damages. For example, MIMAKI Engineering Co., Ltd. -
Page 5: Symbols
Useful information is given with this symbol. Refer to the information to operate the machine properly. Supported Plotter This printer driver supports the plotter below manufactured by Mimaki Engineering Co., Ltd. APC-130 System and Software The following conditions are required to use Printer Driver. -
Page 6: Printer Driver Installation
Printer Driver Installation Printer Driver Installation Access to the Mimaki’s web page and open the page of APC-130 product information. Download the “APC-130 printer driver” from the download site. Double-click Select the folder to unzip the installer, and click • The [SetupAPC130] folder is created in the selected Click folder. - Page 7 Printer Driver Installation Select a function to install, and click • If you do not install PortMonitor, uncheck the box. • You cannot install when only PortMonitor is selected. Select a function Click Click • Start installation. Click Click Click When the installation is completed, the Printer is added to “Devices and Printers”.
-
Page 8: Settings Of The Printer Driver
Performs detailed setting related to the driver. Color Management Manages colors. (Setting is not required.) Security Performs setting related to the security. Displays the version information of the printer driver etc. When you click the MIMAKI URL, MIMAKI’s web page is displayed. -
Page 9: Setting The "Printing Preferences
(3) Mirror Flips horizontally and cuts. (4) Paper size Select the paper size attached to the APC-130 or the paper size to be recognized by the application from the list box. (5) Custom page Enables to set up to 4 kinds of user size form. - Page 10 Settings of the Printer Driver (8) Scaling Scaling is activated when "Fit to page" is unchecked. If scaling up the paper size which is larger than the paper size, the image is cut in the range of the paper size only. (9) Output more than 3m When this image is clicked, a message is dis-...
- Page 11 Settings of the Printer Driver Output setting Referring to P.8, display the “General” tab and click Click “Output setting” tab. • Depending on your usage, perform each setting. (1) Head withdrawal position When this is checked, the head is withdrawn to the designated position when cutting is completed. (2) Detail button is activated when "Head withdrawal position"...
- Page 12 Settings of the Printer Driver (3) Cut condition setting If the command is MGL-lc1, this setting becomes invalid. Select this function to cut (plot) with tool specified on the driver, but the cut condi- tion (speed, pressure and offset) is under the plotting condition.
- Page 13 Settings of the Printer Driver Etc Referring to P.8, display the “General” tab and click Click “Etc” tab. • Depending on your usage, perform each setting. (1) Output spool When the processing by the driver is slow, you may output at a high speed after spooling the output command on the hard disk.
-
Page 14: Set The Output Port
Install “Mimaki driver” in your PC. • The “Mimaki driver” is included in the manual CD attached to APC-130. Otherwise download the Mimaki driver, check “Driver / Utility” on the download page at Mimaki Engineering (http://eng.mimaki.co.jp/download/). Connect your PC with plotter with a USB cable and turn on the power. - Page 15 Settings of the Printer Driver When you connect the PC with the plotter via RS-232C interface cable Connect your PC with plotter with a RS-232C cable and turn on the power. Referring to P.8, select the “Ports” tab. Select output port. •...
- Page 16 Settings of the Printer Driver Connecting same model multiple plotters Open “Devices and Printers” from control panel. • The name for “Device and Printers” varies depending on the OS. Windows XP: Printer and Faxes Windows 7/8: Device and Printers Click “Add a printer”.
- Page 17 Settings of the Printer Driver Select the printer port, and click Click Click Click Click Click In the folder you opened during installation(P.6), select [MMKCUT.inf], and click Click • If you’re using Windows 7/8 For the 32-bit version, use the [MMKCUT.inf] in the “x86”...
- Page 18 Settings of the Printer Driver Click Select the printer to install, and click Click Select “Use the driver that is currently installed(recommended)”, and click Click Supply a printer name, and click Click...
- Page 19 Settings of the Printer Driver Select the “Printer Sharing”, and click Click Setup the “Set as the default printer” “Print test page”, click Click • You can check the added printer in “Devices and Printers”. • The name for “Device and Printers” varies depending on the OS.
- Page 20 D202270-11-07022014 © MIMAKI ENGINEERING Co., Ltd. 2014 SW : 1.5...
Need help?
Do you have a question about the APC-130 and is the answer not in the manual?
Questions and answers