Advertisement
Quick Links
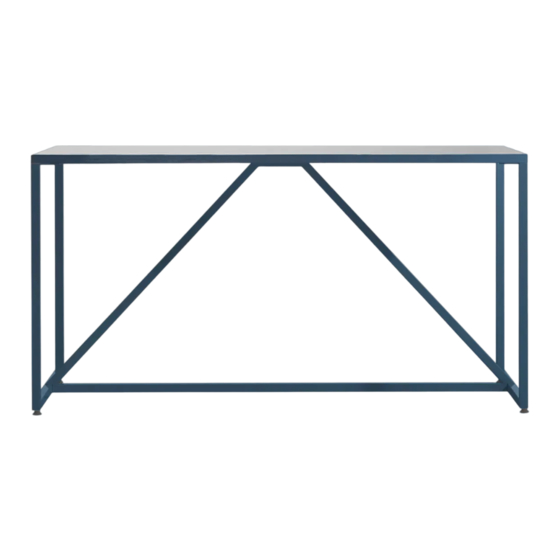
Strut Table
DESI GNED IN 20 05
AS SEM BLY N OT ES | R E V 02
A D E S I G N W O R T H K N O C K I N G O F F. ( A H E M . . .)
Structure and design are on with the Strut. A proud stance for any
gathering. Conferencing for eight, dining for six, or a power desk for one.
N E E D A H A N D ?
Contact us at service@bludot.com or
844.425.8368 for assistance.
Advertisement

Related Manuals for BluDot Strut Table


Summary of Contents for BluDot Strut Table
- Page 1 A D E S I G N W O R T H K N O C K I N G O F F. ( A H E M . . .) N E E D A H A N D ? Contact us at service@bludot.com or Structure and design are on with the Strut. A proud stance for any 844.425.8368 for assistance.
-
Page 2: Parts & Hardware
Parts & Hardware Pt. 1683 Pt. 1083 Pt. 1602 Pt. 4023 Pt. 9004 Leg Plate Support 1 | 8 4 4 . 4 2 5 . 8 3 6 8 S T R U T T A B L E... - Page 3 Step 01 AT TA C H L E G P L AT E S . Attach leg plates to legs using the provided hardware as shown. Pt . 16 83 X 8 P t . 900 4 X 1 A S S E M B L Y N O T E S S E R V I C E @ B L U D O T .
- Page 4 Step 02 AT TA C H L E G S U P P O R T. Place the top panel face down on a soft surface. Attach leg support to top using the provided hardware as shown. Do not fully tighten the bolts.
- Page 5 Step 03 S E C U R E L E G S . Secure legs using the provided hardware as shown. Tighten the bolts that were installed in the previous step before proceeding to the next step. Pt . 10 83 X 1 4 P t .
- Page 6 Step 04 I N S TA L L F L O O R G L I D E S . Attach floor glides to the legs as shown. Have a second person help lift and turn the table right side up. PT.
- Page 7 Step 05 A D J U S T F L O O R G L I D E S . The floor glides at the bottom of the legs can be adjusted by rotating them. Ensure table is level prior to first use. Periodically tighten the bolts to ensure that the connection remains strong over time.
-
Page 8: Additional Information
Additional Information C LEAN Clean with a slightly damp, soft cloth. To remove dirt and fingerprints, use a quality cleaner formulated for painted furniture. Wipe completely dry with a soft cloth. B L U D O T D E S I G N & M A N U F A C T U R I N G , I N C . D E S I G N E D I N M I N N E A P O L I S , M N...
Need help?
Do you have a question about the Strut Table and is the answer not in the manual?
Questions and answers