Advertisement
Superchoice Collection
D E S I G N E D I N 2 0 1 7
A S S E M B LY N O T E S | R E V 0 8
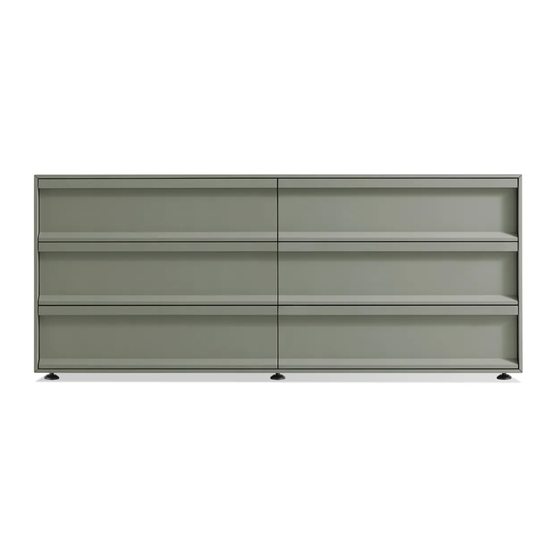
C O N T O U R D U J O U R .
Uncomplicated storage for messy times. Beveled relief drawer pulls are set
off by a matte painted finish.
N E E D A H A N D ?
Contact us at service@bludot.com or
844.425.8368 for assistance.
Advertisement
Table of Contents

Related Manuals for BluDot Superchoice Collection


Summary of Contents for BluDot Superchoice Collection
- Page 1 C O N T O U R D U J O U R . N E E D A H A N D ? Contact us at service@bludot.com or Uncomplicated storage for messy times. Beveled relief drawer pulls are set 844.425.8368 for assistance.
- Page 2 Parts & Hardware 8042 An�-�p Strap PT. 1220 PT. 1221 PT. 8042 8041 An�-�p Bracket PT. 8041 Foot Case *The number of feet and anti-tip hardware included may vary depending on the size of the case. 1 | 8 4 4 . 4 2 5 . 8 3 6 8 S U P E R C H O I C E C O L L E C T I O N...
- Page 3 Step 01 AT TA C H T H E F E E T. Attach adjustable feet as shown. After the feet have been attached have a second person help lift and bring the case upright to prevent damage to feet. Note: Adjust the feet to make the case level before use.
- Page 4 Step 02 AT TA C H A N T I -T I P B R A C K E T S T O T H E W A L L . Install anti-tip brackets to wall stud 1-inch below case top panel height. Align anti-tip brackets Note: Smaller casegoods such as nightstands with wall studs...
- Page 5 Step 03 I N S TA L L A N T I -T I P B R A C K E T S T O C A S E . Top Panel Brackets must be installed to top panel of case. In order to prevent damage, it is recommended that 3/32”...
- Page 6 Step 04 S E C U R E T H E C A S E . Install and tighten the straps prior to using the product. 8042 An�-�p Strap P T. 80 4 2 X 2 5 | 8 4 4 . 4 2 5 . 8 3 6 8 S U P E R C H O I C E C O L L E C T I O N...
- Page 7 Drawer Removal T O R E M O V E D R A W E R S . Extend the drawer completely. Squeeze both locks on the underside of the drawer while pulling the drawer out. T O R E I N S TA L L T H E D R A W E R . Lower drawer front into place and push closed.
- Page 8 Adjusting Drawers and Doors A D J U S T I N G D R A W E R H E I G H T. The drawer heights may be adjusted to prevent surfaces Drawer Front from rubbing against each other. Press down on the blue tab and rotate as shown to move the drawer up or down.
Need help?
Do you have a question about the Superchoice Collection and is the answer not in the manual?
Questions and answers