Table of Contents
Advertisement
Quick Links
Advertisement
Table of Contents

Related Manuals for CDA SV430


Summary of Contents for CDA SV430
- Page 1 Manual for Installation, Use and Maintenance Passionate about style Customer Care Department • The Group Ltd. • Harby Road • Langar • Nottinghamshire • NG13 9HY T : 01949 862 012 F : 01949 862 003 E : service@cda.eu W : www.cda.eu...
-
Page 2: User Information
• Keep the oven door closed whilst grilling. Appliance information: Please enter the details on the appliance rating plate below for reference, to assist CDA Customer Care in the event of a fault with your appliance and to register your appliance for guarantee purposes. -
Page 3: Using The Touch Control
Do not allow children near the oven when in use. Do not lean on the oven door, or place heavy items on the door. Make sure that children do not climb or sit on the door when it is open. -
Page 4: Using Your Oven
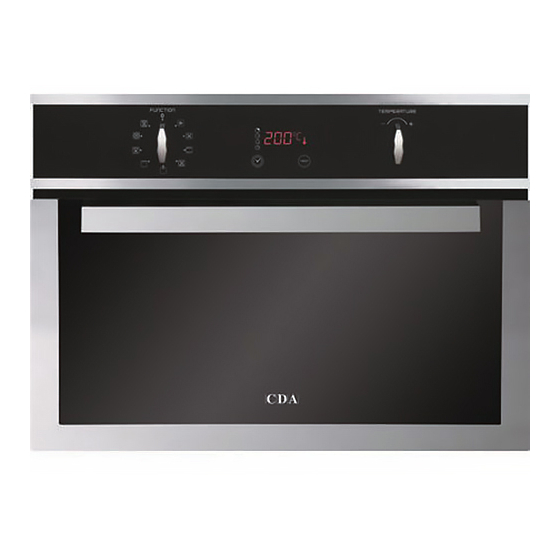
Using your oven Fig.2 Display Control panel Wire shelf supports The Control Panel and Display Fig.3 Function control knob Clock/timer key Temperature key Selection control knob This control knob allows you to select the programme required This key activates the clock/timer selection... - Page 5 The Control Panel and Display Fig.4 Cooking time indicator End time indicator Minute minder indicator Clock indicator Clock/temperature display Temperature indicator...
-
Page 6: Minute Minder
Minute minder This oven is equipped with a minute minder to count down for a maximum of 60 minutes. To set the timer, touch flashes 0:00 and the minute minder indicator flashes. Turn the selection control knob until the required time shows on the display. - Page 7 Please note: The function control knob must be turned to 0 to switch off the oven completely. If the oven must be preheated, switch on the oven as above. Once the preheat is complete, the upper bars on the temperature indicator on the display will stay lit and the oven will beep three times, pause, and beep three times again.
- Page 8 General Settings and Use Oven functions Each of the oven functions uses different elements within the oven to offer you the best choice of cooking every time. These are explained below. 1. Preheat booster - preset 200° (range available 75-275°) This function uses a combination of elements to bring the oven up to temperature in the shortest possible time.
- Page 9 General Settings and Use 8. Fan Oven – preset 190˚ (range available 75-250˚ ) Using the fan element and the fan, this cooking function blows the hot air into and around the oven cavity. Temperatures are achieved quicker, reducing or even removing the need for preheating.
-
Page 10: Cleaning And Maintenance
The light bulb must only be replaced by authorised service personnel. In the event of light bulb failure, contact CDA Customer Care. -
Page 11: Care And Maintenance
Cleaning the interior of the door Open the door completely and insert two of the red stoppers supplied with the oven, as shown in figure 7. Then insert the other two red stoppers in the A slots, as shown in figure 8. - Page 12 Reattach the frame by tightening it against the door until the frame clicks into place. Do not push down on the door itself as this may damage your oven. Finally remove the red stoppers from the hinge slots. Fig. 11 Fig.
-
Page 13: Troubleshooting
The oven display will show error codes if there is a fault with the appliance. These are detailed below. Before calling CDA Customer Care, take note of the error code as this will help when attempting to resolve the problem. -
Page 14: Installation
Installation Important If the oven is being installed into a built under oven housing unit ensure that the front rail at the top of the unit is not installed as it could restrict ventilation. Ensure that air can flow freely around the housing area. If the oven is being installed into a fully enclosed built-under oven housing unit it may be necessary to cut a small slot in the top of the plinth fitted under the unit. -
Page 15: Mains Electricity Connection
Mains Electricity Connection Warning! This appliance must be earthed We recommend that the appliance is connected by a qualified electrician, who is a member of the N.I.C.E.I.C. and who will comply with the I.E.E. and local regulations. This appliance is intended to be connected to fixed wiring and is not suitable for connection to a 13A plug or 13A supply. - Page 16 Passionate about style Customer Care Department • The Group Ltd. • Harby Road • Langar • Nottinghamshire • NG13 9HY T : 01949 862 012 F : 01949 862 003 E : service@cda.eu W : www.cda.eu...
Need help?
Do you have a question about the SV430 and is the answer not in the manual?
Questions and answers