Table of Contents
Advertisement
Quick Links
Advertisement
Table of Contents

Summary of Contents for Electrolux AEG DD9996-B
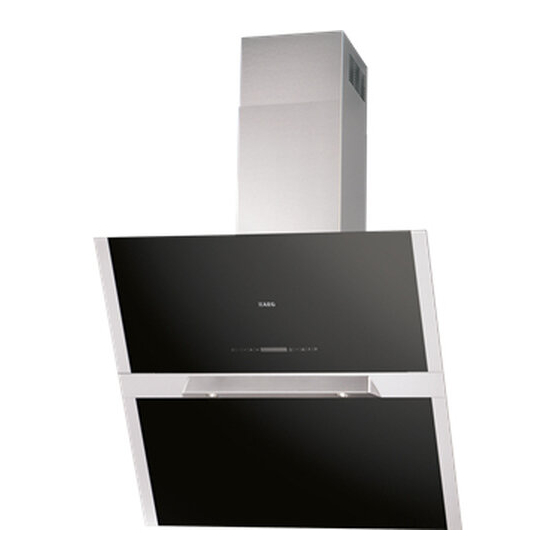
- Page 1 DD9996-B Cooker Hood Operating and Installation Instructions...
- Page 2 Thank you for buying an AEG product. To enable you to use your appliance effectively and safely, please read this instruction book carefully before using the appliance and retain for future reference. If you require guidance in the use of the appliance or require further infor- mation on AEG Products, please contact our Customer Services Department.
-
Page 3: Important Safety Information
IMPORTANT SAFETY INFORMATION These warnings are provided in the interests of your safety. Ensure that you understand them all before installing or using this appliance. Your safety is of paramount importance. If you are unsure about any of the meanings of these warnings contact the Customer Services Department. -
Page 4: Your Appliance
YOUR APPLIANCE ���� ���� ����� �����... -
Page 5: Key Function
OPERATING INSTRUCTIONS � � � � � � � � � � Key Function Display Upper panel closed: when pressed for about two sec-ond it Indicates the selected speed. opens the upper panel. It switches the motor on at the latest selected speed.Upper panel open: when shortly pressed it switches the motor and the lights on/off. -
Page 6: Recirculation Mode
OPERATING INSTRUCTIONS This cooker hood can be used to recirculate or extract contaminated air. ��� Recirculation Mode � ��� The cooker hood is supplied specified for use in the recir- culation mode with the charcoal filter fitted. The contaminated air is cleaned by passing through the ��... -
Page 7: Maintenance And Cleaning
MAINTENANCE AND CLEANING Before carrying out any maintenance or lean- ing isolate the cooker hood from the mains supply. The cooker hood must be kept clean, as a build up of grease or fat can be a fire hazard. External Cleaning The metal casing, grille and chimney should be cleaned at least once a month to keep it looking like new. -
Page 8: Charcoal Filters
MAINTENANCE AND CLEANING Alarm signal reset • Stop the motor and switch off the lights. • Press the G-key for at least 2 seconds. Before carrying out any maintenance or cleaning isolate the cooker hood from the mains supply. Charcoal Filters In the recirculation mode the charcoal filters absorb smells and unwanted odours. -
Page 9: Changing The Halogen Spot Lamp
MAINTENANCE AND CLEANING Changing the Halogen Spot Lamp • Extract the lamp from the lamp holder by pulling gently. • Replace with another of the same type, making sure that the two pins are properly inserted in the lamp holder socket holes. Replacement filters and light bulbs can be obtained from your local Service Force Centre. -
Page 10: Something Not Working
SOMETHING NOT WORKING If, having followed these instructions carefully, your cooker hood fails to work properly please carry out the following checks. Symptom Solution The cooker hood will not start • Check the hood is connected to the electricity sup- ply. -
Page 11: Standard Guarantee Conditions
GUARANTEE CONDITIONS Standard Guarantee Conditions We, AEG, undertake that if within 12 months of the date of the purchase this AEG built-in appliance or any part thereof is proved to be defective by reason only of faulty workmanship or materials, the company will, at our option, repair or replace the same FREE OF ANY CHARGE for labour, materials and carriage on condition that: •... -
Page 12: Installation Instructions
INSTALLATION INSTRUCTIONS It is dangerous to alter the specifications or attempt to modify this product in any way. Technical Information DIMENSIONS HEIGHT (CANOPY): 760 mm HEIGHT (CHIMNEY): 300-300 mm WIDTH (CANOPY): 898 mm WIDTH (CHIMNEY): 300 mm GROSS: 47 kg NET: 37,4 kg ELECTRICAL SUPPLY: 220-240 V (50 Hz) POWER CONSUMPTION: 370 W FAN MOTOR: 330 W LAMP: (2x20W) HALOGEN Ø... -
Page 13: Installing The Cooker Hood
INSTALLING THE COOKER HOOD Unpacking Please ensure that when the appliance is installed it is easily accessible to an engineer in the event of a Before unpacking the cooker hood position the carton with breakdown. the arrows pointing upwards as illustrated on the carton. All installations must comply with the local The canopy is supplied with the following components authorities requirements for the discharge of... -
Page 14: Wall Drilling And Bracket Fixing
INSTALLATION INSTRUCTIONS Wall drilling and bracket fixing As a first step, proceed with the following drawings: • a vertical line up to the ceiling or up to the upper limit, at the centre of the area in which the hood is to be fitted;... -
Page 15: Hood Body Mounting
INSTALLATION INSTRUCTIONS Hood body mounting • Firstly, it is necessary to adjust the two Vr-screws of the 11a-brackets, at minimun (B). ��� • Hang the hood body on the two brackets 11a. • Connect the hood to the mains supply by means of a bipolar switch with at least 3 mm contact gap. -
Page 16: Electrical Connection And Working Test
INSTALLATION INSTRUCTIONS Electrical connection and working test: • Connect the hood to the mains supply. • Open the upper panel by pressing the A-key (See Part “USE” ) for at least 2 seconds. • Remove the metal filters (See Part “MAINTENANCE”) and make sure that the connector piece of the supply cable is correctly inside the hood socket. - Page 20 The symbol on the product or on its packaging indicates that this product may not be treated as household waste. Instead it shall be handed over to the applicable collection point for the recycling of electrical and electronic equipment. By ensuring this product is disposed of correctly, you will help prevent potential negative consequences for the environment and human health, which could otherwise be caused by inappropriate waste handling of this product.


Need help?
Do you have a question about the AEG DD9996-B and is the answer not in the manual?
Questions and answers