Table of Contents
Advertisement
Advertisement
Table of Contents
Troubleshooting

Subscribe to Our Youtube Channel
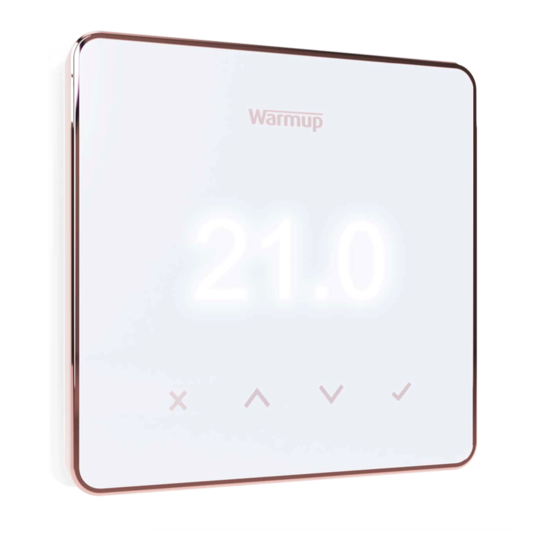
Summary of Contents for Warmup Element
- Page 1 Element WiFi Thermostat Smart Heating. Simplified. User Guide...
-
Page 2: Table Of Contents
Table 1.0 Thermostat Application ..............5 Step 3 - Thermostat Mounting ................ 6 Step 4 - Initial Setup ..................7 Welcome to the Element thermostat ............. 8 How to quickly change the temperature ..............8 How to quickly change mode ................... 8 Heating ....................... -
Page 3: Safety Information
Safety Information The thermostat must be installed by a qualified electrician. It requires a permanent 230 V AC supply from a 30mA RCD or RCBO protected circuit in accordance with the current edition of the BS7671 Wiring Regulations. Isolate the thermostat from the mains supply throughout the installation process. -
Page 4: Step 2 - Wiring Connections
Step 2 - Wiring Connections WARNING! The thermostat must be installed by a qualified electrician in accordance with the current edition of the BS7671 Wiring Regulations. NOTE: For loads above 10 A, the conductor wire gauge should be at least 2.5mm²... - Page 5 Table 1.0 Thermostat Use Cases Use Case System Type Control Limit Sensor Thermostat IN room Internal Air temperature schedule None Air Sensor No floor limit Thermostat IN/OUT of room Probe 1 (5 & 6) Floor temperature schedule None Floor limit Floor Sensor Thermostat IN room Probe 1...
-
Page 6: Step 3 - Thermostat Mounting
Step 3 - Thermostat Mounting 1,500W Insert fixing screws through Re-attach the front housing until a mounting holes of the power base “click” is heard. You can now power and tighten. up the thermostat. Thermostat WiFi Setup System Input Input application Open type... -
Page 7: Step 4 - Initial Setup
Step 4 - Initial Setup ‘MyHeating’ by Warmup Download the MyHeating App. Open the My Heating App and scan the QR Code on the thermostat screen protector or on reverse of the display. Follow the instructions in the App to complete setup. -
Page 8: Welcome To The Element Thermostat
Welcome to the Element thermostat Next/Accept Back/Cancel Up/Down Change value/setting How to quickly change the temperature Press to change your target temperature. If in program mode this will set a 21.0 temporary override until your next heating period. See “How to set a temporary override”. -
Page 9: Heating
Heating How to set a program Setting a program allows you to set comfort temperatures at set times throughout the day. Days can programmed individually, all days the same or weekdays as a block and weekends as a block, the choice is yours. 21.0 Edit Program To select the days you wish to program... -
Page 10: How To Set Into Manual Mode
Heating How to set into Manual Mode Setting into manual mode allows you to set a fixed target temperature for the thermostat to achieve. The thermostat will continue to maintain this temperature until another operating mode or temperature is selected. 21.0 21.0 23.0... -
Page 11: Energy Monitor
SmartGeo How SmartGeo works SmartGeo is a unique technology developed by Warmup and built into the MyHeating App that uses an advanced algorithm to understand the most efficient heat settings for your home. Working automatically; it learns your... -
Page 12: Settings
Settings 21.0 Date and time Set the current date and time. 6-5-2021 Press to begin, press to change date/ 13:00 time. Press to confirm. Thermostat application See Table 1.0 Thermostat Application. Press to change application. Press confirm Change Control Sensor Probe 1 (5 & 6) type. Set between 5, 10, 12, 15, 100K sensor settings. - Page 13 Settings cont’d Change homescreen override colour Select the override colour. Open window function The windows open detection feature is designed to switch off heating to save energy when the thermostat detects that a window or door has been opened. Display lock Switch display lock on.
-
Page 14: Notifications & Error Codes
Notifications & Error codes Date and time needs to Heating switched OFF be set. Open window function Display locked triggered. Temporary override Sensor P2 (6 & 7) error enabled Sensor P1 (5 & 6) not Holiday mode enabled. - - - connected / damaged or (Configured in MyHeating App) -
Page 15: Wifi Troubleshooting
10-15 seconds now work as reattach. Does the thermostat normal connect to your WiFi Network? Contact Warmup If the thermostat connected Set up a mobile hotspot using with your router to a mobile hotspot a smartphone. On a separate make &... -
Page 16: Technical Specifications
Warranty 12 Years Approvals BEAB NOTE: Hereby, Warmup plc, declares that the radio equipment type RSW-01-XX-YY is in compliance with the RED Directive 2014/53/EU and Radio Equipment Regulations 2017. The declarations of conformity may be consulted by scanning the QR Code or visiting www.literature.warmup.co.uk/d-o-c/element. -
Page 17: Warranty
Warmup heater. If at any time during the warranty period the product is determined to be defective, Warmup shall repair or replace it, at Warmup’s option. If the product is defective, please either; Return it, with a bill of sale or other dated proof of purchase, to the place from which you purchased it, or Contact Warmup. - Page 18 Warmup plc www.warmup.co.uk uk@warmup.com T: 0345 345 2288 F: 0345 345 2299 Warmup plc 704 Tudor Estate Abbey Road London NW10 7UW Warmup GmbH Ottostraße 3 27793 Wildeshausen Warmup - UG - Element - V1.0 2021-05-07_EN...


Need help?
Do you have a question about the Element and is the answer not in the manual?
Questions and answers