Advertisement
Available languages
Available languages
Quick Links
MANUAL DE UTILIZARE
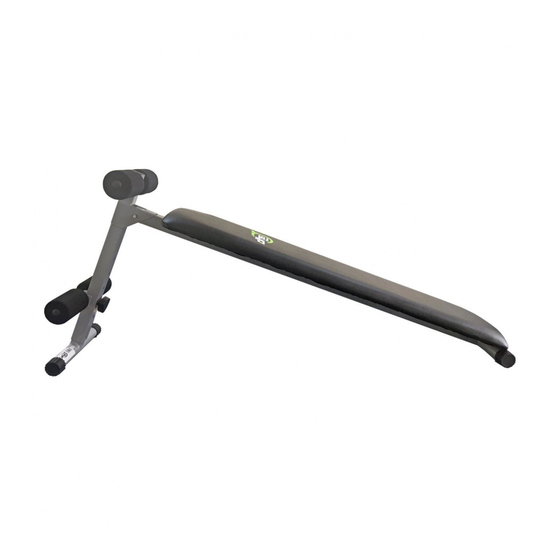
BANCĂ DE ABDOMENE
DREAPTĂ DHS 1010
IMPORTANT !
Citiți cu atenție toate instrucțiunile înainte de a utiliza acest produs.
Păstrați acest manual pentru referințe viitoare.
Specificațiile acestui produs pot varia ușor față de ilustrații și pot fi modificate
fără notificare.
Advertisement

Related Manuals for DHS Fitness 1010


Summary of Contents for DHS Fitness 1010
- Page 1 MANUAL DE UTILIZARE BANCĂ DE ABDOMENE DREAPTĂ DHS 1010 IMPORTANT ! Citiți cu atenție toate instrucțiunile înainte de a utiliza acest produs. Păstrați acest manual pentru referințe viitoare. Specificațiile acestui produs pot varia ușor față de ilustrații și pot fi modificate...
- Page 2 NOTIFICĂRI PRIVIND SIGURANȚA Rețineți următoarele măsuri de precauție înainte de asamblarea și utilizarea aparatului. 1. Asamblați aparatul conform descrierilor din manualul de instrucțiuni. 2. Verificați toate bolțurile, piulițele și celelalte conexiuni înainte de a utiliza aparatul pentru prima dată pentru a vă asigura că totul este în regulă. 3.
- Page 3 DIAGRAMĂ...
- Page 4 LISTĂ PĂRŢI COMPONENTE DESCRIERE CANT DESCRIERE CANT Cadru principal Picior superior de sprijin Capac tub inferior Suport picioare superior Capac pătrat Ştift Şezut Mâner Şaibă plată Suport picioare inferior Spumă Bolţ Şaibă plată Capac rotund Picior ajustabil NOTĂ Majoritatea pieselor enumerate sunt ambalate separat, dar unele componente au fost preinstalate în ansamblul final.
- Page 5 Pasul 2: Când terminați exercițiul, scoateți știftul(11) și pliați piciorul de susținere(9) în direcţia indicată de săgeata spre cadrul principal(1), apoi aşezaţi pe o suprafaţă curată.
- Page 6 OWNER’S MANUAL STRAIGHT SIT-UP BENCH DHS 1010 IMPORTANT ! Please read all instructions carefully before using this product. Retain this manual for future reference. The specifications of this product may vary slightly from the illustrations and are subject to change without notice.
-
Page 7: Important Safety Notice
IMPORTANT SAFETY NOTICE Note the following precaution before assembling and operating the machine. 1. Assemble the machine exactly as the descriptions in the instruction manual. 2. Check all the bolts, nuts and other connections before using the machine for the first time to ensure the machine is in the safe condition. - Page 8 EXPLOSIVED DRAWING...
-
Page 9: Parts List
PARTS LIST PART PART DESCRIPTION DESCRIPTION Main frame Support Connection Bottom Tube Cap Upper leg-guard frame Square end cap Bench Knob Lower leg-guard Flat washer frame set Foam Cross pan head bolt Round end cap Flat washer Adjusting bracket NOTE: Most of the listed assembly hardware has been packaged separately, but some hardware items have been preinstalled in the identified assembly parts. - Page 10 Step 2: When finish exercise, pull out the Pin(11), and fold the Support Connection(9)in the arrow of the main frame(1), then put it on the clean flat floor.
Need help?
Do you have a question about the 1010 and is the answer not in the manual?
Questions and answers