Advertisement
Quick Links
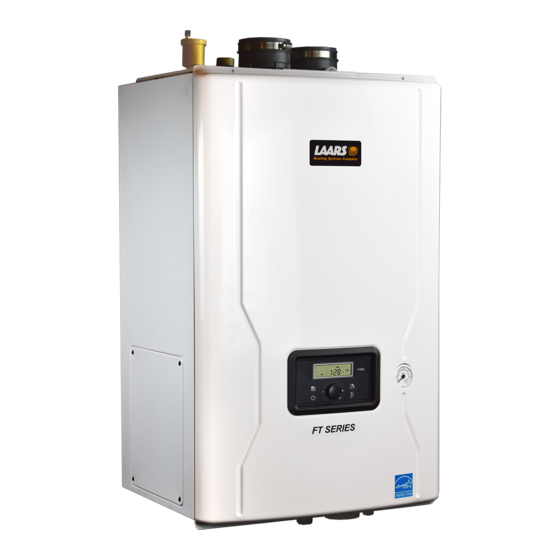
C
O MBI
FT W
ALL
DHW Set Point ........................................ 2
High Temp DHW Set Point ...................... 3
Outdoor Reset ...................................... 4-7
Installer Parameters ............................. 8-9
WARNING
This Quick Start Guide is
supplemental to the Installation and
Operating Manual for the FT Combi.
The installation of the combination
(Wall or Floor) must be per the
Installation and Operating Manual for
that unit (1487 Wall, or 1505 Floor) first
and per requirements of the manual
and within the guidelines of all local
codes BEFORE starting with this
Quick Start Guide.
If the information in the Install and
Operating Manual (1487 Wall, or 1505
Floor) is not followed exactly, a fire or
explosion may result causing property
damage, personal injury or loss of life.
Q
UICK
M
OUNTED AND
S
G
TART
F
LOORSTANDING
Ce guide de démarrage rapide complète
le manuel d'installation et d'utilisation du
FT Combi. L'installation de la combinaison
(mur ou sol) doit d'abord être conforme
au manuel d'installation et d'utilisation
de cette unité (mur 1487 ou sol 1505) et
conformément aux exigences du manuel
et aux directives de tous les codes locaux
AVANT de commencer avec ce démarrage
rapide. Guider.
Si les informations contenues dans le
manuel d'installation et d'utilisation (mur
1487 ou sol 1505) ne sont pas suivies à la
lettre, un incendie ou une explosion peut en
résulter, causant des dommages matériels,
des blessures corporelles ou la mort.
1514-NH
UIDE
AVERTISSEMENT
Advertisement

Related Manuals for Laars FT Combi Series


Summary of Contents for Laars FT Combi Series
-
Page 1: Table Of Contents
1514-NH O MBI UICK TART UIDE FT W OUNTED AND LOORSTANDING DHW Set Point ........2 High Temp DHW Set Point ...... 3 Outdoor Reset ........4-7 Installer Parameters ......8-9 Measuring & Adjusting CO 2 ..... 10-12 WARNING AVERTISSEMENT This Quick Start Guide is Ce guide de démarrage rapide complète supplemental to the Installation and... -
Page 2: Dhw Set Point
Page 3 Page 3 FT WALL MOUNTED AND FLOORSTANDING COMBI MODELS Call for: Display Call for: • Display • • Mode Button DHW Button • • Internal Storage Mode Button DHW Button • Internal Storage Display Power/ • CH Button Scroll/ Display Power/ •... -
Page 3: High Temp Dhw Set Point
FT WALL MOUNTED AND FLOORSTANDING COMBI MODELS Programming High Temp DHW Set Point Note: The DHW high set point can be 1. Press DHW button. DANGER adjusted to a maximum of 140° F. An Anti-Scald device is required for The DHW icon will Page 4 FT Floor units and FT Wall units appear on the screen. -
Page 4: Outdoor Reset
FT WALL MOUNTED AND FLOORSTANDING COMBI MODELS Page 2 Call for: Display • • Mode Button DHW Button • Internal Storage Display Power/ • CH Button Scroll/ Reset • Select Dial • Calculated setpoint Programming CH Set Point Outdoor Reset - Connections Note: Central Heat (CH) cannot be set if the outdoor sensor is... - Page 5 FT WALL MOUNTED AND FLOORSTANDING COMBI MODELS Page 6 Outdoor Reset Sensor Wiring Understanding Outdoor Reset Adjustment Outdoor Reset varies the control set point based on the outdoor temperature. The reset function works as shown in Figure ‘CH Outdoor Reset’. When the outdoor air temperature reaches 6:OH “high outdoor temperature set point”, the control point setting is adjusted to 17:cL “low boiler temperature set point”.
- Page 6 FT WALL MOUNTED AND FLOORSTANDING COMBI MODELS Programming Outdoor Reset Programming Outdoor Reset Installer Level 7:OL 7. Turn the Scroll/Select dial to (Low Outdoor Temperature). 8. Press and release the Scroll/Select dial to enter this program step. 9. Turn the Scroll/Select dial to desired Low Outdoor Temperature.
- Page 7 FT WALL MOUNTED AND FLOORSTANDING COMBI MODELS Programming Programming Outdoor Reset Outdoor Reset Installer Level 16:cH 15. Turn the Scroll/Select dial to (Maximum CH temperature). 16. Press and release the Scroll/Select dial to enter this program step. 17. Turn the Scroll/Select dial to desired Maximum CH Temperature.
-
Page 8: Installer Parameters
FT WALL MOUNTED AND FLOORSTANDING COMBI MODELS Page 68 Installer Parameters 5.8 Installer Parameters (continued) Index Default Parameter Description 1: EH Error History History fault code (E0~E9) 2: cE Clear Error History Clearing of error History buffer 3: In System initialize System initialize to default 4: Fu Flow unit... - Page 9 FT WALL MOUNTED AND FLOORSTANDING COMBI MODELS The FT Series Floor Standing, Combination Boiler Page 69 Installer Parameters (cont) Index Default Parameter Description CH System Pump and This function sets the time to run Boiler pump to purge air from the DHW Indirect Pump Test AP:cP system.
-
Page 10: Measuring & Adjusting Co 2
FT WALL MOUNTED AND FLOORSTANDING COMBI MODELS Measuring and Adjusting CO2 Vent Plug 1. Turn on Gas and Water supply to the FT models 2. Remove the plug located in the vent pipe adaptor and set up your gas analyzer. CO2 adjustments are made ONLY when the boiler is in “Min Fire”... - Page 11 FT WALL MOUNTED AND FLOORSTANDING COMBI MODELS Combustion Setup CO 2 Value COMBI SIZES (and all altitudes) Gas Inlet Port CO2 Adjustment NOTE: FTCW199 Gas Valve Shown. Depending on your model number, gas valve location may be different. 5. Adjusting CO2. Remove the Cap Screw. Use a T15 Torx wrench to adjust gas valve.
- Page 12 Page 13 FT WALL MOUNTED AND FLOORSTANDING COMBI MODELS 12. Once the CO2 has stabilized and is within specification, set DIP Switches 6 and 7 to the “OFF” position (Normal Operation). 13. Remove all test equipment, re-install the combustion port test plug. Fasten the boiler cover back onto the boiler.
Need help?
Do you have a question about the FT Combi Series and is the answer not in the manual?
Questions and answers