
Related Manuals for LUCCI AIRLIE HUGGER 36


Summary of Contents for LUCCI AIRLIE HUGGER 36
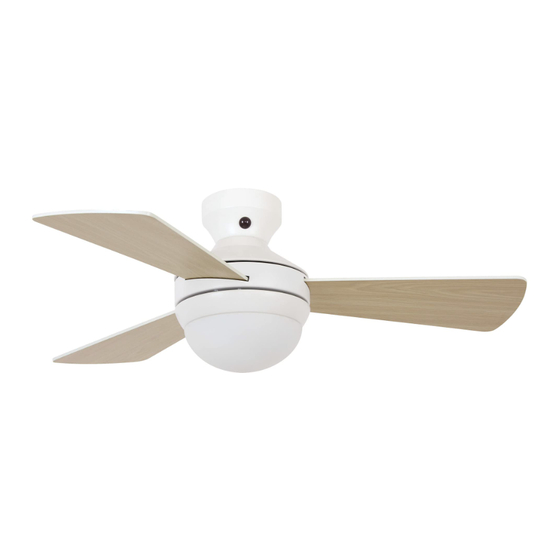
- Page 1 LUCCI AIRLIE HUGGER CEILING FAN ⚫ INSTALLATION ⚫ OPERATION ⚫ MAINTENANCE ⚫ WARRANTY INFORMATION CAUTION READ INSTRUCTIONS CAREFULLY FOR SAFE INSTALLATION AND FAN OPERATION. V1.0 - EN (07/2020)
-
Page 2: Safety Precautions
Airlie Hugger Fan Installation Instructions THANK YOU FOR PURCHASING Thank you for purchasing this quality Lucci product. To ensure correct function and safety, please read and follow all instructions carefully before assembly, installation and use of this ceiling fan. Please keep instructions for future reference. -
Page 3: Before Installation
Airlie Hugger Fan Installation Instructions BEFORE INSTALLATION • Unpack the fan carefully. Remove all parts and hardware. • Lay out all the components on a smooth surface and make sure there are no components missing before assembling. If parts are missing, return the complete product to the place of purchase for inspection or replacement. -
Page 4: Installing The Mounting Bracket
Airlie Hugger Fan Installation Instructions INSTALLING THE MOUNTING BRACKET • The ceiling fan must be installed in a location so that the blades are a minimum 300mm spacing from the tip of the blade to the nearest objects or walls. •... -
Page 5: Blade Installation
Airlie Hugger Fan Installation Instructions BLADE INSTALLATION BLADE ATTACHMENT (Fig. 5) 1. Remove the cover plate (2) from the top of the motor housing, by loosening the two screws (1). This will allow access to the three blade mounting screw holes. 2. -
Page 6: Hanging The Fan
Airlie Hugger Fan Installation Instructions HANGING THE FAN FAN WITH DOWN ROD (Fig. 7) Lift the fan assembly onto the mounting bracket. Ensure the key slot (A) of the hanger ball is positioned on the key pin (B) of the mounting bracket (C) to prevent the fan from rotating when in operation. Fig. -
Page 7: Electrical Wiring Diagram
Airlie Hugger Fan Installation Instructions ELECTRICAL WIRING DIAGRAM WARNING: FOR YOUR SAFETY ALL ELECTRICAL CONNECTIONS MUST BE UNDERTAKEN BY A LICENSED ELECTRICIAN. NOTE: AN ADDITIONAL ALL POLE DISCONNECTION SWITCH MUST BE INCLUDED IN THE FIXED WIRING. • Connect “LIVE” supply wire to the “L” of terminal block on the mounting bracket. •... -
Page 8: Finishing The Installation
Airlie Hugger Fan Installation Instructions FINISHING THE INSTALLATION • Cover the mounting bracket with the canopy. Ensure all electrical wiring is tucked inside the canopy and that the wires are not damaged during this step. Secure the canopy to the hanger bracket using the screws provided. - Page 9 Airlie Hugger Fan Installation Instructions OPEARATION OF THE REMOTE CONTROLLER (Fig. 12) Before you start using the remote, take the time to read through this section and get familiar with the buttons and function of each button. 1. IR TRANSMITTER 2.
- Page 10 Airlie Hugger Fan Installation Instructions INSTALLATION OF THE REMOTE HOLDER (Fig.14) Install the remote holder onto the wall by the two screws provided. Place the remote controller onto the holder. Fig. 14 REVERSE FUNCTION (Fig. 15) Your ceiling fan can operate either in fan mode or reverse fan mode. SUMMER Mode: The reverse switch should be in the SUMMER position to make the fan rotate in the anticlockwise direction.
-
Page 11: After Installation
Airlie Hugger Fan Installation Instructions AFTER INSTALLATION WOBBLE: NOTE: ceiling fans tend to move during operation due to the fact that they are mounted on a rubber grommet. If the fan was mounted rigidly to the ceiling it would cause excessive vibration. Movement of a few centimetres is quite acceptable and DOES NOT suggest any problem. -
Page 12: Technical Information
Airlie Hugger Fan Installation Instructions SAFETY PRECAUTIONS FOR BATTERY WARNING – Keep new and used batteries away from children. CAUTION – Do not ingest battery—Chemical burn hazard. To prevent false operation during battery insertion or replacement, the ceiling fan must be disconnected from the supply mains. - Page 13 Airlie Hugger Fan Installation Instructions Contact: Beacon International Ltd Hong Kong Head Office: Room 05, 18/F, Kimberland Center, 55 Wing Hong Street, Cheung Sha Wan Kowloon, Hong Kong Tel +852 34915904 Fax +852 34915917 China showroom / Office: 11/Fl, Guzhen Lighting Building B, Mid Zhongxing Road, Guzhen, Zhongshan, GuangDong, China.
Need help?
Do you have a question about the AIRLIE HUGGER 36 and is the answer not in the manual?
Questions and answers