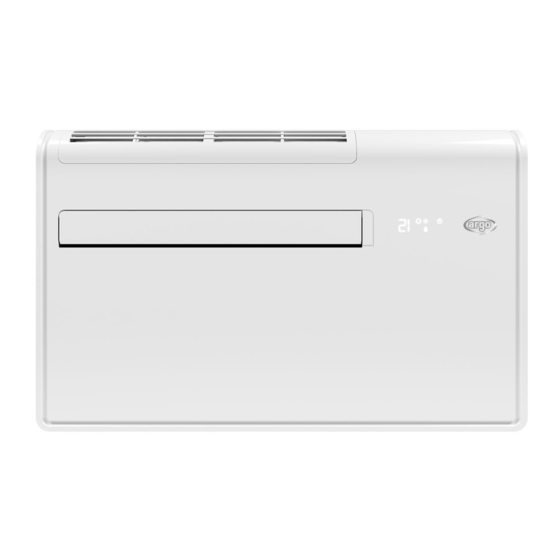
Argo APOLLO Service Manual
Air conditioner without outdoor unit
Hide thumbs
Also See for APOLLO:
- Operating instructions manual (22 pages) ,
- Installation instructions manual (12 pages) ,
- Manual (16 pages)
Advertisement
Quick Links
Advertisement

Subscribe to Our Youtube Channel
Summary of Contents for Argo APOLLO
- Page 1 APOLLO SERVICE MANUAL Air conditioner without outdoor unit...
- Page 2 I. Removing back panel 1. first remove a total of 6 screws on the left and right sides of the front shell with a screwdriver; remove the screws fixed to the back plate. 2. pull the back plate outward by hand to ensure that the upper and lower clamps of the front shell are detached from the back plate.
- Page 3 II. Removal of front housing assemblies 1. swing the guide plate to the horizontal position, remove the three screws behind the guide plate with a screwdriver. 2. remove the 2 screws fixed on the electronic control box cover, remove the electronic control box cover, and pull out the connected terminal for subsequent disassembly and maintenance.
- Page 4 3. slightly lift the base with the hand, pull the front shell out, the left and right sides of the front shell and the machine left and right sides of the sheet metal joint clip to ensure that has been detached, the front shell bottom and the machine inside the base joint clip to ensure that has been detached, horizontal move out of the front shell, when moving out pay attention to loosen the connection line.
- Page 5 1. remove the 2 screws of the fixing appliance box and remove the appliance box. 2. remove the screws fixing the main control PCB and remove the main control PCB. Remove the screws that fix the PCB radiator and the electronic control box and remove the PCB radiator.
- Page 6 3. remove the 2 screws on the fixed heat dissipation fan bracket and remove the heat dissipation fan. 4. remove the screws that fix the reactor and remove the reactor.
- Page 8 VI. Remove the evaporator duct assembly 1. remove the screws that fix the motor press plate and remove the motor press plate.
- Page 9 1. remove the screws fixed to the evaporator to the air duct assembly.
- Page 10 remove screws fixed evaporator duct assembly.
- Page 11 4. lift the evaporator assembly, tilt the inner machine base assembly out.
- Page 12 七、内机组件拆分 1. 拆取前挡风板(1)与内机组件连接的螺钉。 2. 拆除中支撑横板(2)与中支撑侧板连接的螺钉。 3. 将蒸发器组件抬起,水平移出中隔板。 4. remove the screws attached to the base and the side plates and remove the side plates.
- Page 13 VIII. Dismantling of exhaust duct assemblies 1. remove the screws fixing the volute assembly and remove the volute assembly.
- Page 14 2. remove the 4 screws on the outside of the volute, loosen the nut fixed on the motor shaft, remove the nut, pull out the exhaust air wheel with both hands outward; then remove the 4 screws that fix the motor on the other side and remove the motor.
- Page 15 2. separate the 3 nuts of the fixed compressor ground foot, remove the nut and gasket, lift up the refrigeration system composed of compressor, condenser and evaporator, so that it is detached from the chassis assembly, and the two system components are arranged well (note that the protection line must not be broken).
- Page 17 Via Alfeno Varo, 35 - 25020 Alfianello - BS - Italy Tel. +39 0331 755111 - Fax +39 0331 755501 www.argoclima.com...


Need help?
Do you have a question about the APOLLO and is the answer not in the manual?
Questions and answers