ZOLL R Series Quick Reference Manual
Hide thumbs
Also See for R Series:
- Service manual (548 pages) ,
- Operator's manual (88 pages) ,
- Manual (35 pages)
Advertisement
©2010 ZOLL Medical Corporation. ll rights reserved.
CPR Index, OneStep, R Series, Real CPR Help, See-Thru CPR, statpadz, and ZOLL are trademarks
or registered trademarks of ZOLL Medical Corporation in the United States and/or other countries.
ll other trademarks are the property of their respective owners.
9650-1001-01 Rev B
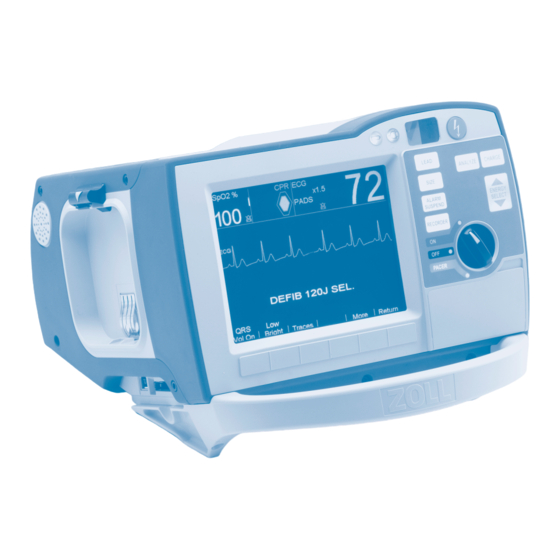
R Series
Quick Reference
ZOLL Medical Corporation
269 Mill Road
Chelmsford, M 01824 US
(800) 348-9011
+1-978-421-9655
www.zoll.com
ZOLL Netherlands
uthorized EU Representative
Newtonweg 18
6662 PV ELST
The Netherlands
+31 (0) 481 366410
www.zoll.nl
uide
Advertisement
Table of Contents

Subscribe to Our Youtube Channel
Related Manuals for ZOLL R Series


Summary of Contents for ZOLL R Series
- Page 1 6662 PV ELST ©2010 ZOLL Medical Corporation. ll rights reserved. CPR Index, OneStep, R Series, Real CPR Help, See-Thru CPR, statpadz, and ZOLL are trademarks The Netherlands or registered trademarks of ZOLL Medical Corporation in the United States and/or other countries.
- Page 2 Monitoring ..........Page 7 SpO 2 , EtCO 2 , NIBP monitoring parameters and larm functions on the R Series Managing Data and Cable Connections .
- Page 3 Therapy dult Defibrillation Proper Pad or Paddle Placement R Series BLS/Plus Defibrillation (AED) Defibrillation (Advisory) OneStep Resuscitation Electrode Cardioversion Electrode Anterior / Posterior Placement Anterior / Posterior Placement 1. pply pads as shown. 1. pply pads. (Recommended) (Recommended) 2. Turn selector switch to ON.
- Page 4 100 bpm metronome will be heard until rate is correct. 8. If NO SHOCK DVISED, check for a pulse 7. If your R Series does not display a CPR Index, your defibrillator has only basic CPR and if no pulse, resume CPR immediately.
- Page 5 3. Turn the pacer R TE knob to desired rate. ECG Display 4. Turn the pacer OUTPUT knob clockwise slowly until capture. 1. Turn selector switch to MONITOR on the R Series LS unit. Dial settings for If using BLS or Plus device, press M NU L then CONFIRM 5.
- Page 6 3. Turn selector switch to grey area labeled MONITOR on Press the PRINT LL or the PRINT R NGE soft key for specific events. the R Series LS. If using BLS or Plus device, turn ON, then press M NU L then CONFIRM soft keys to use in LS mode.
Need help?
Do you have a question about the R Series and is the answer not in the manual?
Questions and answers