Advertisement
Quick Links
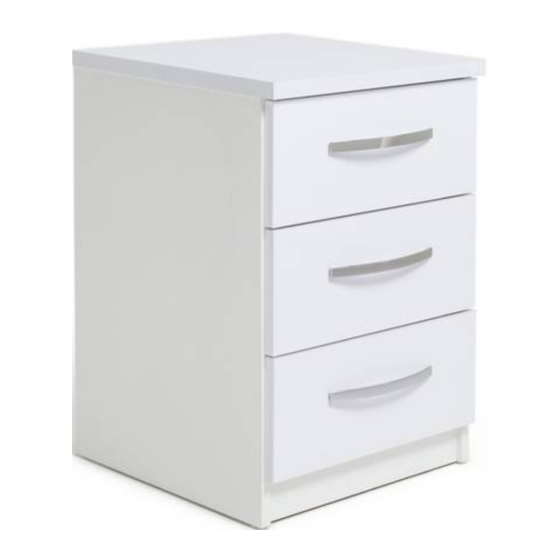
Hallingford Gloss - 3 Drawer Bedside
Assembly Instructions - Important: Retain these instructions for
In order to prevent overturning, this product must be used
Dimensions
Width - 37.5cm
Depth - 39.6cm
Height - 58cm
Important -
Please read these instructions fully before starting assem-
If you need help or have damaged or missing parts, please visit www.argos-support.co.uk
or email: Help@ClickSpares.co.uk (quoting your original order number)
Alternatively, call the Spares Helpline on: 0330 016 1114
For any other queries please contact the Customer Helpline on: 0345 640 2020
future reference
WARNING!
with the wall attachment device provided
More help is available throughout this
booklet by scanning in the QR codes or
typing in the links
790/7711
760/8632
814/5091
806/8721
MADE IN
BRITAIN
Issue 5 - 11/08/20
Advertisement

Related Manuals for Argos Hallingford Gloss 790/7711


Summary of Contents for Argos Hallingford Gloss 790/7711
- Page 1 Important - Please read these instructions fully before starting assem- If you need help or have damaged or missing parts, please visit www.argos-support.co.uk or email: Help@ClickSpares.co.uk (quoting your original order number) Alternatively, call the Spares Helpline on: 0330 016 1114...
-
Page 2: Care And Maintenance
Safety and Care Advice Important - Please read these instructions fully before starting assembly • Warning: This unit weighs • Parts of the assembly will be • We do not approximately 14kgs. easier with 2 people. recommend the Please lift with care. use of power •... - Page 3 Components - Panels Please check you have all the panels listed below 1 Drawer Front 2 Left Drawer Side 3 Right Drawer Side (DF-00010163) (WRP-00000156) (WRP-00000157) (36 x 16.2cm) (35 x 13cm) (35 x 13cm) 4 Drawer Base 5 Drawer Back (TDF-00022245) (WRP-00000463) (31.95 x 34.7cm)
- Page 4 Components - Fittings Please check you have all the fittings listed below Note: The quantities below are the correct amount to complete the assembly. In some cases more fittings may be supplied than are required. Drawer Fittings Bag marked ‘drw kit’ Small locking cam Metal dowel (F901)
- Page 5 Assembly Instructions Step 1 Use the Drawer Fittings Bag marked ‘drw kit’ for Steps 1 - 7 Prepare the 3 drawer fronts Drawer Assembly www.youtube.com/watch?v=InNBV_uuMmo Screw 2 metal dowels into each of the 3 drawer fronts Note: Tighten the metal dowels up fully against the panels.
- Page 6 Assembly Instructions Step 4 Fit the drawer bases Slide the drawer base 10 3 down the grooves in the drawer sides and down into the groove in the drawer front Step 5 Fit the drawer backs Fit the drawer back between the drawer sides Make sure that the...
- Page 7 Assembly Instructions Step 8 Fitting Ball Bearing Runners www.youtube.com/watch?v=yG4xtiJJeSg Prepare the left side Place 3 runners the left side shown. Slide back the top of runner and use the 2nd hole from the front to fit the 1st screw Finished front edge Slide the runner back the other way and...
- Page 8 Assembly Instructions Step 9 Prepare the right side Place 3 runners the right side shown. Slide back the top of runner and use the 2nd hole from the front to fit the 1st screw Slide the runner Finished back the other way and front edge fit the 2nd screw into...
- Page 9 Assembly Instructions Step 11 Join the 2 plinths to the right side Push the 2 plinths onto the right side Note: Support this Use a screwdriver to plinth until the left tighten the 2 large side has been fitted locking cam nuts in the next step fitted to the plinths Finished...
- Page 10 Assembly Instructions Step 14 Fit the top Note: To make it easier to fit the top, place polystyrene blocks from the packaging underneath the side panels to raise the assembly. Push the top onto the assembly. Polystyrene Polystyrene block block Finished Use a screwdriver to front edge...
- Page 11 Assembly Instructions Step 16 Fit the 4 plastic nails Tap 2 plastic nails into the bottom edge of each of the sides Carefully stand the unit up for the next step. Step 17 WARNING! Secure the unit to a In order to prevent overturning wall this product must be used with the Before fitting the unit...
-
Page 12: A Guide To Wall Mounting & Fixings
A Guide to Wall Mounting & Fixings Important: When drilling into walls always Important note: check that there are no hidden wires or pipes etc. If plastic wall plugs Make sure that the screws and wall plugs being used are supplied with your are suitable for supporting your unit. - Page 13 Assembly Instructions Step 18 Fit the drawers Starting with the bottom drawer, slide both the runners forward and locate the drawer sides between them, lining up the holes in the drawer wrap with the 2nd 'threaded' holes in the runners Working from the inside of the drawer, insert 2 screws...
- Page 16 ALR3432...
Need help?
Do you have a question about the Hallingford Gloss 790/7711 and is the answer not in the manual?
Questions and answers