
Related Manuals for Argos Lydiard Gloss 2008952


Summary of Contents for Argos Lydiard Gloss 2008952
- Page 1 Lydiard Gloss Large Shoe Cabinet Spare Parts Customer Support www.argos-support.co.uk 0345 640 2020 Help@ClickSpares.co.uk 0370 112 1928 lssue 1 - 27/09/2022...
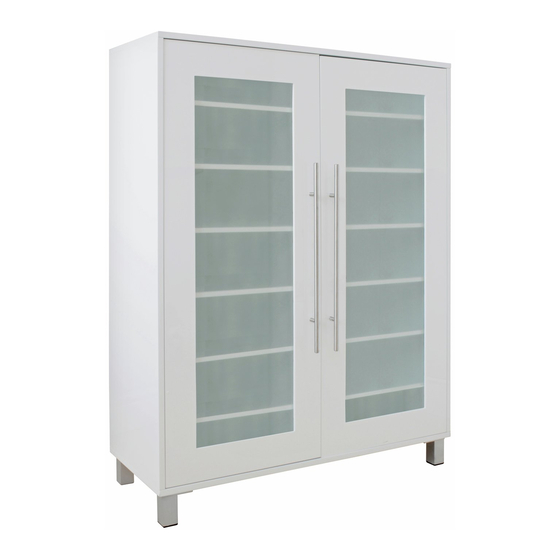
- Page 2 Safety and Care Advice Product Details White 2008952 Grey 2025928 IMPORTANT, RETAIN FOR FUTURE REFERENCE: READ CAREFULLY. • Keep children and animals away • Assemble the item as close to • We do not from the work area, small parts recommend the could choke if swallowed.
-
Page 3: Tools Required
Fittings Bag 1 Cam Lock x 12 35mm Cam Stud x 12 35mm Screw x 6 12mm Screw x 36 Hinges x 6 20mm Screw x 4 Dowels x 24 Legs x 4 16mm Screw x 16 Handle x 2 10mm Screw x 32 Wall Plug x 2 Wall Strap x 2... - Page 4 Panels 1 Left Side Panel x 1 2 Right Side Panel x 1 3 Top Panel x 1 4 Base Panel x 1 (H104.8cm x W35.1cm) (H104.8cm x W35.1cm) (H92cm x W35.2cm) (H92cm x W35.2cm) 5 Shelf Panel 5 x 4 6 Shelf Panel 6 x 2 7 Left Door x 1 8 Right Door x 1...
- Page 5 35mm Cam Stud x 12 Cam Socket x 12 35mm Screw x 6 18mm Screw x 4 12mm Screw x 36 Hinges x 6 35mm Cam Stud x 8 Dowels x 16 Legs x 4 16mm Screw x 16 Dowels x 24 Handle x 2 10mm Screw x 32 Wall Plug x 2...
- Page 6 35mm Screw x 4 Dowels x 4 TWO PEOPLE REQUIRED Turn Product Legs x 4 16mm Screw x 16...
- Page 7 35mm Cam Stud x 4 Cam Socket x 4 Dowels x 4 TWO PEOPLE REQUIRED Turn Product 10mm Screw x 32 TWO PEOPLE REQUIRED Rotate Product To ensure the unit is square make sure the measurement YY is equal to the measurement XX...
- Page 8 20mm Screw x 4 12mm Screw x 36 Hinges x 6 Handle x 2 See last page for hinge adjustment instructions 35mm Screw x 2 Wall Plug x 2 Wall Strap x 2 Washer x 4 16mm Screw x 2 WARNING! BEFORE DRILLING, CHECK WALL FOR HIDDEN...
- Page 9 •...
- Page 10 Using camlocks Step 1: Step 3: Connect the cam stud Push the male cam stud as directed in the into every hole. assembly instructions using a screwdriver. Step 2: Step 4: Turn the cam socket Insert the cam socket with a screwdriver. as shown in the instructions.
Need help?
Do you have a question about the Lydiard Gloss 2008952 and is the answer not in the manual?
Questions and answers