Table of Contents
Advertisement
Quick Links
Advertisement
Table of Contents

Related Manuals for AEG SWE66001DG


Summary of Contents for AEG SWE66001DG
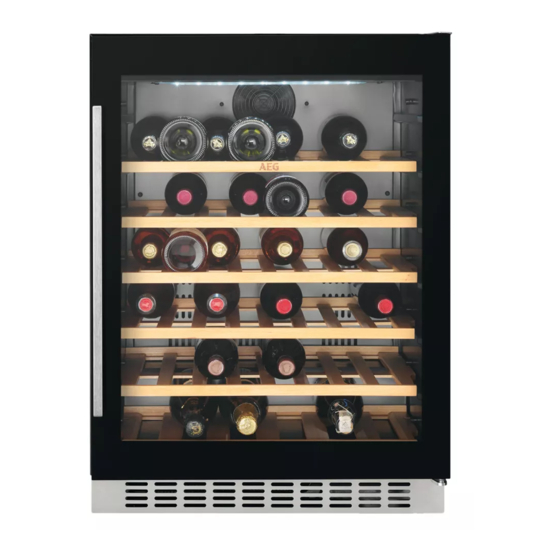
- Page 1 SWE66001DG User Manual Wine Cabinet USER MANUAL...
-
Page 2: Table Of Contents
13. ENVIRONMENTAL CONCERNS..............16 FOR PERFECT RESULTS Thank you for choosing this AEG product. We have created it to give you impeccable performance for many years, with innovative technologies that help make life simpler – features you might not find on ordinary appliances. Please spend a few minutes reading to get the very best from it. - Page 3 ENGLISH responsible for any injuries or damage that are the result of incorrect installation or usage. Always keep the instructions in a safe and accessible location for future reference. 1.1 Children and vulnerable people safety This appliance can be used by children aged from 8 •...
-
Page 4: Safety Instructions
To avoid contamination of food respect the following • instructions: do not open the door for long periods; – clean regularly surfaces that can come in contact – with food and accessible drainage systems; WARNING: Keep ventilation openings, in the •... - Page 5 ENGLISH • At first installation or after reversing • The mains cable must stay below the the door wait at least 4 hours before level of the mains plug. connecting the appliance to the power • Connect the mains plug to the mains supply.
-
Page 6: Installation
They are not door hinges, trays and baskets. - Page 7 ENGLISH 3.1 Dimensions 90° space necessary for free circulation of the cooling air, plus the space necessary Overall dimensions ¹ to allow door opening to the minimum angle permitting removal of all internal equipment 3.2 Location To ensure appliance's best functionality, ¹...
- Page 8 It must be possible to yellow. disconnect the appliance 2. Connect the wire coloured blue to the from the mains power terminal either marked with the letter supply. The plug must “N“ or coloured black.
- Page 9 ENGLISH 5. Unscrew the screws that connect the upper hinge at the top right corner of the appliance. Put the upper hinge in a safe place together with the screws. 6. Use a putty knife or a thin blade screwdriver to remove 3 screw hole covers from the left upper corner of 3.6 Door reversibility the appliance.
-
Page 10: Product Description
4. PRODUCT DESCRIPTION 4.1 Product overview Control panel Shelves Feet Decorative frame Tempered glass door Handle Gasket 5. OPERATION 5.1 Control panel Temp. Power button Temperature warmer button Light button Temperature colder button Temperature indicator Display 5.2 Switching on 3. -
Page 11: Daily Use
ENGLISH To set the right temperature for each The temperature can be type of wine, refer to "Daily Use" chapter. adjusted between +5 and +18°C. To set the temperature, press the temperature regulators. The display shows the set temperature. 6. DAILY USE 6.1 Wine storage Shelf levels This appliance is intended to... - Page 12 Full shelf levels 2,3,4,5 Top shelf level 6 Top shelf can fit: • 7 bottles with the humid box, • 8 bottles without the humid box. 6.3 Removing and installing shelves To remove any shelf from the wine cabinet: 1.
-
Page 13: Hints And Tips
ENGLISH 7. HINTS AND TIPS 7.1 Hints for energy saving • Do not open the door frequently or leave it open longer than necessary. • The internal configuration of the • Ensure a good ventilation. Do not appliance is the one that ensures the cover the ventilation grilles or holes. -
Page 14: Troubleshooting
9. TROUBLESHOOTING WARNING! Refer to Safety chapters. 9.1 What to do if... Problem Possible cause Solution The appliance does not op‐ The appliance is switched Switch on the appliance. erate. off. The mains plug is not con‐ Connect the mains plug to the nected to the mains socket mains socket correctly. - Page 15 ENGLISH Problem Possible cause Solution Water flows inside the wine Products prevent that wa‐ Make sure that products do cabinet. ter flows into the water col‐ not touch the rear plate. lector. The temperature in the wine The temperature regulator Set a higher or lower tempera‐...
-
Page 16: Noises
10. NOISES SSSRRR! BRRR! CLICK! HISSS! BLUBB! 11. TECHNICAL DATA The technical information is situated in web link to the information related to the the rating plate on the internal side of the performance of the appliance. Keep the appliance and on the energy label. - Page 20 www.aeg.com/shop...
Need help?
Do you have a question about the SWE66001DG and is the answer not in the manual?
Questions and answers