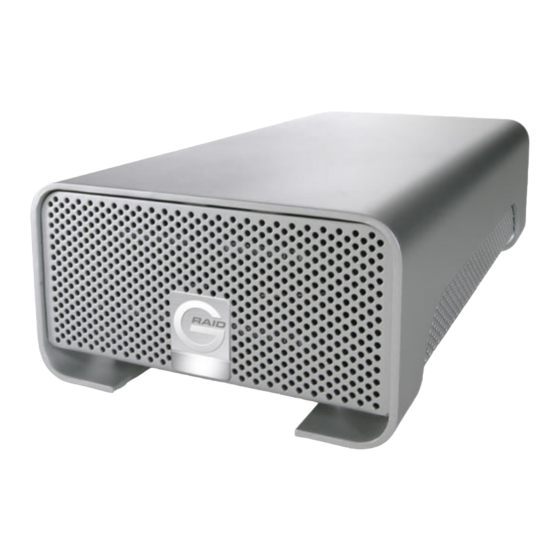
Summary of Contents for G-Technology G-SATA
-
Page 1: Table Of Contents
5. G-SATA OVERVIEW 6. INSTALLING G-SATA 6.1 Installing the G-SATA PCI Adapter 6.2 Connecting G-SATA to your Computer 6.3 Attaching the SATA and Power Cables to G-SATA 7. INITIALIZING G-SATA 7.1 Mac OS X (10.4) 7.2 Windows 2000/XP 8. HOT-SWAP PROCEDURE FOR G-SATA 8.1 Mac OS X Computers –... - Page 2 G-SATA Installation Guide Page 2...
- Page 3 G-SATA Installation Guide Page 3...
-
Page 4: Introduction
(310) 449-4599. Please keep the shipping container and packing materials. In the unlikely event that you need to return G-SATA to us for any reason, you must use the G-Tech shipping container. If the product is returned damaged caused by improper packaging, the warranty will be void and liability will rest with the user. -
Page 5: G-Sata Overview
1) Install the SATA PCI adapter 2) Cable G-SATA to your computer 3) Initialize G-SATA for use with your choice of operating system 6.1 Installing the G-SATA PCI Adapter 1. Remove the power cord from your computer. -
Page 6: Connecting G-Sata To Your Computer
Mac. G-SATA will mount on the desktop as shown below. Note: G-SATA may also be initialized as two independent volumes or as a mirrored (RAID 1) volume for data security documentation on the steps required to re-initialize as individual volumes or as a mirror. - Page 7 Utilities Folder located in the Applications Folder on the Macintosh HD. A window like the following will appear. The two drives contained in G-SATA will be displayed in the left-hand column as shown. 2. Select one of the drives contained in G-SATA by clicking on the entry in the left-hand column as shown below.
-
Page 8: Windows 2000/Xp
Click on the <Create> button to continue. 6. When the RAID is created, G-SATA will be displayed in the left-hand panel as shown below. 7. Exit the Apple Disk Utility. 8. G-SATA will now be mounted on the desktop as shown below. - Page 9 Press <Ctrl+E> to exit the RAID Configuration Utility. Press <Y> to confirm. 6. Reboot your computer. Now that the G-SATA PCI adapter is configured for RAID 0 operation, the system must be initialized for use. 1. Open the Disk Management utility by right-clicking on the My Computer icon on the desktop and selecting “Manage”...
- Page 10 G-SATA Installation Guide 4. The following window will appear. G-SATA (Disk 1) is now identified as Basic and Online. 5. Right-click on the Disk 1 “Unallocated” bar entry and select New Partition… from the pull-down menu as shown below. 6. The window shown below will appear.
- Page 11 <Next> button to continue. This will create one large volume using all of the available space on G-SATA. Note: Multiple partitions can be created on G-SATA. Consult your Windows documentation for instructions on setting up multiple partitions. 9. Windows will automatically assign a drive letter (in this example E:).
-
Page 12: Hot-Swap Procedure For G-Sata
G-SATA is now set up for use!! 8. Hot-Swap Procedure for G-SATA A great feature of G-SATA is its ability to be connected and disconnected while your computer is running. failures and/or data loss it is important to follow the steps below when hot-swapping G-SATA. -
Page 13: Windows 2000/Xp Computers - Removing G-Sata
1. Right -click on My Computer, select Manage, and then Device Manager. 2. Go to Disk Drives. 3. Right click on the drives contained in G-SATA and select Remove/Disable. 4. After performing this operation, you can remove G-SATA from the system without risk of losing any data that is currently stored in cache memory. -
Page 14: Limited Warranty
G-SATA Installation Guide 10. LIMITED WARRANTY G-Technology Inc. (G-Tech) warrants your product against any defect in material and workmanship, under normal use, for the designated warranty period. become defective within the warranty period, G-Tech, will at its discretion, repair or replace the product.


Need help?
Do you have a question about the G-SATA and is the answer not in the manual?
Questions and answers