
Related Manuals for Birlea Urban 1 Drawer Bedside


Summary of Contents for Birlea Urban 1 Drawer Bedside
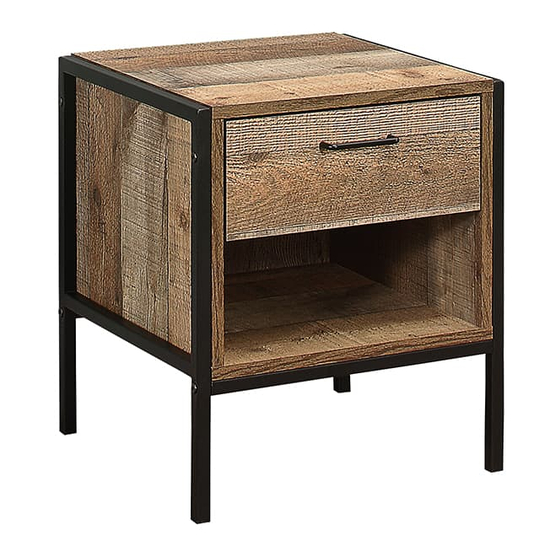
- Page 2 ASSEMBLY INSTRUCTIONS URBAN 1 DRAWER BEDSIDE IMPORTANT : READ THESE INSTRUCTIONS CAREFULLY BEFORE ATTEMPTING TO ASSEMBLE OR USE YOUR URBAN 1 DRAWER BEDSIDE. PLEASE KEEP THESE INSTRUCTIONS FOR FUTURE REFERENCE. ASSEMBLY: Assembly should be carried out with this item laying flat, not standing upright.
- Page 3 Vendor: S000350 Parts List Hardware List Part Descripion Qty Part Description Top panel Cam lock Bottom panel Minifix screw Side panel ( Left ) Plastic cap Side panel ( Right ) M8 x 30mm Wood Dowel Back panel M6 x 50mm CSK Cap Wood screw Drawer front M3.5 x 16mm C.B Screw Drawer side...
- Page 4 Vendor: S000350 Step 2: Attach the panel (3) and (4) to panel (1) using hardware A1 and A3 with a screwdriver (not provided). DO NOT use any power tools as this may damage the frame and will invalidate any claim. Step 3: Insert the panel (5) along the slot.
- Page 5 Vendor: S000350 Step 5: Attach the Metal Middle (11) to panel (2) using hardware I and F. DO NOT use any power tools as this may damage the frame and will invalidate any claim. Step 6: Attach the Metal Side (10) to panel (3) and (4) using hardware I and F. Attach the Metal Side (10) to Metal Middle (11) using hardware J and F.
- Page 6 If you have any issues with your item please contact the retailer directly you purchased it from who will be able to resolve any issues with Birlea. · Why don't you send us photos of your assembled furniture to info@birlea.com to be shared in our #birleahome feature on instagram. Page...
Need help?
Do you have a question about the Urban 1 Drawer Bedside and is the answer not in the manual?
Questions and answers