Table of Contents
Advertisement
Quick Links
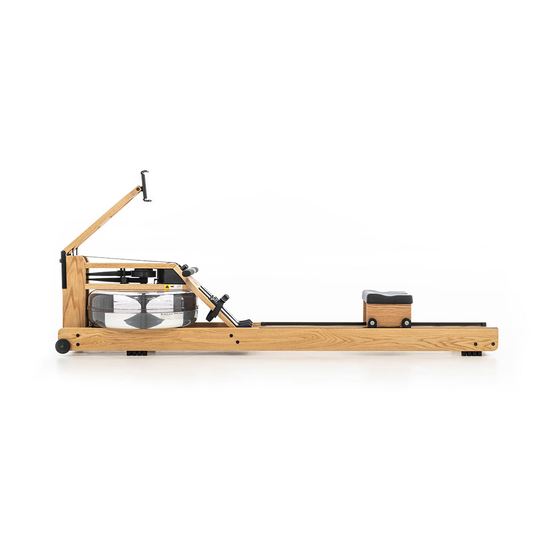
DISASSEMBLY INSTRUCTIONS: WOODEN DUAL RAIL WATERROWER
PREP
WHAT YOU'LL NEED...
Bucket
Card
PREP
DRAIN THE WATER FROM YOUR TANK
Remove the tank stopper. Use the provided syphon pump to remove the water from your
tank. There will be approximately ½ cup of water left in the tank.
Place a plastic bag over the tank opening and insert tank stopper over the plastic
bag.
This step is important to ensure the remaining water does not leak out of the tank during
shipping causing damage and/or mold to the rower.
1
Ziplock Bag
Plastic Bag
Allen Key(s)
Rubber Band
Advertisement
Table of Contents

Related Manuals for WaterRower WOODEN DUAL RAIL


Summary of Contents for WaterRower WOODEN DUAL RAIL
- Page 1 DISASSEMBLY INSTRUCTIONS: WOODEN DUAL RAIL WATERROWER PREP WHAT YOU’LL NEED... Plastic Bag Bucket Rubber Band Card Ziplock Bag Allen Key(s) PREP DRAIN THE WATER FROM YOUR TANK Remove the tank stopper. Use the provided syphon pump to remove the water from your tank.
- Page 2 STEP 1 (A) Stand the WaterRower upright. Unclip the bungee from the recoil belt. (B) Pull the handle to the forward riser while pulling the recoil belt through the other side. Using an elastic band, secure the handle to the top deck (Band goes around one end of the handle, under the top deck, and then over the other end of the handle).
- Page 3 STEP 2 Remove the JCN Nuts and JCB Bolts attaching the footboard to the rails (i). Lay the rower back down, footboard still attached. Allen Key(s) JCB Bolt JCN Nut (x4) (x4) STEP 3 Press the heel rest adjustment button (i) and pull down the Footpads (ii) to remove. It may be required to slide a card between the footpad cover and the top of the footpads to allow the pads to slide under the cover to remove.
- Page 4 STEP 4 Unscrew and remove the Handle Rests (i). Remove the footboard. It may be necessary to slightly loosen the two bolts on the Top Deck (ii) to remove the footboard. DO NOT COMPLETELY REMOVE THE TOP DECK BOLTS Handle Rest Bolt Handle Rests Allen Key (x2)
- Page 5 STEP 6 Remove the dolly wheels from the rails using the allen key. Allen Key STEP 7 Remove the seat assembly. STEP 8 Disconnect the Rear Spacer (i) by removing the female JCN nuts using the Allen key. Wrap the bungee around the rear spacer and tie it off within itself. Place all bolts, handle rests, and dolly wheels in a plastic bag for shipping.
Need help?
Do you have a question about the WOODEN DUAL RAIL and is the answer not in the manual?
Questions and answers