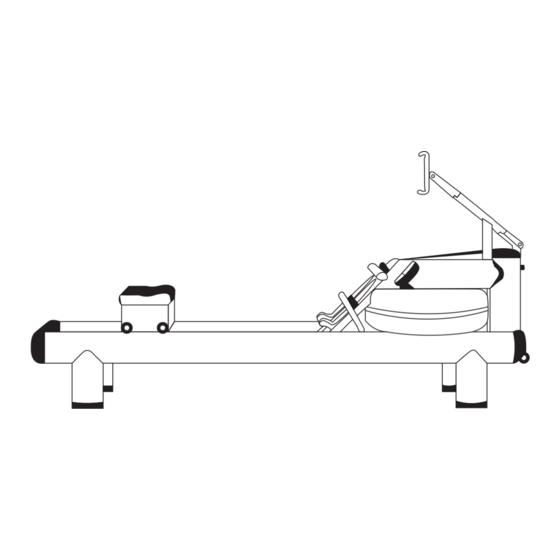
Summary of Contents for WaterRower OTF GEN 2 ROWER
- Page 1 OT F G E N 2 R O W E R Owners Manual Assembly Instructions Monitor Instructions Troubleshooting Guides...
-
Page 2: Table Of Contents
Your WaterRower has been carefully hand-crafted to give you years of trouble- free use. You will notice that each WaterRower is unique due to the variance in color and grain that occurs naturally in genuine hardwood. We recommend that... - Page 3 During the first weeks of use, your WaterRower will adjust to use and the temperature/humidity of the environment. During this period we advise that you The WaterRower is unique in using the effect of drag to provide an exercise which GENTLY tighten all the connecting bolts with the 5mm ratchet supplied. Please be is entirely self paced.
- Page 4 M A I N TA I N I N G A N D C L E A N I N G Sitting tall, arms straight reaching To maintain the appearance and integrity of your WaterRower it is necessary to forward, shoulders relaxed, head up, eyes keep the machine clean.
- Page 5 A low intensity To ensure you get the maximum benefit from training on your WaterRower and to (60 - 70% of the maximum heart rate) is typically that at which you can hold a avoid unnecessary problems or injuries, here are a few guidelines: conversation;...
-
Page 6: Assembly Instructions
A S S E M B LY I N S T R U C T I O N S Assembling your WaterRower takes about 45 minutes and tools needed are included. The WaterRower comes partially assembled. Please read instructions fully before starting assembly. - Page 7 A S S E M B L I N G T H E R O W E R S T E P 4 Remove the tank assembly (E) from the tank box. Carefully slide the tank S T E P 1 assembly onto the rails as shown.
- Page 8 Remove the footboard (D) from the tank box. With the black plastic components Gently rotate the footboard forwards until it rests against the slanted brackets and WaterRower logo facing upward, carefully slide the footboard between the of the tank assembly. The holes in the top of the footboard (for the handle rails as shown below.
-
Page 9: Installing The Tablet Arm
I N S TA L L I N G T H E TA B L E T A R M S T E P 1 2 Using the provided ratchet (K) and handle rest bolts (J), install handle rests (I). S T E P 1 Ensure that the flat surface of the handle rests is parallel to the ground. -
Page 10: Filling The Tank
S T E P 4 S T E P 6 Locate the USB power cable attached to the inside edge of the forward riser and Locate the USB power cable hanging from the tablet arm and carefully install it carefully install it into the left USB port of the power bank (as seen from in front into the right USB port of the power bank (as seen from in front of the rower). - Page 11 S T E P 2 S T E P 5 Remove the tank stopper. Squeeze the pump 4 to 5 times until water begins flowing from the bucket into the tank. Do NOT overfill the tank. Anything beyond Level 19 (the maximum level indicated on the tank water level gauge) may risk leaking and void your warranty.
-
Page 12: Emptying The Tank
E M P T Y I N G T H E TA N K S T E P 4 Place a bucket on the floor. Insert the syphon's take-up tube into the tank of the S T E P 1 rower and the syphon's hose into the bucket. -
Page 13: Adjusting Recoil Belt Tension
S T E P 7 T R O U B L E S H O OT I N G Reinstall the tank stopper. It may be necessary to moisten the tank stopper to assist with installation. M O N I T O R F L A S H I N G Z E R O S •... -
Page 14: S5 Monitor Quick-Start Guide
I N T E R M I T T E N T O R N O C O N N E C T I V I T Y • Replace S5-to-power bank cable. Note: Refer to ADVANCED S5 MONITOR TROUBLESHOOTING section for details. • Replace tablet-to-power-bank cable. • GFit chip is corrupted or damaged. Contact WATERROWER. 2 5 . 2 6 . -
Page 15: Advanced S5 Monitor Troubleshooting
• The connection between the GFit module and S5’s motherboard is broken OR the GFit module itself is damaged. • Contact orangetheory@waterrower.com to request a replacement S5 monitor. I F A N T E D N I S N O N -Z E R O ¹... - Page 16 3.6 On the Setup Menu screen, use the down arrow to select the OTF Settings menu item. Then, press the OK button. If your OTF Settings screen looks like this, contact orangetheory@waterrower.com to request a replacement S5 monitor. 2 9 . 3 0 .
- Page 17 Limited Warranty: www.waterrowerservice.com/warranty/. For rower support, contact orangetheory@waterrower.com. For OTConnect tablet support, contact user@orangetheory.com. WRM7065...


Need help?
Do you have a question about the OTF GEN 2 ROWER and is the answer not in the manual?
Questions and answers