Advertisement
Advertisement
Table of Contents

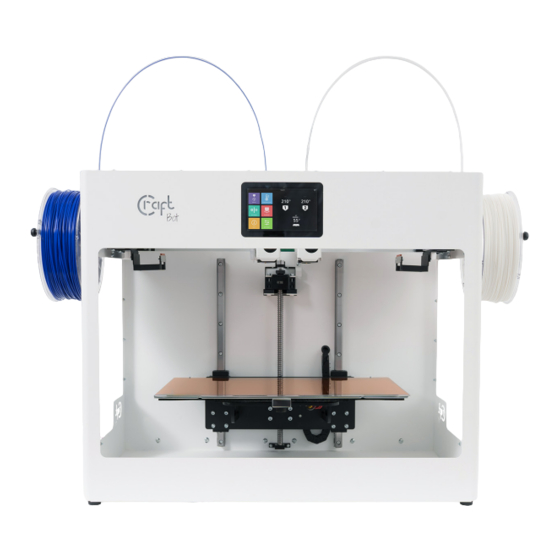
Summary of Contents for CraftBot FLOW IDEX DOME
- Page 1 CRAFTBOT FLOW IDEX / IDEX XL DOME INSTALLATION MANUAL...
-
Page 2: Table Of Contents
Reach in from the top ............8 www.craftbot.com... -
Page 3: Introduction
That’s why we also offer the elegant and durable printer cover and door for Craftbot printers. Learning from previous feedback, the dome now consists of two parts so that we can easily reach the machine if necessary. -
Page 4: Accessories
Remove the filament tube holder. • Remove the screws marked with an arrow on the top cover of the printer. (6x) • Place the rear cover to the printer. Please be sure, the cover sits properly on the printer’s top cover. www.craftbot.com... - Page 5 INSTALLATION MANUAL • Attach the filament spool holders. Use the supplied longer screws. (2x) • Attach the filament tube holders. Use the supplied longer screws. (2x) • Attach the filament guide tubes. • Insert the tubes back into the extruders. www.craftbot.com...
- Page 6 Place the front cover to the printer. The cover goes under the rear cover. • Make sure the filament guide tubes are between the brushes, and not pinched by the cover itself. • If necessary, fix the front cover with the supplied screws. (2x) www.craftbot.com...
- Page 7 FLOW IDEX / FLOW IDEX XL DOME INSTALLATION MANUAL • Connect the dome fan. • Adjust the dome fan speed in Settings / Fan / Others menu. www.craftbot.com...
-
Page 8: Reach In Into The Printer
Disengage the motors, and move the extruders to the back / middle of the build area. • Reach in, and perform the necessary operation. 4.2 Reach in from the top • Remove the front cover. • Reach in, and perform the necessary operation. www.craftbot.com... - Page 9 Cooperation between 3D printer and people has never been easier. Get in touch! CONTACT: CraftUnique Ltd. Salgótarjáni str. 12-14. Budapest 1087, Hungary Phone: +36 1 700 8060 Web: www.craftbot.com • www.craftbotusa.com CraftBot is made in the EU. © Copyright 2013-2020 by CraftUnique Ltd. All Rights Reserved.


Need help?
Do you have a question about the FLOW IDEX DOME and is the answer not in the manual?
Questions and answers