Table of Contents
Advertisement
Advertisement
Table of Contents

Subscribe to Our Youtube Channel
Related Manuals for Elmi CM-7S Plus


Summary of Contents for Elmi CM-7S Plus
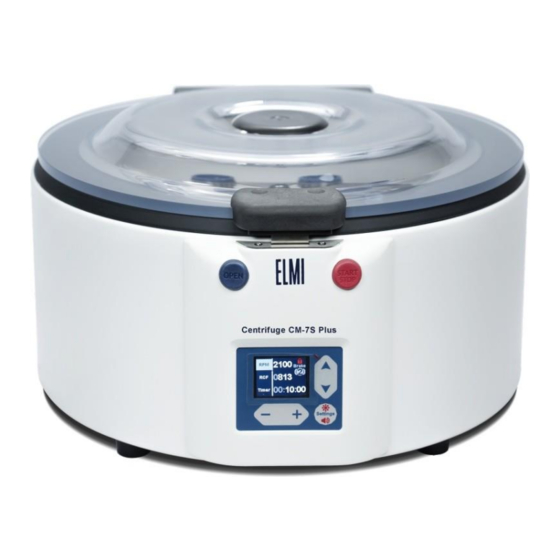
- Page 1 ELMI laboratory equipment Centrifuge CM-7S Plus User manual...
-
Page 3: Table Of Contents
Page Contents ............................... 1 Introduction ............................. 2 Technical specifications........................... 2.1 Delivery package............................2.2 Safety instructions ........................3 General safety ..............................3.1 Electrical safety ..............................3.2 Safety during operation ..........................3.3 General safety ..............................3.4 Preparation to use ..........................4 Control description .......................... -
Page 4: Technical Specifications
Introduction Congratulations, you have acquired ELMI centrifuge a product of advanced technology and high quality! Centrifuge CM-7S is easy to use and reliable in operation. We ask you to carefully read the user manual and observe all the requirements of the maintenance and operation this will ensure long and flawless exploitation of the device. -
Page 5: General Safety
General safety • Use only as specified in the operating instructions provided. • The unit should not be used if it has encountered a physical shock or has been dropped. • The unit must be stored and transported in a horizontal position (see package label). •... -
Page 6: Preparation To Use
Preparation to use • Unpack the centrifuge. Please keep the packaging material for trasportation or storage purposes. • If the machine was stored at a temperature below 0°C , make sure that it is kept at room temperature for at least two hours before turning it on. •... -
Page 7: Control Description
Control description Centrifuge consists of a stainless still casing, rotor mounted in it, electric motor and control system. The rotor is covered with self locking transparent lid. A network switch is mounted in the back of the casing. Control panel on the front of the casing contains display and buttons with the following functions: Adjustable parameter Parameter value... -
Page 8: Operation
Operation Place the test tubes in the rotor adapters. Always load the rotor symmetrically by minimizing weight difference between the filled test tubes you reduce the wear on mechanical parts of centrifuge. The total imbalance of test tubes should not exceed 7 grams. For safety reasons the centrifuge lid automaticaly locks when closed and unlocks at the end of centrifugation cycle. -
Page 9: Emergency Opening Of Centrifuge Lid
Emergency opening of centrifuge lid To open the lid of centrifuge in case of power breakdown or lid lock damage, disconnect the device from mains power supply, wait until the rotor comes to a standstill then lift the centrifuge and insert the included emergency lid opening key in to the groove and move the lever to the side (as it is shown on the figure below). -
Page 10: Applied Rotors, Specification, Assembly And Usage
Applied rotors ROTOR 6M Universal stainless steel rotor for 12 adapters. Maximal volume of applied test tubes: 12 ml. Maximal size of applied test tubes: (D x L) 16.8 x 115mm. Top speed: 3500 rpm. Allowed to sterilize in an autoclave at temperatures up to 134 ° C ROTOR 6M.01 Universal rotor for 4 adapters. -
Page 11: Graph Of Test Tube Heating
Graph of test tube heating after 30 minutes of centrifugation 6М.02 6М / 6M.05 6М.01 / 6M.06 1000 1500 2000 2500 3000 3500 ROTOR 6M.01 / 6M.06 ROTOR 6M / 6M.05 ROTOR 6M.02 Error code table Error code Cause Solution Check connection of the power cable. -
Page 12: Disinfection And Cleaning
Disinfection and cleaning Rotor and accessories must be cleaned once a week to avoid corrosion and changes to material. Disconnect the centrifuge from mains power supply, remove rotor, and clean it separately. The rotor, rotor chamber, and the outside of the centrifuge should be cleaned with a moist cloth. Only use neutral agents to clean these parts. -
Page 13: Certificate Of Approval
Certificate of approval Centrifuge CM-7S Plus N has been inspected for the technical conditions and meets all regulations necessary for this class of device. Quality control person (name) (signature) Date of manufacture Place for stamp. Certificate of sale Organization Address...
Need help?
Do you have a question about the CM-7S Plus and is the answer not in the manual?
Questions and answers