Advertisement
Quick Links
STEP 5
5.1 Attach Door Panel (G),(F) with L/R Turn Plate (5),(6) using Screw (1).
5.2 Attach Door Panel (E) to the completed unit in Step 5.1.
**Repeat Step 5 to another 2 drawers.**
F
STEP 6
6.1 Attach Door Panel to cabinet using Plastic Nut/Screw (8).
6.2 Attach Handle (7) to Door Panel (E) using Screw (7).
6.3 Attach Shelf Panel (F) to the center of Door Panel
using Screw (1).
(1) x2pcs
F
F
G
E
(7) x2pcs
Recommended Maximum Weight
15
*Unit in Pound(lbs)
(1) x10pcs
G
E
Side Panel
Turn Plate
Cover (4)
G
(8) x2pcs
(8) x2pcs
Note: Attach Nut (8) to Cover (4) through
hole and tighten with Screw (8).
WARNING:
>This unit has been designed to support the
maximum loads shown. Exceeding these
load limits could cause sagging, instability,
product collapse, and/or serious injury.
>DO NOT allow children to climb on unit.
>Put heavier items on lower shelves.
its Space. its Budget
Approx. 45 minutes
Recomm. 2 Person
Tools Required
Customer Support
NEED HELP? For replacement requests or product inquiries,
please contact our Customer Service Team by emailing us at
support@furinno.com. Thank you for selecting Furinno!
www.furinno.com
Assembly Instruction
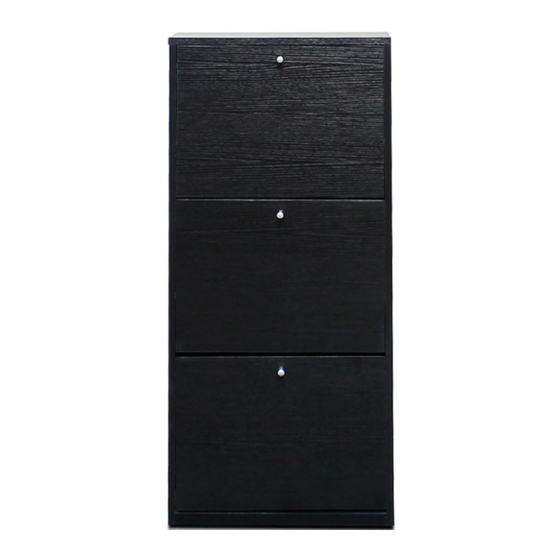
Furinno B&W 3-Door Shoe
Storage Cabinet
FNAJ-11042
MODEL
:
FNAJ1104220180612
Advertisement

Related Manuals for Furinno FNAJ-11042


Summary of Contents for Furinno FNAJ-11042
- Page 1 NEED HELP? For replacement requests or product inquiries, product collapse, and/or serious injury. please contact our Customer Service Team by emailing us at support@furinno.com. Thank you for selecting Furinno! >DO NOT allow children to climb on unit. >Put heavier items on lower shelves.
- Page 2 STEP 1 STEP 2 Hardware List Parts List Attach Panel (A),(B),(D),(H),(I) and (J) using 1.1 Attach Panel (H) and (D) using Dowel (2). 1.2 Insert Cover (4) and Stopper (9) to Dowel (2) and Cam-Lock Screw/Nut (3). Screw 32pcs Right Side Panel L/R Side Panel (A)&(B), as shown.
Need help?
Do you have a question about the FNAJ-11042 and is the answer not in the manual?
Questions and answers