Advertisement
Available languages
Available languages
Quick Links
INSTRUCTION SHEET
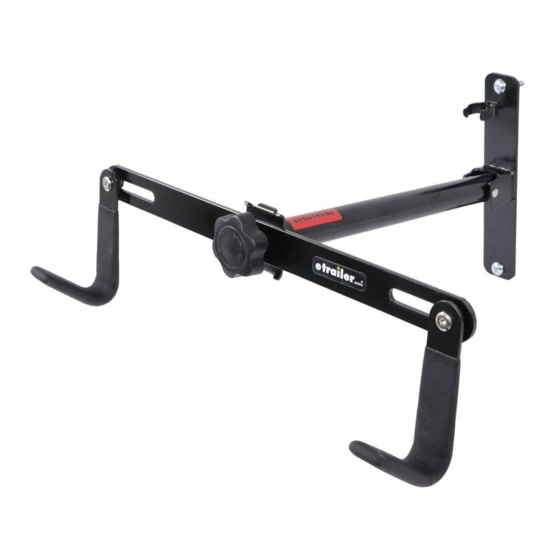
PRODUCT: 80956 Fold It Deluxe
• Page 1 of 1
MOUNTING INSTRUCTIONS
• L ocate the wall studs behind the drywall (diagram 1). They are usually 16" apart. A stud finder can be used to find the studs.
The rack must be mounted into the wall stud, as the drywall may not be strong enough to hold the weight of a bike.
• P osition the main assembly (A) so that it is vertically level as shown in diagram 2. Ensure that the rack is mounted in a position
that allows for easy access of the rack. Also ensure the bike will be off the ground and fits the space on either side of the rack.
• M ark the location of the 2 holes on the wall mount, and drill 1/8" guide holes (diagram 2).
• A ttach the rack using 2 supplied screws and wall plugs (if necessary), diagram 3.
• A ttach horizontal bike support (B) to the main assembly using the threaded knob (C), diagram 4.
• R ack arm folds up when not in use (diagram 5).
1
3
300 - 1880 Government St. • Penticton, B.C. Canada V2A 7J1 • Phone (250) 490-8883 • Fax (250) 490-8885 • www.swagman.net
ATTN: STATE OF CALIFORNIA CONSUMERS
WARNING: Cancer and Reproductive Harm • www.P65Warnings.ca.gov
2
4
C
B
A
5
REV 23/10/19
Advertisement

Related Manuals for Swagman 80956


Summary of Contents for Swagman 80956
- Page 1 • A ttach horizontal bike support (B) to the main assembly using the threaded knob (C), diagram 4. • R ack arm folds up when not in use (diagram 5). ATTN: STATE OF CALIFORNIA CONSUMERS WARNING: Cancer and Reproductive Harm • www.P65Warnings.ca.gov REV 23/10/19 300 - 1880 Government St. • Penticton, B.C. Canada V2A 7J1 • Phone (250) 490-8883 • Fax (250) 490-8885 • www.swagman.net...
- Page 2 • R epérez les montants derrière le mur (diagramme 1). La distance entre les montants est habituellement de 16 po. Vous pouvez également utiliser un détecteur de montants pour faciliter la tâche. Il est important d’installer le support dans un montant, car la cloison sèche risque de ne pas être suffisamment solide pour soutenir le poids du vélo. • I nstallez la base principale (A) en l’alignant à la verticale (diagramme 2). Assurez-vous d’installer le support à une hauteur qui est facile d’accès, en veillant à ce que les roues ne touchent pas au sol et qu’il y a suffisamment d’espace de chaque côté du support. • Marquez l’emplacement des deux trous sur le mur et percez les trous avec une mèche de 1/8 po (diagramme 2). • Fixez le support avec les deux vis et les deux chevilles de plastique (si nécessaire) (diagramme 3). • Attachez le support horizontal (B) à la base principale en utilisant le bouton tige filetée (C) (diagramme 4). • Le support peut se rabattre lorsqu’il n’est pas utilisé (diagramme 5). REV 23/10/19 300 - 1880 Government St. • Penticton, B.C. Canada V2A 7J1 • Phone (250) 490-8883 • Fax (250) 490-8885 • www.swagman.net...