Advertisement
Quick Links
Advertisement

Subscribe to Our Youtube Channel
Related Manuals for Dancover San Bernardino


Summary of Contents for Dancover San Bernardino
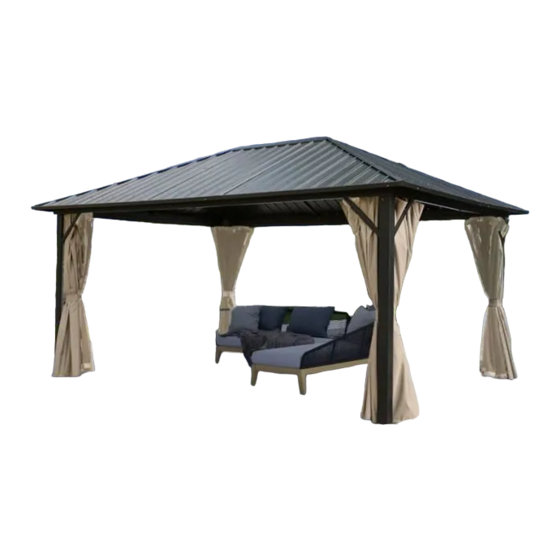
- Page 1 Manual Gazebo San Bernardino 3x3m 09-04-2021...
-
Page 2: Safety Advice
Note: Marquees are intended for events and other arrangements and are as such only meant for short term temporary assembly and the following disassembly. Dancover warranty applies only to the normal use of the Product, normal wear and tear excepted, in accordance with written use instructions or manual. - Page 3 Part list for gazebo 3x3m M6*10 M6*42 M6*47 5*12 M6*25 M6*15 M6*50...
- Page 4 STEP 1 STEP 1:Attach Foot Base ( Part L) to the Pillars (Part A) STEP 2 You can put Part A down lf the screw hole is out of alignment, pull adjusting part B or C STEP 2:Attach Crossbeams 1 (Part B) and Crossbeams 4 (Part C) to Pillars (Part A).
- Page 5 STEP 3 STEP 3:Connect the Crossbeams B and C using Crossbeam Connector (Part P) Note: After sliding the Crossbeam Connector (Part P) into a crossbeam you should start one bolt to hold the Crossbeam Connector in place. STEP 4 Step 4: Stand both sides Upright and Connect Crossbeams B and Crossbeams C using the Crossbeam Connectors (Part P).
- Page 6 STEP 5-1 STEP 5-1: Attach the Corner Protectors (Part J) and the Rib Supports (Part J1) Just twist the top two screws of (Part J1) STEP 5-2 STEP 5-2: Slide 4 Netting Hooks (Part Q) into Crossbeams (Parts B and C). Then Attach (Part M6) Note: There are two tracks.
- Page 7 STEP 6 STEP 6:Assemble the Roof Frame by Attaching the Roof Ribs Long (Part E) to the Roof Top Brace (Part K1).
- Page 8 STEP 7 STEP 7:Lift the Partially assembled Roof on to the assembled Frame and attach. STEP 8:Attach the Roof Ribs Short (Part D) to the Roof Top Brace STEP 8 (Part K1). Attached the Roof Ribs Short (Part D) to the assembled frame.
- Page 9 STEP 9 STEP 9:Attach the Roof Supports 1 (Part H) to the roof frame using Connectors 1 (Part M3) and Connectors 2 (Part M4). Don't tighten all the screws, just hold the (Part H), until all of them are fixed Please note that Parts M3 are installed on Parts D,...
- Page 10 STEP 11 If the screw hole is out of alignment, insert it with a screwdriver and correct it Step 11: Install the Roof Plates Part O1 O2 O3 O4 on the Gazebo. Start by sliding Roof Plate1 (Part O2 and O3) into position. Then O1and O4. The same for the other three sides.
- Page 11 STEP 13 STEP 13: Install the Mosquito Netting as Shown in the Diagram...
- Page 12 Head office: Dancover A/S For more information Lyngevej 16A, Nørre Herlev please visit: 3400 Hillerød www.dancovershop.com Denmark...
Need help?
Do you have a question about the San Bernardino and is the answer not in the manual?
Questions and answers