Advertisement
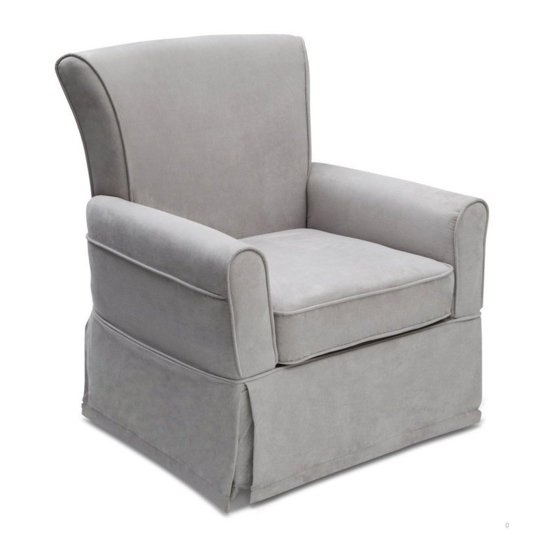
Glider
THIS PRODUCT IS NOT INTENDED FOR
INSTITUTIONAL OR COMMERCIAL USE.
When contacting Delta Consumer Care please reference the above information. Before contacting Delta
Consumer Care please ensure that the information above matches the information found on the label on
the bottom of Glider Seat, please reference the information found on the product when contacting Delta
Consumer Care.
To register your product for important safety alerts and updates to your product please visit
www.DeltaChildren.com and click on Product Registration.
JULY 31, 2014, 25198 , R1
Read all instructions before assembly and use.
KEEP INSTRUCTIONS FOR FUTURE USE.
ADULT ASSEMBLY REQUIRED
Due to the presence of small parts during assembly, keep out of
reach of children until assembly is complete.
Consumer Care:
www.DeltaChildren.com
Delta Children's Products
114 West 26th Street
New York, NY 10001
Tele.212-645-9033
Style #:
Lot:
Date:
___________
___________
___________
A
REV
©2014 DELTA ENTERPRISE CORP.
Advertisement
Table of Contents

Related Manuals for Delta Children Glider


Summary of Contents for Delta Children Glider
- Page 1 When contacting Delta Consumer Care please reference the above information. Before contacting Delta Consumer Care please ensure that the information above matches the information found on the label on the bottom of Glider Seat, please reference the information found on the product when contacting Delta Consumer Care.
- Page 2 FABRIC CARE INSTRUCTIONS: - Do not use harsh or abrasive cleaners. - Do not use bleach. - Spot clean only with a solution of water and very small amount of a non-abrasive mild dish washing liquid. - Apply to surface with a lint free lightly dampened soft cloth. - Dry with a soft lint free dry cloth and Air Dry.
- Page 3 Section 1: Glider Assembly Step 2 Parts and tools required to complete step. scissors (Not Provided) B. Seat Base x 1 From underneath the Seat Base (Part B) carefully cut the straps wrapped around the metal mechanism and the wood rail at the front and back.
- Page 4 Section 1: Glider Assembly Step 2 Parts and tools required to complete step. D. M6 x 60mm Bolt x 2 E. Φ20mm Washer x 2 M5 Allen Wrench A. Seat Back x 1 B. Seat Base x 1 Supplied Attach the Seat Back (Part A) to the Seat Base (Part B) using (2) M6 x 60mm Bolts (Part D) and (2)
- Page 5 Section 1: Glider Assembly Step 3 Parts and tools required to complete step. From Step 2 C. Seat Cushion x 1 Attach the Seat Cushion (Part C) into the Glider as shown.
- Page 6 In the event that you need to contact our customer service department please have the Style Number and Lot Number available. Use the space below to make note of those numbers. They can be found on the label on the bottom of Glider Seat. STYLE No: 72977 COLOR Lot No.
Need help?
Do you have a question about the Glider and is the answer not in the manual?
Questions and answers