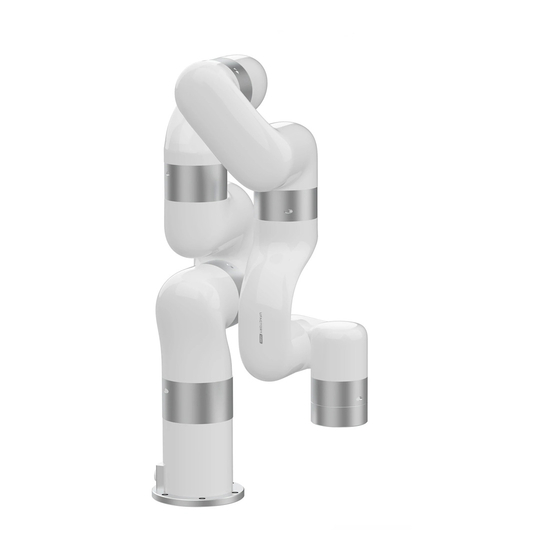
UFactory xArm Manual
6 axis force torque sensor
Hide thumbs
Also See for xArm:
- User manual (249 pages) ,
- User manual (36 pages) ,
- User manual (184 pages)
Table of Contents
Advertisement
Quick Links
Advertisement
Table of Contents

Summary of Contents for UFactory xArm
- Page 1 UFACTORY...
-
Page 2: Table Of Contents
UFACTORY Table General Presentation .................. 3 1.1. 6 Axis Force Torque Sensor Introduction........... 3 1.2. Singal Hub ....................3 Safety ......................4 2.1. Warning ..................... 4 2.2. Risk Assessment and Final Application ..........5 2.3. Validity and Responsibility ..............6 Installation .................... -
Page 3: General Presentation
1.1. 6 Axis Force Torque Sensor Introduction 6 Axis Force Torque Sensor The xArm 6 Axis Force Torque Sensor is designed for force and torque data acquisition on xArm, it can simultaneously measure the force and torque in three-dimensional space. It is installed on the xArm tool flange, a flexible cable is used for power and communications. -
Page 4: Safety
UFACTORY Singal Hub 2. Safety The operator must read and understand all the instructions below before running the 6 Axis Force Torque Sensor. 2.1. Warning 1. The 6 Axis Force Torque Sensor needs to be properly installed before operating. 2. Do not install or operate the 6 Axis Force Torque Sensor that is damaged or lacking parts. -
Page 5: Risk Assessment And Final Application
UFACTORY 6. Be sure nothing is in the robot and the 6 Axis Force Torque Sensor path before using. Caution The term "operator" refers to anyone responsible for any of the following operations on the 6 Axis Force Torque Sensor: ●... -
Page 6: Validity And Responsibility
The unit may be used only within the range of its technical data. Any other use of the product is deemed improper and unintended use. UFACTORY will not be liable for any damages resulting from any improper or unintended use. -
Page 7: Scope Of Delivery
UFACTORY Read and understand the safety instructions related to the 6 Axis Force Torque Sensor. Verify your package according to the Scope of delivery and your order info. Have the required parts, equipment and tools listed in the requirements readily available. -
Page 8: Mechanical Installation
UFACTORY ③ Signal Hub*1 ④ Power cable for the Robotic Arm*1 ⑤ Communication cable for the Robotic Arm*1 ⑥ Power/Communication cable for 6 Axis Force Torque Sensor*1 ⑦ M3*8 Head hexagon socket screws (6) and M3 spring washer (6) ⑧ M6*8 Head hexagon socket screws (6) and M3 spring washer (6) ⑨... - Page 9 UFACTORY (spring washer must be used together). 3. Install the 6 Axis Force Torque Sensor on the Mounting Flange using 4 M3*8 screws (spring washer must be used together). 4. Cable connection with Signal Hub: Connect 5 cables in sequence according to the electrical interface...
- Page 10 UFACTORY 5. Using Velcro to stick the power/communication flexible cable to the robotic arm. (Don’t stick it too tight, don’t stick the Velcro on the torque sensor) 6. Press up E stop button on the control box.
-
Page 11: Control
4.1. Control 6 Axis Force Torque Sensor through Python-SDK For details on controlling 6 Axis Force Torque Sensor with python-SDK, please refer to the link below: https://github.com/xArm-Developer/xArm-Python-SDK/blob/master/ex ample/wrapper/common/8003-force_control.py ft_sensor_enable():enable force torque sensor ft_sensor_set_zero():set the current state to the zero point of the force torque snesor ft_sensor_app_set() :set control mode of the force torque sensor... -
Page 12: Axis Force Torque Sensor Error Code
UFACTORY 8003-force_control.cc 5. 6 Axis Force Torque Sensor Error Code Software Error Code Error Handling Six-axis Force Torque Sensor Error Please check the sensor error code, locate the problem, and power on again. If it cannot be resolved, please contact technical support. -
Page 13: Axis Force Torque Sensor Specifications
UFACTORY Six-axis Force Torque Sensor Tx Torque Exceeds Limit Please reduce the torque applied around the X axis Six-axis Force Torque Sensor Ty direction Torque Exceeds Limit Please reduce the torque applied around the Y axis Six-axis Force Torque Sensor Tz direction Torque Exceeds Limit... -
Page 14: After-Sales Service
You need to make an appointment with the local UPS/DHL and then send the product to us. (3) UFACTORY will check the product warranty status according to the after-sales policy. (4) Generally, the process takes around 1-2 weeks except for shipment. - Page 15 UFACTORY 1. Please keep the original packaging materials of the product. When you need to send the product back to get repaired, please pack the product with the original box to protect the product during the transportation.


Need help?
Do you have a question about the xArm and is the answer not in the manual?
Questions and answers