Table of Contents
Advertisement
Quick Links
Advertisement
Table of Contents

Subscribe to Our Youtube Channel
Related Manuals for Smeg SHR900X


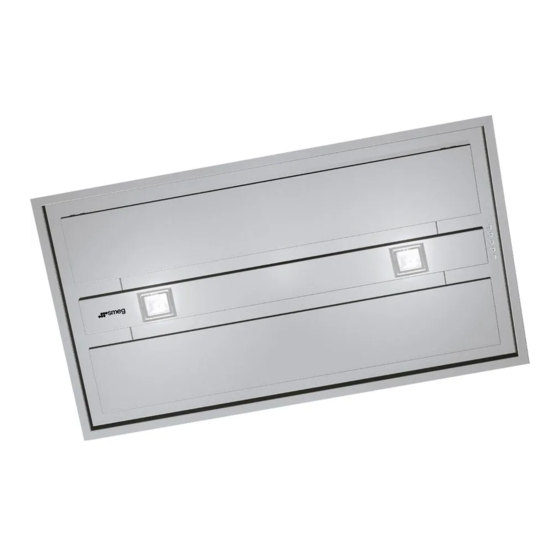
Summary of Contents for Smeg SHR900X
- Page 1 User Manual SHR900X - SHR1200X...
-
Page 2: Safety Information
SAFETY INFORMATION For your safety and correct operation of the appliance, read this manual carefully before installation and use. Always keep these instructions with the appliance even if you move or sell it. Users must fully know the operation and safety features of the appliance. The wire connection has to be done by specialized technician. - Page 3 If the extractor is used in conjunction with non-electrical appliances (e.g. gas burning appliances), a sufficient degree of aeration must be guaranteed in the room in order to prevent the backflow of exhaust gas. When the cooker hood is used in conjunction with appliances supplied with energy other than electric, the negative pressure in the room must not exceed 0,04 mbar to prevent fumes being drawn back into the room by the cooker hood.
- Page 4 The appliance is not to be used by persons (including children) with reduced physical, sensory or mental capabilities, or lack of experience and knowledge, unless they have been given supervision or instruction. Accessible parts may become hot when used with cooking appliances. ...
- Page 5 CHARACTERISTICS Dimensions Min. Min. 650 mm 600 mm Components Ref. Q.ty Product components – Hood Body complete with: Controls, Light, Suction Unit, Filters – Reinforced ceiling Q.ty Documents Instruction and maintenance Installation instructions Warning: do not exceed a distance of 1600 mm between the cooker Hob and the Hood (in this case the ceiling) to guarantee that the cooking fumes will be captured properly.
-
Page 6: Installation
INSTALLATION ELECTRICAL CONNECTION • Connect the hood to the mains through a two-pole switch hav- ing a contact gap of at least 3 mm. • Remove the grease filters (see paragraph Maintenance) being sure that the connector of the feeding cable is correctly inserted in the socket placed on the side of the fan. - Page 7 Control panel Button Function Turns the lighting system on and off. Press and hold for approx. 2 seconds to turn the lighting system on and off at reduced intensity. Turn the suction motor on and off at speed one. Press and hold the button for approximately 2 After 100 working hours all the seconds, with all the loads turned off (Motor and LEDs (L1-L2-L3-L4) will light up...
-
Page 8: Care And Cleaning
CARE AND CLEANING REMOTE CONTROL This appliance can be commanded using a remote control, powered by a CR2032 type 3 V battery (not supplied). • Do not place the remote control near heat sources. • Do not discard the batteries with normal waste, they must be put into the specific containers. - Page 9 Metal grease filters These can also be washed in the dishwasher, and need to be cleaned when all the command LEDs light up in a continuous manner or at least once every 2 months use, or more frequently if use is particularly intensive. Resetting the alarm signal •...
-
Page 10: Light Replacement
Lighting LIGHT REPLACEMENT Halogen lamps • Open the spotlight cover. • Remove the halogen lamp from the lamp holder. • Replace it with another lamp that has the same characteristics, making sure that the two pins are inserted properly into the housings in the lamp holder. - Page 12 991.0562.331_01 - 180910 - D0005186_00...
Need help?
Do you have a question about the SHR900X and is the answer not in the manual?
Questions and answers
Could you please advise how you remove the lamp holder (please note I **** not referring to globe replacement)? I have a unit where the lamp cover hinges have broken and are no longer serviceable and is in need of replacement.
To remove the lamp holder on a Smeg SHR900X:
1. Open the spotlight cover.
2. Remove the halogen lamp from the lamp holder.
There is no mention of removing the actual lamp holder in the provided information.
This answer is automatically generated
Apologies, I just sent an email and forgot to put in the rangehoods model which is: SHR900X