Table of Contents
Advertisement
Quick Links
Advertisement
Table of Contents

Subscribe to Our Youtube Channel
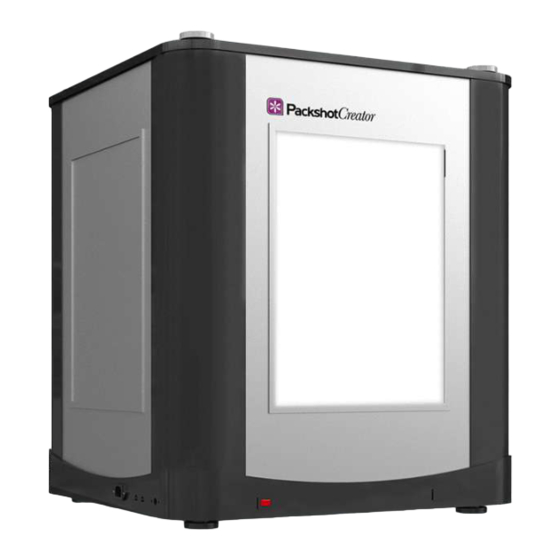
Summary of Contents for PackshotCreator PackshotStart 360
- Page 1 PackshotStart 360 QuickStart I N S T A L L A T I O N G U I D E...
- Page 2 3 acrylic panels © Sysnext. All rights reserved. This material is not to be interpreted as a guarantee of earnings and may not be copied, reproducved, modified, published, uploaded, posted or distributed in any way, without PackshotCreator’s prior consent.
-
Page 3: Specifications
PackshotStart 360 SPECIFICATIONS Dimension (L x W x H): 61cm x 61cm x 71cm Maximum Target Size Top Shots: 40cm x 50cm Side Shots: 40cm x 50cm x 52cm Total Weight: 25kg Maximum Object Weight: 20kg CONTACT INFO: Email: help@packshot-creator.com Website: http://esupport.packshot-creator.com... -
Page 4: Hardware Installation
PackshotStart 360 HARDWARE INSTALLATION TURNTABLE PLATFORM INSTALLATION 1/2: Use the magnetic side cover and Lift to remove the top away from Lift to remove both side walls.. cover the openings, one on each the studio. side of the turntable base... - Page 5 PackshotStart 360 HARDWARE INSTALLATION TURNTABLE PLATFORM INSTALLATION 2/2: Install the front bottom diusion Gently push the edge of the glass Place the translucent acrylic plate, align the velcro to the ones platform into the 3 timing platform on top of the glass on the metal frame.
- Page 6 PackshotStart 360 HARDWARE INSTALLATION ACRYLIC SIDE DIFFUSION PANEL INSTALLATION: Slide in the panels from the top Lift to remove the top away from Three acrylic side diffusion panels parallel to the side walls. the studio. come with the system – two solid and one with an opening.
-
Page 7: Cable Connections
PackshotStart 360 HARDWARE INSTALLATION CABLE CONNECTIONS: Use the cable ties to Pass the top light cable through Plug the metal connector into the (Optional): secure the top light cable onto the the hole on the top. metal port on the studio. - Page 8 PackshotStart 360 HARDWARE INSTALLATION DISASSEMBLY 1/2: The PackshotStart 360 can be Remove the acrylic side diusion Remove the turntable plate. entirely dissembled for easy panels, both side walls and front storage or transportation. wall. Remove the 4 white hand screws and take off the top.
- Page 9 PackshotStart 360 HARDWARE INSTALLATION DISASSEMBLY 2/2: Tape the driving module down to Unplug all the light connections: Disconnect the 2 metal connectors secure. (turntable, 2 on the front light for the turntable. columns, 4 on the rear light columns.) Unscrew the 4 large hand screws...
-
Page 10: Component Replacement
PackshotStart 360 COMPONENT REPLACEMENT LED LAMP REPLACEMENT 1/2: Turn off and unplug the studio Remove the top and acrylic side Remove the front and siide walls. from the wall. diusion panels. Remove the rest of the acrylic Remove the rear acrylic diusion Remove the 2 front light columns. - Page 11 PackshotStart 360 COMPONENT REPLACEMENT LED LAMP REPLACEMENT 2/2: Use needle nose pliers if necessary. Remove the glass turntable Disconnect the two wires by platform if necessary in order to pressing the connector node while access their respective LED Lamps. pulling the wire out.
- Page 12 PackshotStart 360 COMPONENT REPLACEMENT CONTROL BOARD AND POWER SUPPLY: Contact a PackshotCreator representative before attempting to access this area of the studio. Remove the acrylic and To access the control board, The power supply sits in the Note: glass turntable platforms and tape unplug the studio, lay the studio center.


Need help?
Do you have a question about the PackshotStart 360 and is the answer not in the manual?
Questions and answers