Advertisement
Quick Links
Advertisement

Related Manuals for BROSA Mia


Summary of Contents for BROSA Mia
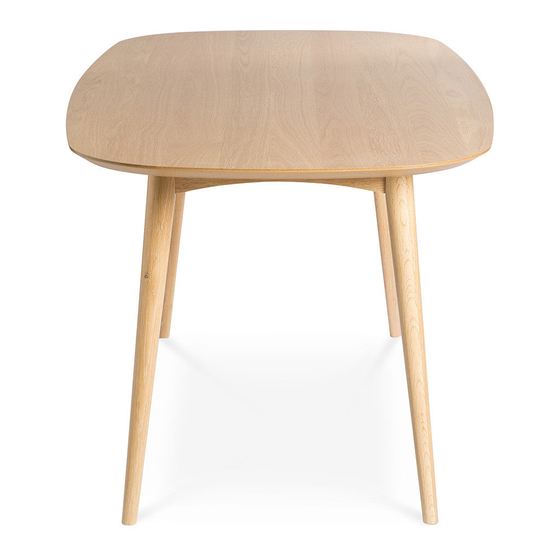
- Page 1 ASSEMBLY GUIDE Mia Extendable Dining Table...
- Page 2 Components Upon unpacking your dining table from it’s delivery box, you should have the separate pieces shown below. Follow the steps on the next pages to assemble your new dining table. Item Description Qty. Item Description Qty. Table top Corovin storage bag Leaf Cross dowel Lock washer...
- Page 3 Step 1 Insert cross dowels into the hole on top of each as shown. Ensure the horizontal marking on each tting is facing down. Screw threaded bolts into ttings that are concealed in leg as shown. Continue to re-tighten until bolts are securely fastened.
- Page 4 Step 2 Extend both sides of the main table top completely then remove the corovin storage bag as shown.
- Page 5 Step 3 Attach each leg into place by inserting bolts through the pre-drilled holes of each metal corner bracket as shown. Insert in order the at washer (C), lock washer and hex nut onto threaded bolt on leg tighten using spanner until they are securely C x 8 fastened.
- Page 6 Step 4 Important: Ensure you have already locked the latch lock in Step 2 before righting the table. Note: When moving the table, remove leaf, close table top and lock the latch lock, then move by gripping or lifting the legs or underframe. Caution: is product is heavy, with help of assistant stand the table upright.
- Page 7 Step 6 Unlock the latch lock that were locked in Step Extend both sides of the main table tops completely. Place leaf over the side aprons as shown. Step 7 Push ends of table inwards until no gap is visible. Ensure the metal pins are aligned to the holes on the main table tops and the leaf before closing the table.
- Page 8 Step 8 Remove the leaf. Unlock the latch lock that were locked in Step 6. Extend both sides of the main table tops completely then remove the leaf as shown. Step 9 Place the leaf into corovin bag as shown.
- Page 9 Step 10 Put the corovin storage bag onto wood support storage frame under table as shown then close the table by pushing both sides of the main table tops inwards until no gap visible. Ensure the metal pins are alligned to the holes on the main table tops before closing the table.
Need help?
Do you have a question about the Mia and is the answer not in the manual?
Questions and answers