Table of Contents
Advertisement
Quick Links
Advertisement
Table of Contents

Related Manuals for Lifepro Waver Enhance


Summary of Contents for Lifepro Waver Enhance
- Page 1 READY , SET , PRO U S E R M A N U A L...
- Page 2 And that’s how Lifepro came about, and why the Recovery + Fitness active recovery collection was created — we’ve set out to change all of that.
- Page 3 This technique works more muscle fibers than other forms of exercise, which means you’re getting double the results without double the effort. The Waver Enhance is easy to use and will help you reach your goals faster than ever before.
- Page 4 • User Manual • 3V CR2025 Battery FIRST STEPS 1. Remove your Waver Enhance from the shipping box and inspect the unit and accessories for shipping damage. 2. Peel the protective film from the face of the remote control. 3. Read carefully through this user manual and all safety instructions before using the Waver Enhance.
-
Page 5: Get Acquainted
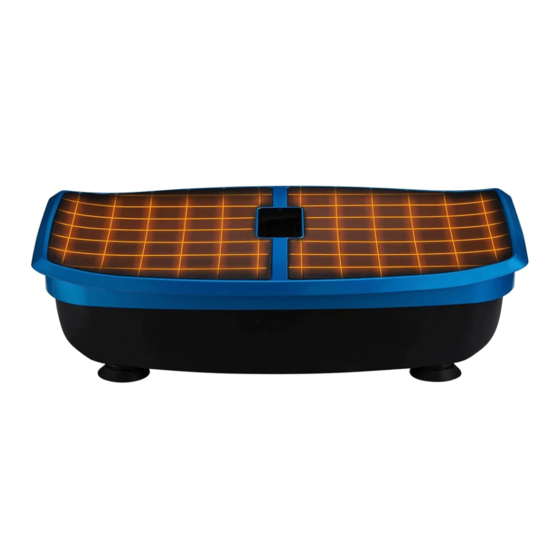
POWER ON THE WAVER ENHANCE • Flip the Power switch to the ON position. Your Waver Enhance is now ready to use. See OPERATING INSTRUCTIONS and CREATING A WORKOUT on the next pages for details on how to use the Waver... - Page 6 PARTS OF THE WAVER ENHANCE STANDING POSITIONS Where you stand on the Waver Enhance will impact how challenging the vibrations are for your body. Stand with your feet close together for an “easy” workout and stand with your feet further apart for “medium” and Non-Slip Rubber Surface “intense”...
- Page 7 *Speed and time cannot be adjusted for preset programs. MODES Standby Mode: The Waver Enhance is powered on, but no workout is in progress. Program Mode: Choose from three preset programs: P1–P3. Manual Mode: Set your own workout duration and vibration speed.
-
Page 8: Creating A Workout
The default workout time is 10 minutes. You can use the Waver Enhance in auto or manual mode. To get the best results, You may adjust the vibration speed, at any time, from level 1–100. The default alternate between the preset programs in auto mode and custom workouts speed is level 1. -
Page 9: Safety Tips
SAFETY TIPS • Set up the Waver Enhance up in an area with at least 5 feet of clearance • Do not get on or off the Waver Enhance until it is completely stopped. -
Page 10: Lifetime Warranty
WARRANTY intensity—anywhere, anytime. No more excuses. The Lifepro mini bands are made from 100% latex. Each band has a Lifepro Fitness creates quality, different resistance strength, which allows you to level-up your resistance durable exercise products and we training effortlessly. - Page 11 STANDING ON THE WAVER ENHANCE CORE, THIGHS, AND GLUTES HANDS AND FOREARMS USING RESISTANCE BANDS WITH THE WAVER ENHANCE QUADS AND GLUTES CALVES 20 Waver Enhance User Manual Lifepro Recovery + Fitness Collection 21...
-
Page 12: How To Begin
HOW TO BEGIN It’s a good idea to start off slow and easy with your Waver Enhance as it can take time to get use to how vibration plates move and feel. We recommend you follow the workout guide below--building from beginner to advanced over a period of several weeks. -
Page 13: Safety Instructions
24. Keep the power cord, surge suppressor, remote, and battery away from all heat sources. 25. Do not use in an electrical storm. In case of power failure, unplug the power cord It is the responsibility of the owner to ensure that all users of the Waver Enhance are immediately. -
Page 14: Product Specifications
ISSUE CANNOT TURN OFF MACHINE USING REMOTE CONTROL CAUSE The Waver Enhance must be powered off via the Power switch. SOLUTION Flip the Power switch on the front of the unit to the OFF position. 26 Waver Enhance User Manual Lifepro... - Page 15 F R O M O U R S O A R F X ™ C O L L E C T I O N SURGER AGILITY V I B R AT I N G F O A M R O L L E R V I B R AT I N G M A S S A G E B A L L Enjoy all of the benefits of foam SURGER BENEFITS...
- Page 16 F R O M O U R S O A R F X ™ C O L L E C T I O N F R O M O U R R E C O V E R Y + F I T N E S S C O L L E C T I O N SONIC RHYTHM V I B R AT I O N P L AT F O R M...
- Page 17 Access Lifepro TV, our library of free YOU’VE personal training videos on the web at waverenhance.lifeprofitness.com to learn how to get the most out of your Lifepro ® THIS Waver Enhance and achieve the results ™ you want. Lifeprousa Lifeprousa...
Need help?
Do you have a question about the Waver Enhance and is the answer not in the manual?
Questions and answers
Where is the infrared sensor on the rumblex 4D? I'm trying to turn off the beeping. Thank you
The infrared sensor on the Lifepro Waver Enhance is located on the display panel. For best results, point the remote control directly at the receiver from no more than 8 feet away.
This answer is automatically generated
The remote no longer works. Have changed the batteries but it still does not work
If the remote for the Lifepro Waver Enhance stopped working after changing the batteries, follow these steps to fix it:
1. Check Battery Installation: Ensure the 3V CR2025 battery is installed correctly according to the polarity markings inside the compartment. Incorrect installation can cause the remote to malfunction.
2. Inspect the Battery: Confirm that the battery is not dead or defective. Replace it with a new 3V CR2025 battery if needed.
3. Remove Plastic Insulator: If applicable, make sure any plastic insulation sheet used during shipping has been removed from the battery compartment.
4. Point Remote Correctly: Ensure the remote is pointed directly at the infrared sensor on the machine and is within an effective distance of approximately 8 feet.
If the issue persists after these steps, contact customer support for further assistance.
This answer is automatically generated