Table of Contents
Advertisement
Quick Links
Advertisement
Table of Contents

Related Manuals for Lab 12 melto1


Summary of Contents for Lab 12 melto1
- Page 1 Owner’s Manual melto1 Tube MC/MM Phono Preamplifier www.lab12.gr v1.2...
- Page 2 K. Varnali 57A, Metamorfosi, 14452, Athens, Greece Tel: +30 210 2845173 Email: contact@lab12.gr Web: www.lab12.gr...
-
Page 3: Table Of Contents
LAB12 melto1 – MC/MM Phono Preamplifier Table of Contents It is yours……………………………………………………………………………… Unpacking and warnings……………………………………………………… Installation & placement………….………………………………………….. Front panel………………………………….………………………………………… Rear panel connections……………………………………………………….. Main Connections……………………………………………………………….… 7 -10 Available Input settings 7 – 9 1. Set up instructions 2. Cartridge Type………………………………………….……………. -
Page 4: It Is Yours
Keep in mind that melto1 is totally handcrafted with perfectly matched parts of the finest selections. It is designed to perfectly match with any of the Lab12 amplifiers or preamplifiers. In order to reach the optimal performance your melto1 needs at least 150 hours of listening. -
Page 5: Unpacking And Warnings
You should never place another component directly on top of this device. Make sure that your melto1 has an adequate flow of air around it. Melto1 could be warm in some points; this is normal and within parts’ specifications. Take care of the front panel’s refined finishing using a soft dry cloth. -
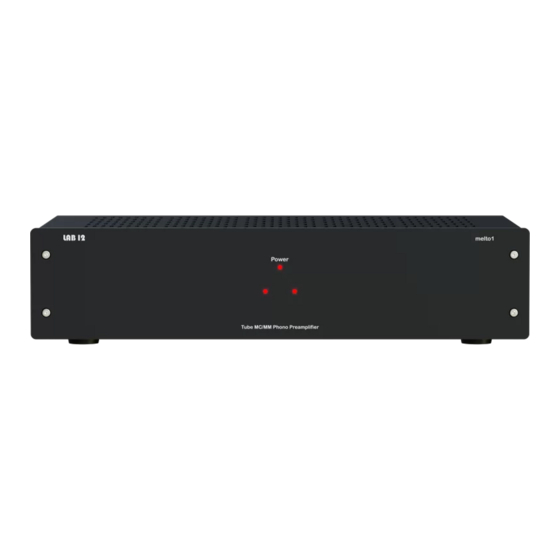
Page 6: Front Panel
LAB12 melto1 – MC/MM Phono Preamplifier Front Panel Melto1 front panel In the front panel you will find 3 operation indicative LEDs (A). Rear Panel Connections Melto1 rear panel In the rear panel you will find the output (A) and input (C) RCA pairs. -
Page 7: Main Connections
Connect the turntable and/or tonearm ground wire to ground terminal on the rear panel of melto1. Use the single-ended (RCA) output to connect melto1 to a line level input of your integrated amplifier or preamplifier. Connect a high-grade power cable to the IEC input and to your power socket. Make sure that your power socket provides a good ground before connecting the power cable. - Page 8 LAB12 melto1 – MC/MM Phono Preamplifier Select Select ← OFF ← OFF ← OFF ON → Cap. ← OFF ← OFF ← OFF ← OFF ← OFF ← OFF ← OFF ON → 100pF ← OFF ← OFF ← OFF ON →...
- Page 9 LAB12 melto1 – MC/MM Phono Preamplifier Select Select ← OFF ON → ← OFF ← OFF Imp. ← OFF ← OFF ← OFF ← OFF ← OFF ON → ← OFF ← OFF ON → ← OFF ON → ← OFF ←...
-
Page 10: Cartridge Type
Melto1 phono stage is perfectly designed to minimize hum and let the lowest possible noise with maximum signal headroom. You can use any type of turntable or cartridge with this phono stage. Melto1 allows the user to optimize the phono stage to the many different cartridges available. It is important to always ground your tonearm on the grounding sockets of melto1. -
Page 11: For The Safety Of Your Equipment
LAB12 melto1 – MC/MM Phono Preamplifier For the safety of your equipment Make sure that all your equipment is turned off before any connection! Specifications • Power: 230VAC 50Hz (115VAC 60Hz) • Power consumption: 80 VA max • Gain MM: 41dB •... - Page 12 K. Varnali 57A, Metamorfosi, 14452, Athens, Greece Tel: +30 210 2845173 Email: contact@lab12.gr Web: www.lab12.gr...
Need help?
Do you have a question about the melto1 and is the answer not in the manual?
Questions and answers