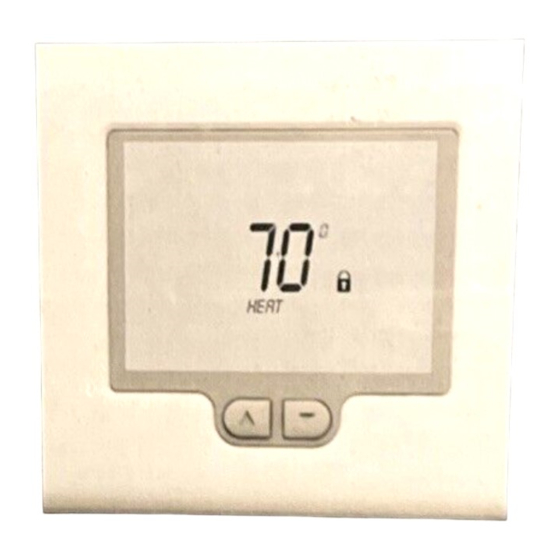
Advertisement
Quick Links
Quick Installation and Startup Guide
1
Insert a small coin
(dime) in the release
slot located on the
bottom of the
thermostat and gently
twist the coin to
release the thermostat
from the subbase.
BACK OF SUBBASE
4
MN:1000140 R:100
SN: AU111400000
7
Land the remaining HVAC wires to the thermostat terminals based on the specific equipment configuration. If an indoor or outdoor remote sensor is used, wire the sensor to the T T terminals.
The sensor wiring must be a separate 18-2 cable and should not exceed 200' in length from the sensor to the thermostat.
Single Stage Heat / Cool
W2
Y2
W1
Y1
G1
R
24
24C
G3
G2
O/B
HEAT
FAN 1
RELAY
RELAY
COMP 1
RELAY
24 V
8
After all wiring is landed, attached the thermostat to the subbase and apply 24 Volt power.
2
ON
1 2 3 4 5 6 7 8
. . . . . .
5
Use the provided
6 transceiver log
to document the
serial number
located below the
bar code on the
back of the
thermostat
subbase. Also
note the
thermostat
location.
Multi-Stage Heat / Cool
W2
Y2
W1
B
A
T
T
Y1
G1
R
G3
G2
O/B
THERMOSTAT OPTIONAL
HEAT 2
HEAT 1
FAN 1
TRANSCEIVER
SENSOR
RELAY
RELAY
RELAY
COMP 2
COMP 1
RELAY
RELAY
LINE
Turn the two
3
Modbus
configuration
slide switches
to ON.
. . . . . .
FRONT OF SUBBASE
MOUNTING
HOLES
TRANSCEIVER
(Push in on sides to release cover)
2 Heat / 1 Cool Heat Pump or Dual Fuel
W2
Y2
W1
24
24C
B
A
T
T
Y1
G1
G3
G2
O/B
THERMOSTAT OPTIONAL
AUX
REV
FAN 1
TRANSCEIVER
SENSOR
HEAT
VALVE
RELAY
COMP 1
RELAY
24 V
LINE
Refer to the thermostat Installation Manual for Advanced Installer settings that might be
9
required for the specific equipment applications as well as confirming that the baud rate is
set at 19.2 and the Modbus address is set at 01.
Set the system slide switches to match the
HVAC equipment application:
HVAC SYSTEM
ON
1 HEAT / 1 COOL
1=OFF
1 2 3 4 5 6 7 8
2 HEAT / 2 COOL
1=OFF
2 HEAT / 1 COOL
HEAT PUMP (O)*
1=OFF 2=ON 3=OFF 4=OFF 5=ON
3 HEAT / 2 COOL
. . . . . .
. . . . . .
HEAT PUMP (O)*
1=OFF
* For heat pump systems that energize the reversing valve on a call for heating (B), turn switch 4 ON.
SWITCH 6 MUST BE OFF AND SWITCH 8 MUST BE ON
Before mounting
the thermostat
subbase to the
wall, pull the
R
wires from the
HVAC unit
through the wire
access hole.
Mount and level
the subbase
using the
furnished
LAND HVAC
hardware.
UNIT WIRES
TO APPROPRIATE
TERMINALS
W2 Y2 W1 Y1 G R
24 24C B A
O/B
The HVAC 24 Volt power must be OFF during wiring!
3 Heat / 2 Cool Heat Pump or Dual Fuel
W2
Y2
W1
R
24
24C
B
A
T
T
G3
G2
O/B
THERMOSTAT OPTIONAL
AUX
REV
TRANSCEIVER
SENSOR
HEAT
VALVE
COMP 2
COMP 1
RELAY
RELAY
24 V
LINE
SLIDE SWITCH SETTING
2=OFF
3=OFF
4=OFF
5=ON
6=
OFF
7=OFF
8=
ON
2=OFF
3=ON
4=OFF
5=ON
6=
OFF
7=OFF
8=
ON
6=
OFF
7=OFF
8=
ON
2=ON
3=ON
4=OFF 4=ON
6=
OFF
7=OFF
8=
ON
6
To simplify installation,
the transceiver comes
pre-wired to the
thermostat terminals with
C
leads for the HVAC unit
24 Volt hot and common.
Use wire connectors to
secure each lead to the
HVAC unit 24V 'R' and
24V 'C' wires. Land the
remaining HVAC unit
wires to their proper
terminals. Dress all wires
so that they do not come
in contact with the
thermostat PC board.
T T
Y1
G1
R
24
24C
B
A
T
T
FAN 1
THERMOSTAT OPTIONAL
RELAY
TRANSCEIVER
SENSOR
24 V
LINE
Advertisement

Summary of Contents for Jackson Systems Web Comfort Z-2000
- Page 1 Quick Installation and Startup Guide Set the system slide switches to match the Insert a small coin Turn the two HVAC equipment application: (dime) in the release Modbus HVAC SYSTEM SLIDE SWITCH SETTING slot located on the configuration 1 HEAT / 1 COOL 1=OFF 2=OFF 3=OFF...
- Page 2 Quick Installation and Startup Guide The Energy Manager should be mounted After removing the cover, position and secure the antenna using the conduit nut attached to the antenna wire. near an Ethernet port which may be Make sure that the antenna is positioned as shown in the illustration. Mount the Energy Manager on a vertical located on a wall or at the router.


Need help?
Do you have a question about the Web Comfort Z-2000 and is the answer not in the manual?
Questions and answers